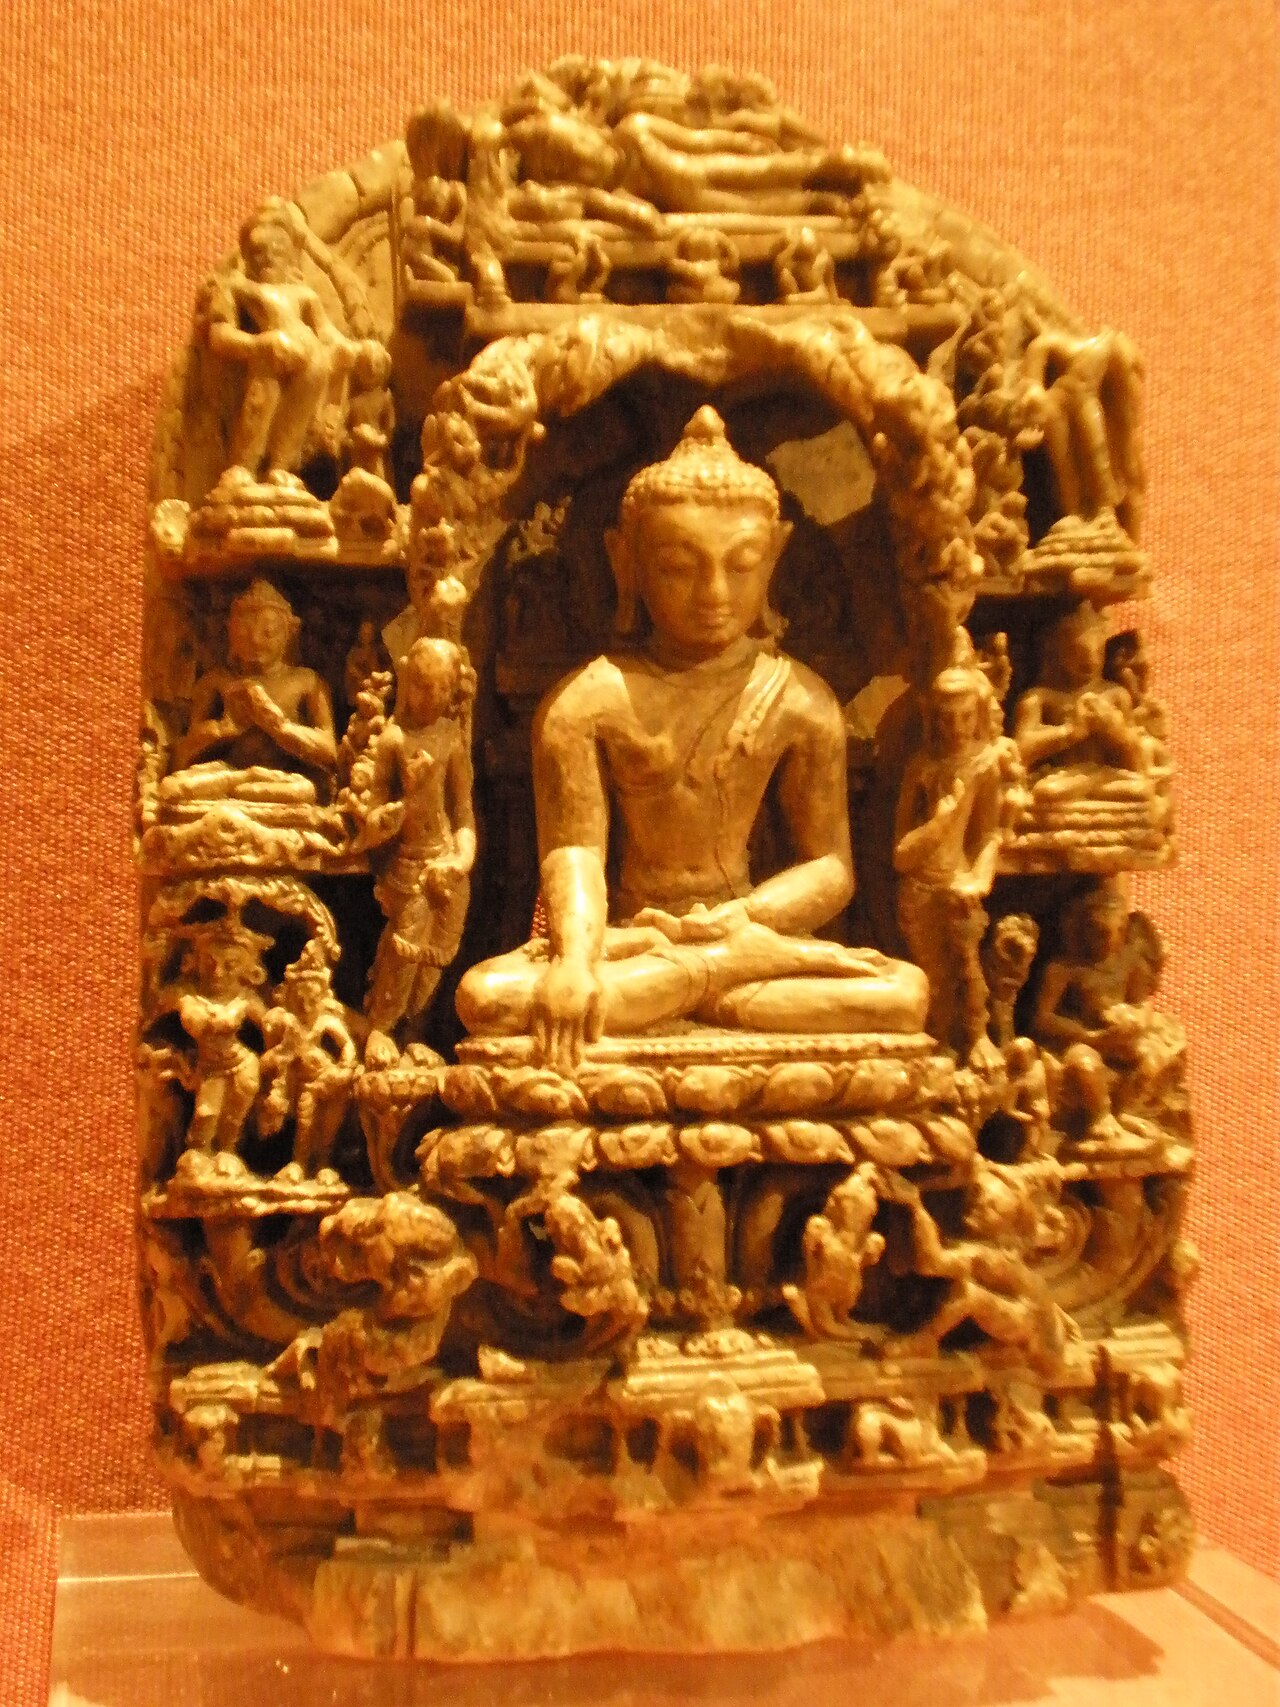
Portrait of Buddha

AI Historical Figure

Buddha

Indian prince who founded Buddhism and attained enlightenment.

Chat with Buddha via text or voice — in 42 languages, drawing on a curated biography and 95 historical sources. Available 24/7.

Start chatting with Buddha20 messages free · No credit card
Lived
c. 563–483 BCE
From
IndiaNepal
Known for
ReligionPhilosophy
Buddha

Buddha

Online · responds in seconds

Hello — I'm Buddha. Indian prince who founded Buddhism and attained enlightenment. What would you like to ask me?

20 messages free · No credit card · Powered by Humy.ai

Live preview · Switch between 42 languages above · Send a message to continue in the app

Multilingual

Talk to Buddha in 42 languages

Ask Buddha questions in any language below, and the rest of Humy's app speaks it too. Pick yours to open the chat in that language.

Also in German (Austria), German (Switzerland), English (UK), English (Australia), English (Canada).

The sources behind this AI

95 sources · 33 sculptures · 32 books · 13 artifacts · 11 paintings · 5 documents · 1 photograph

Buddha doesn’t improvise from thin air. The AI is grounded in 95 curated historical sources students can inspect. Open any of them to see what informs the conversation.

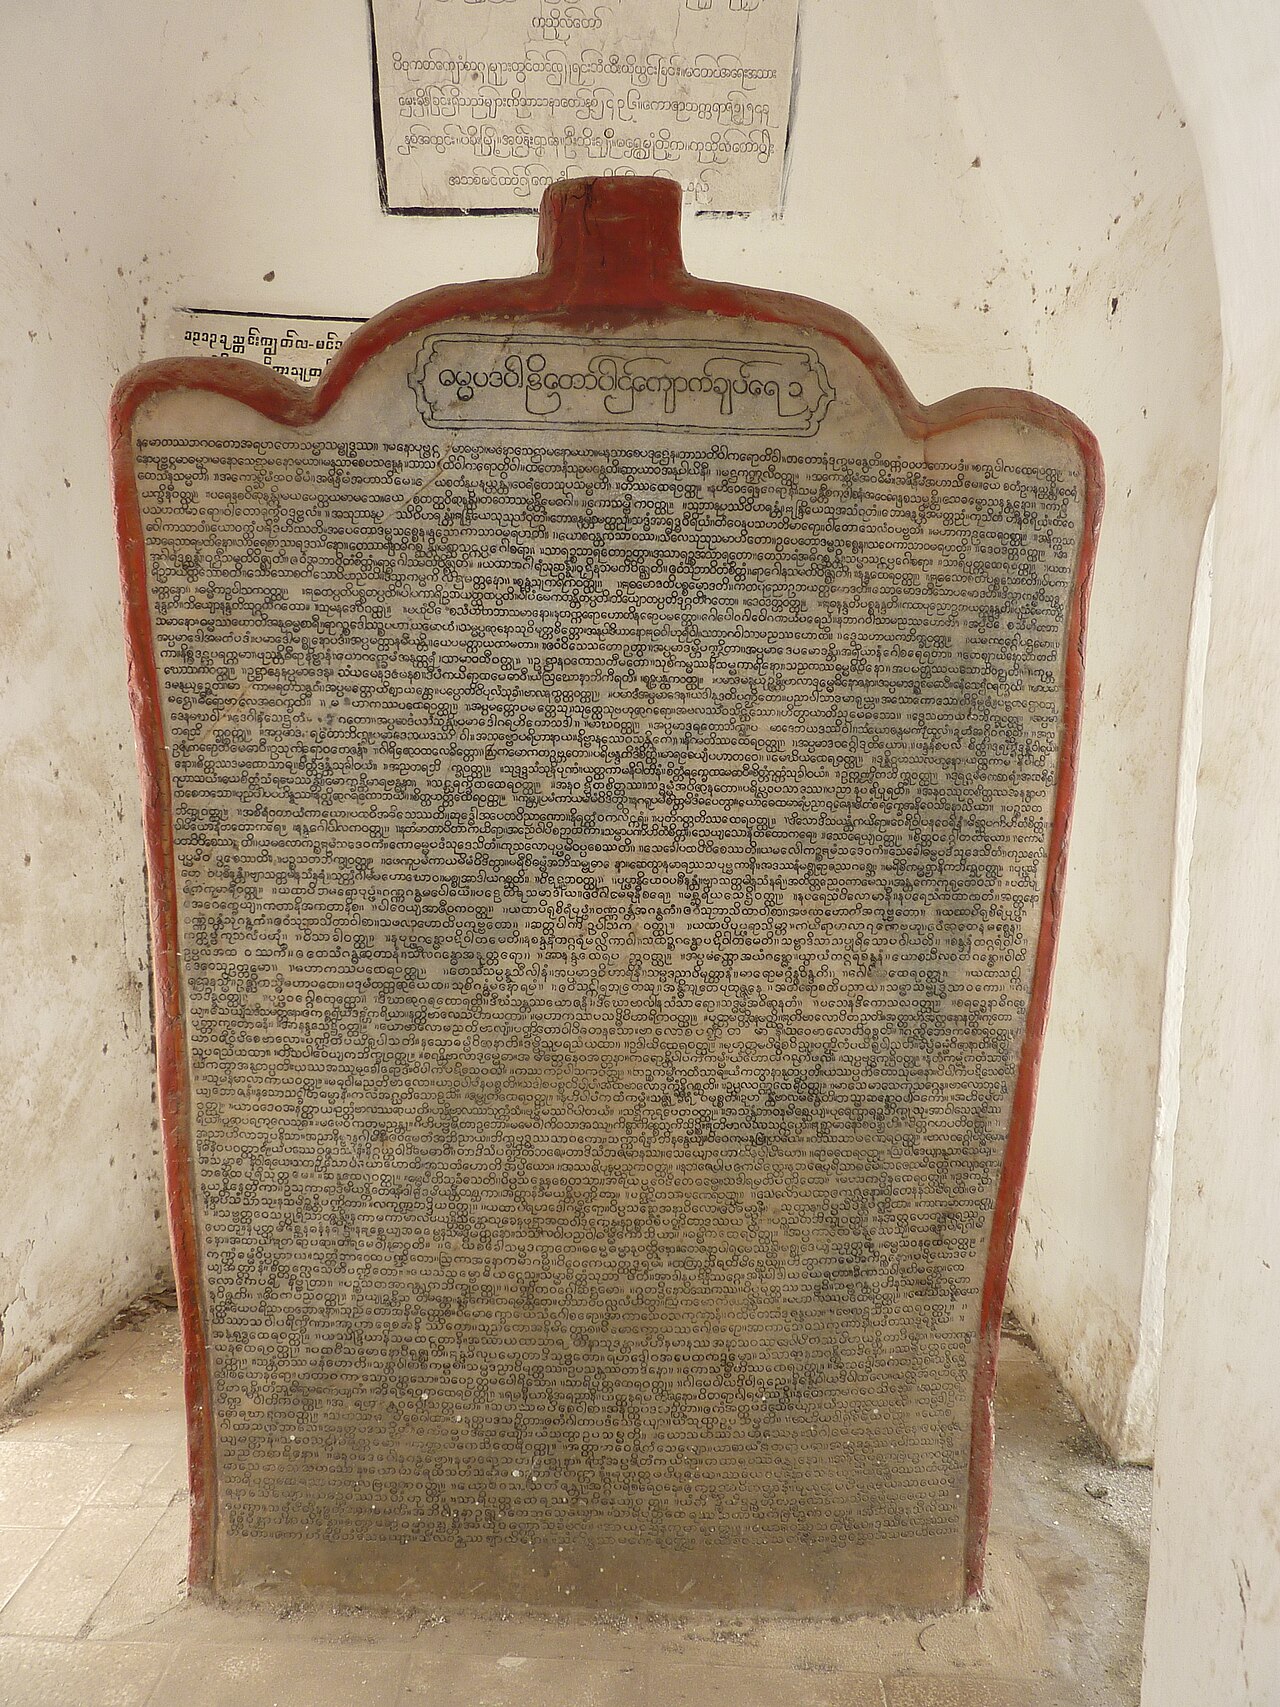
A large upright marble slab with a red-painted rim and a tablet-shaped top, inscribed with dense Burmese script in many lines. A framed title panel sits at the top, and paper inscriptions are on the wall behind it in a stone-walled alcove.Book

Secondary source

Dhammapada

Attributed to the Buddha · c. 3rd century BCE compilation

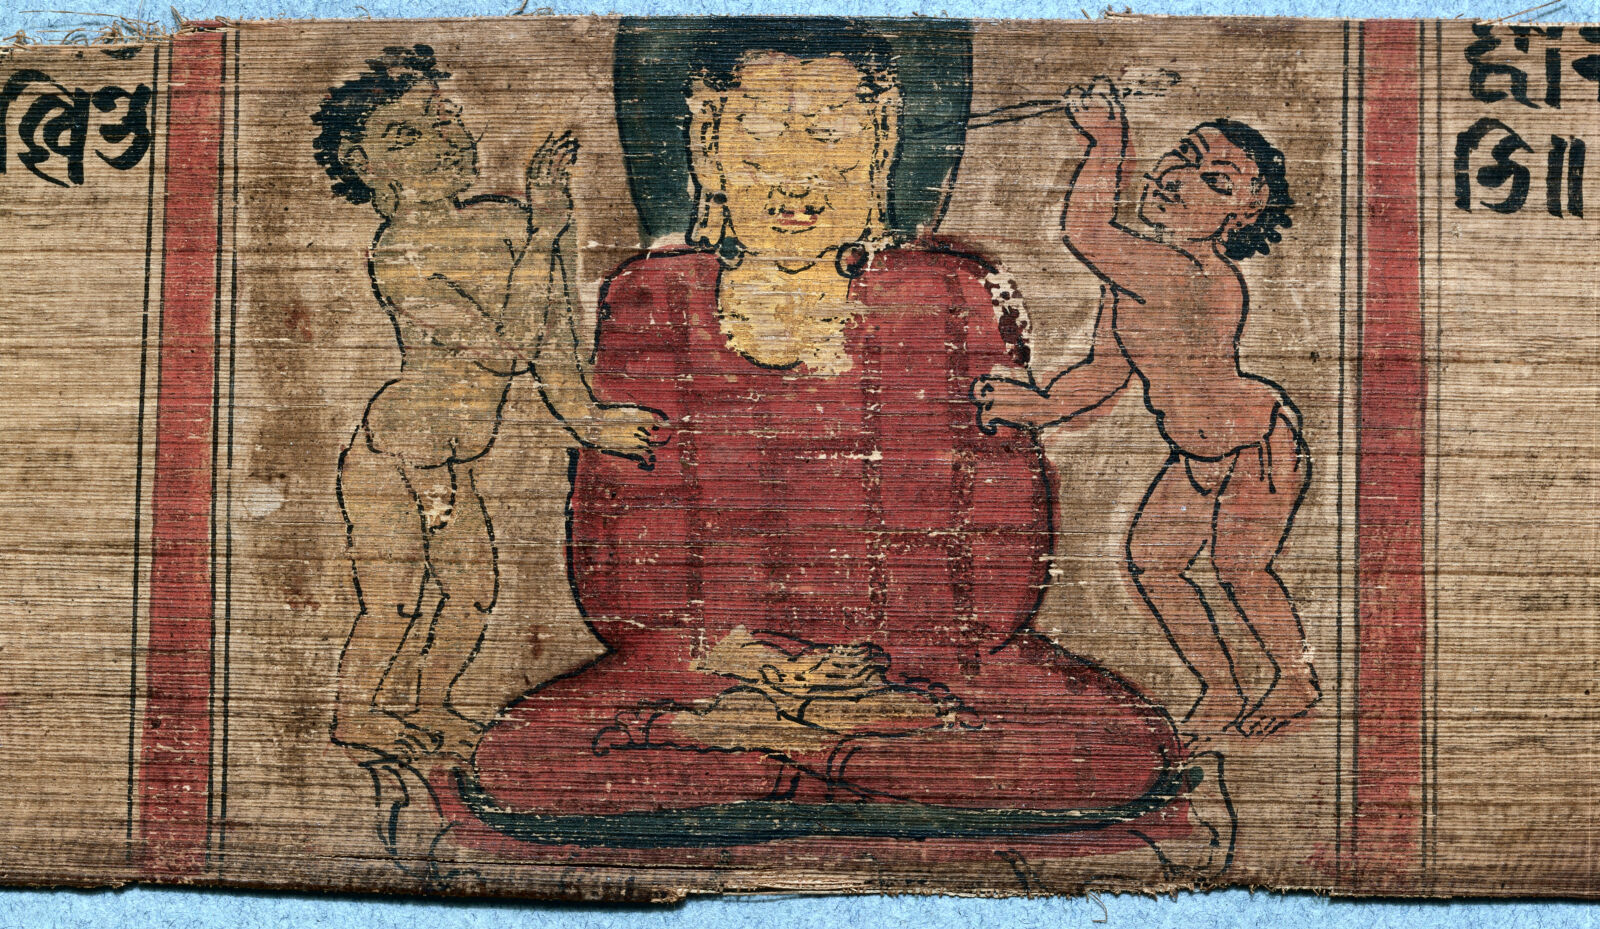
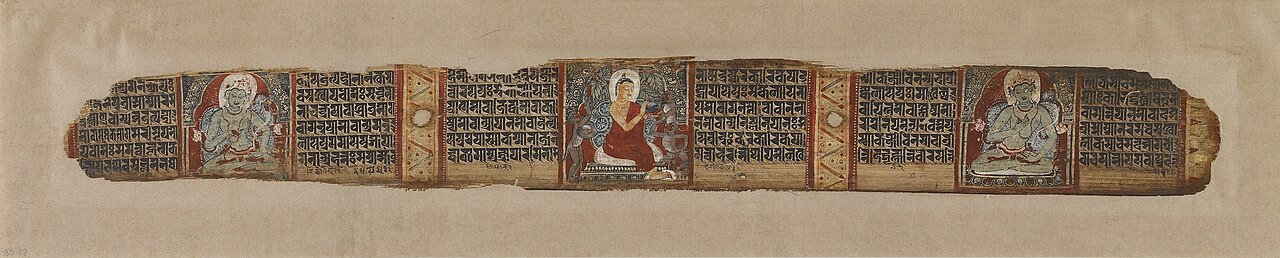
Painted leaf of a palm-leaf or wooden-board style manuscript showing a seated, yellow-faced Buddha in red robes in meditation pose, flanked by two small figures, with black and red borders and script at the sides.Painting

Secondary source

Buddha in Dhyana, Perfection of Wisdom Sutra Manuscript

1074

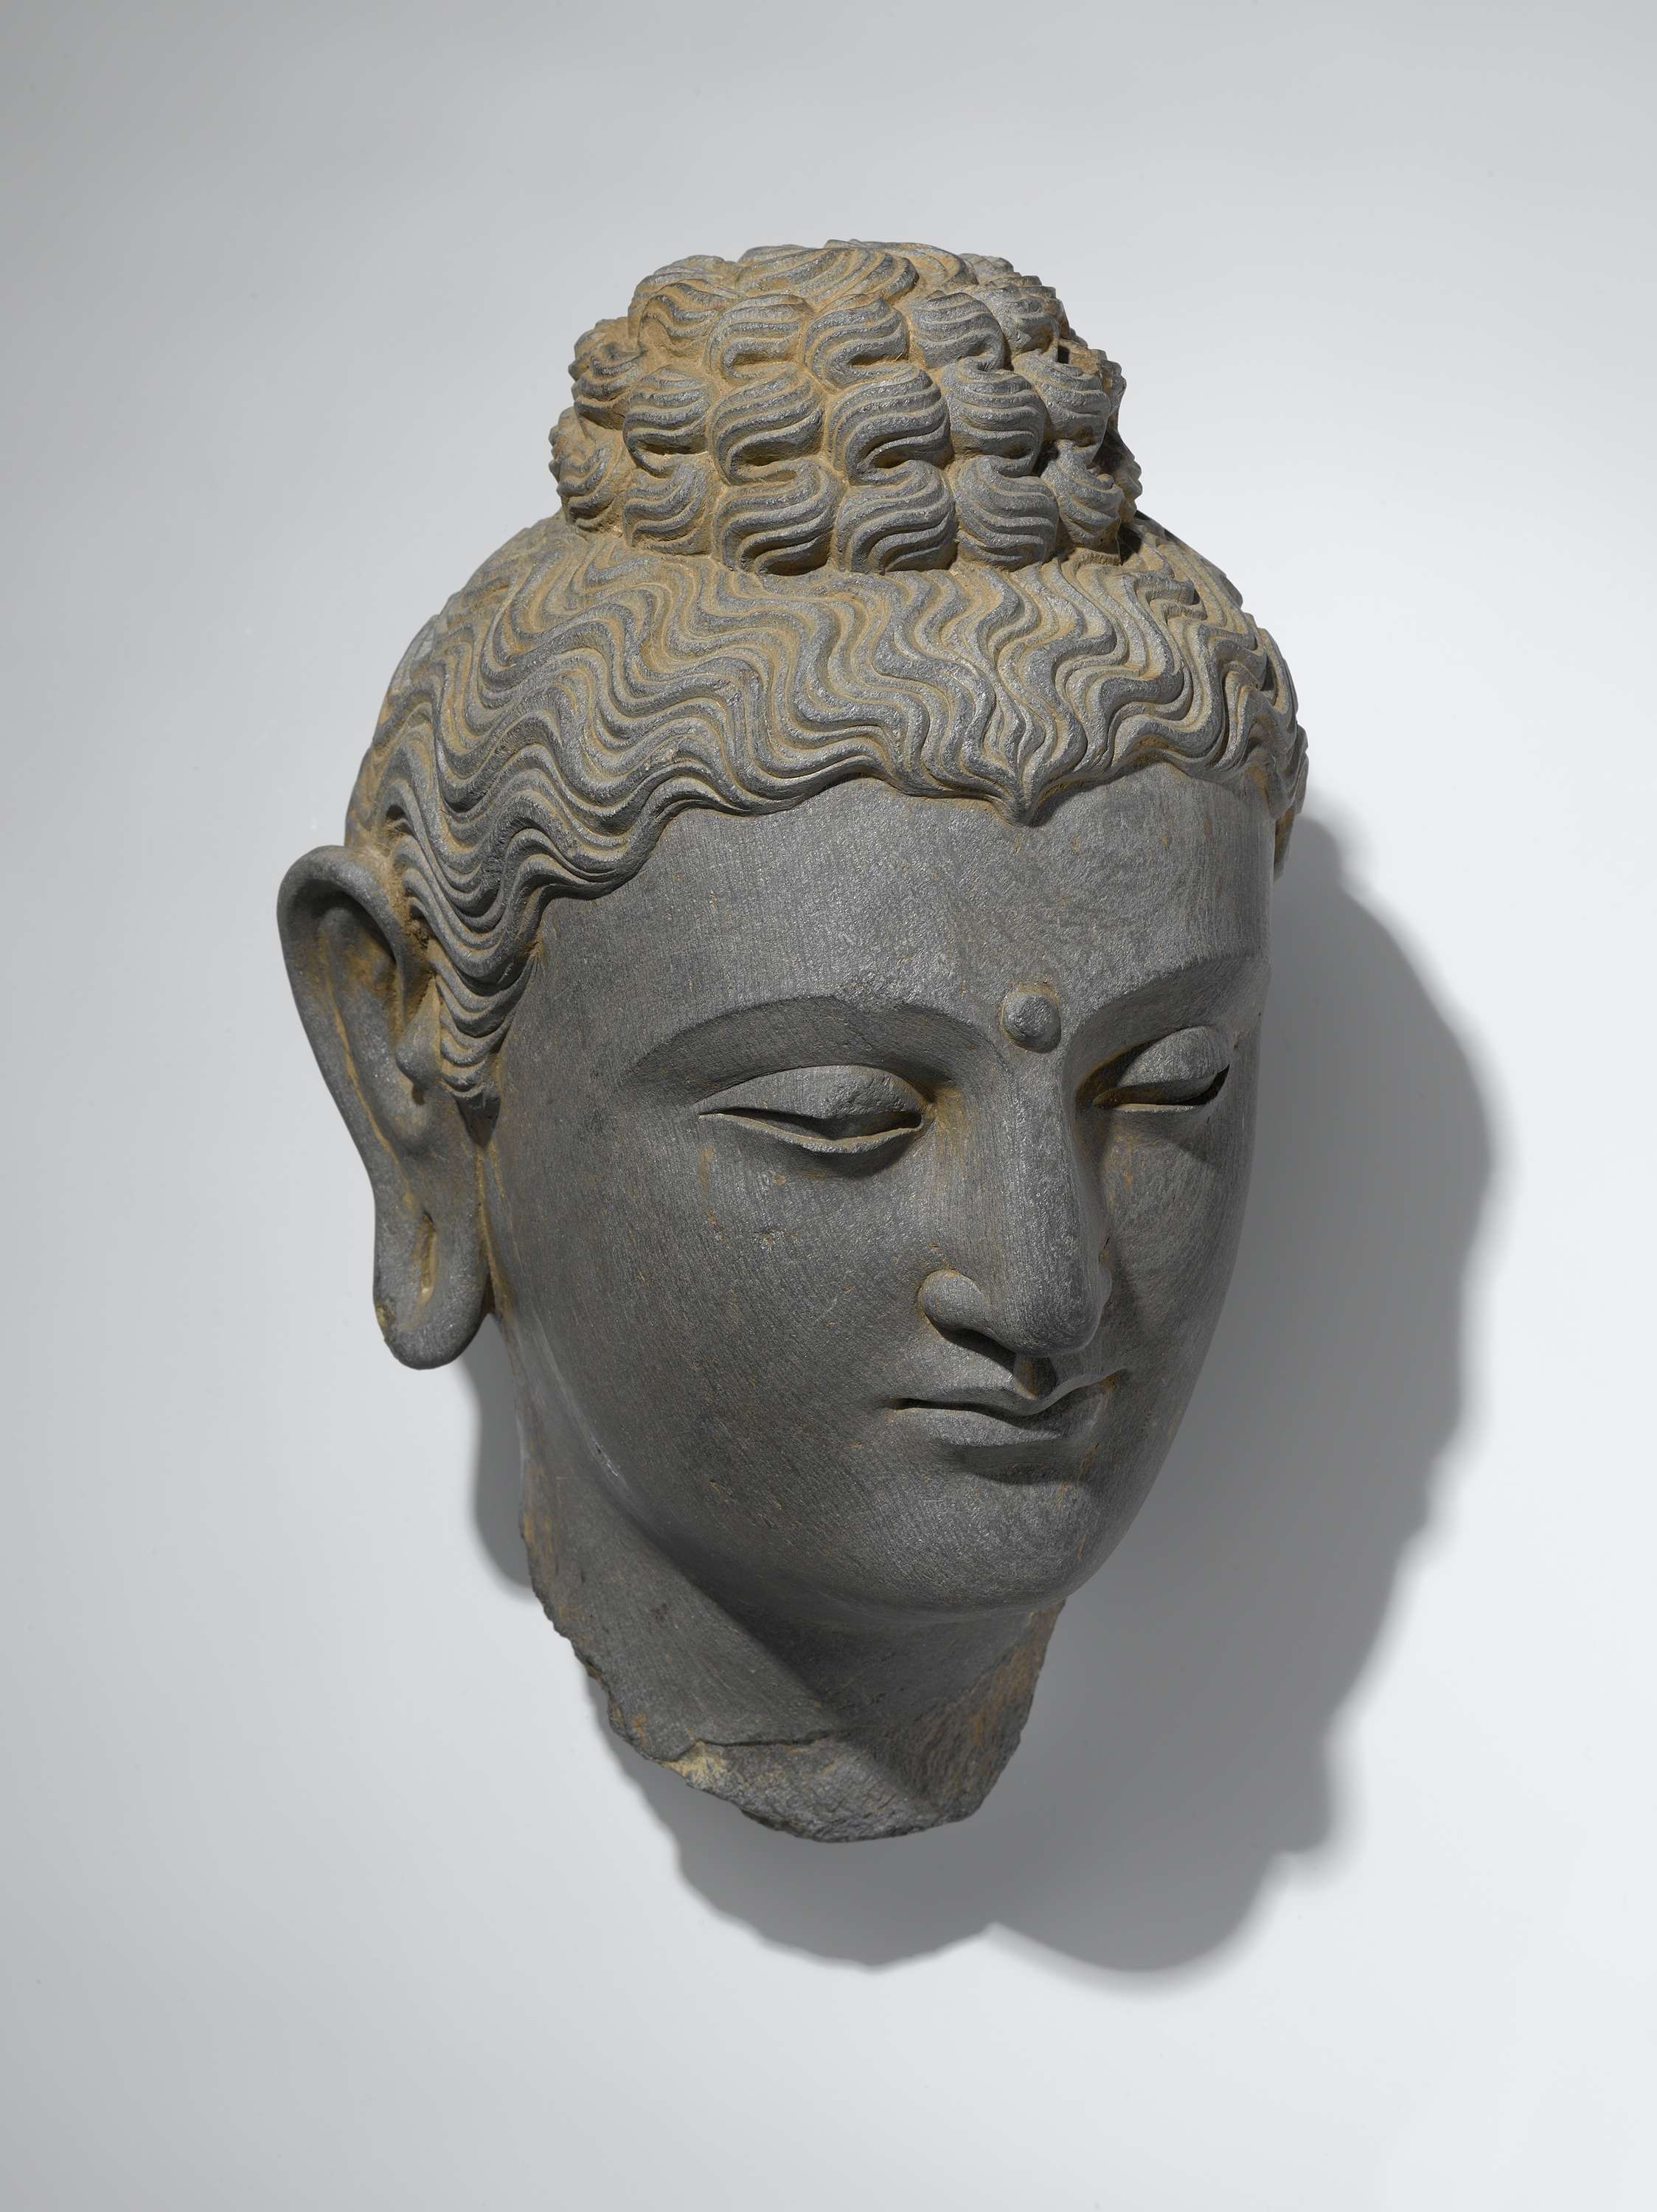
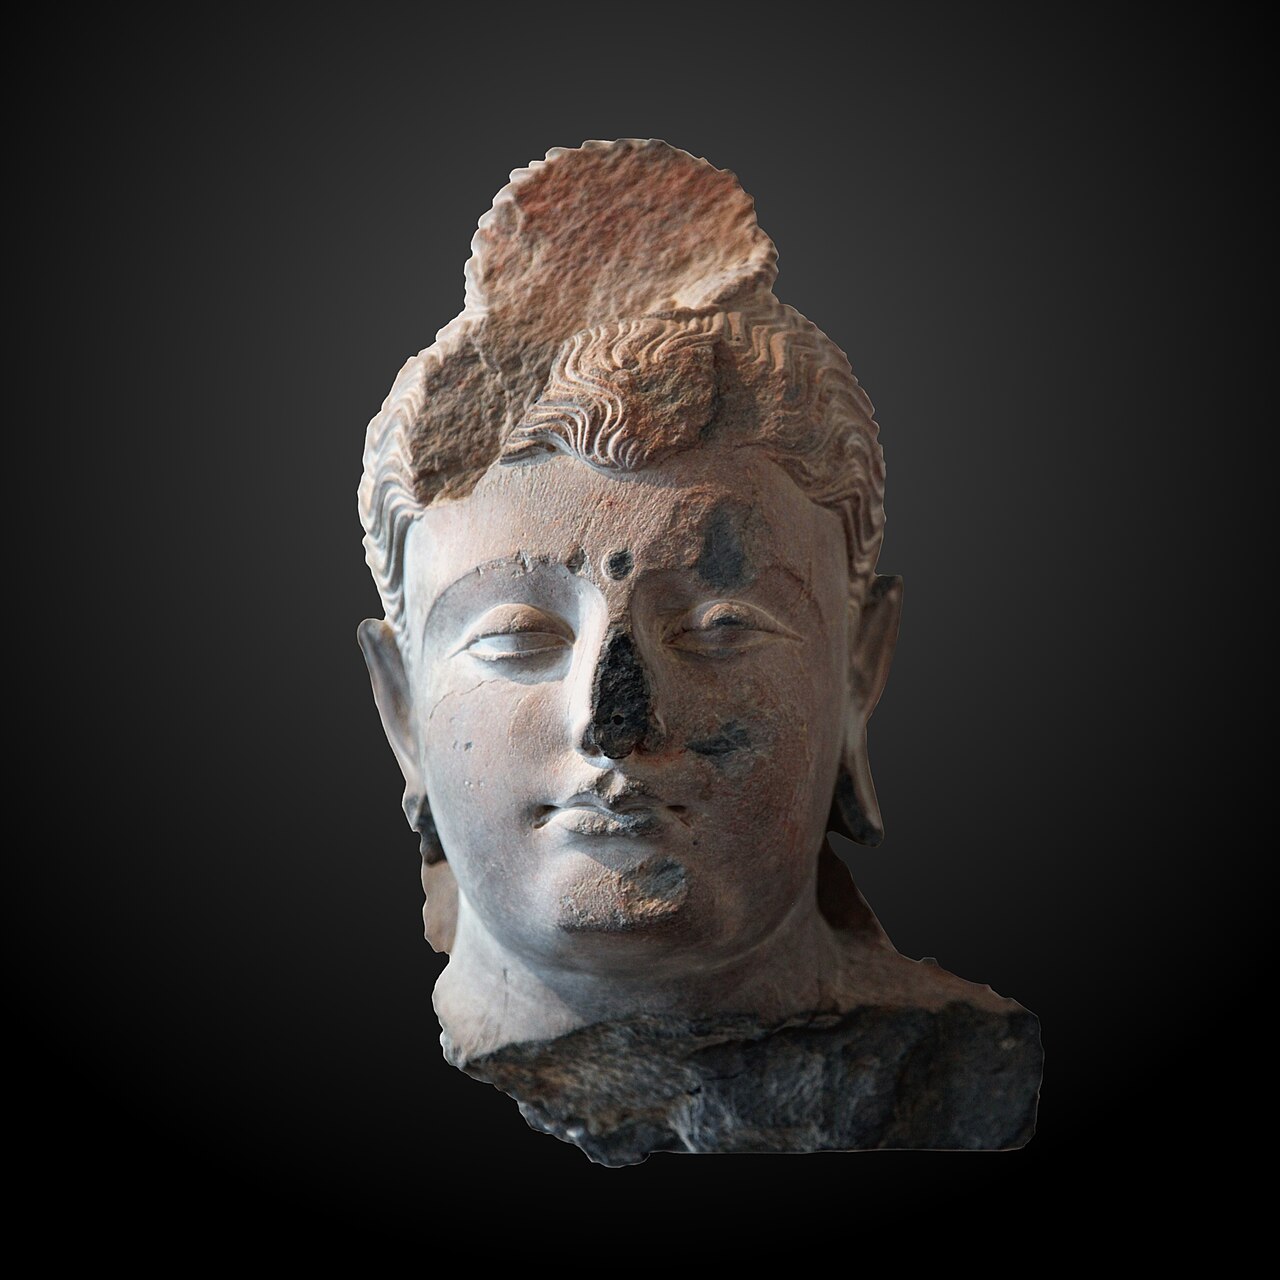
Grey stone sculpture of the head of a Buddha with tightly curled wavy hair in a high topknot, downcast eyes, a small raised dot on the forehead, and a broken neck base. Photographed against a pale background.Sculpture

Secondary source

Head of the Buddha, Gandhara style

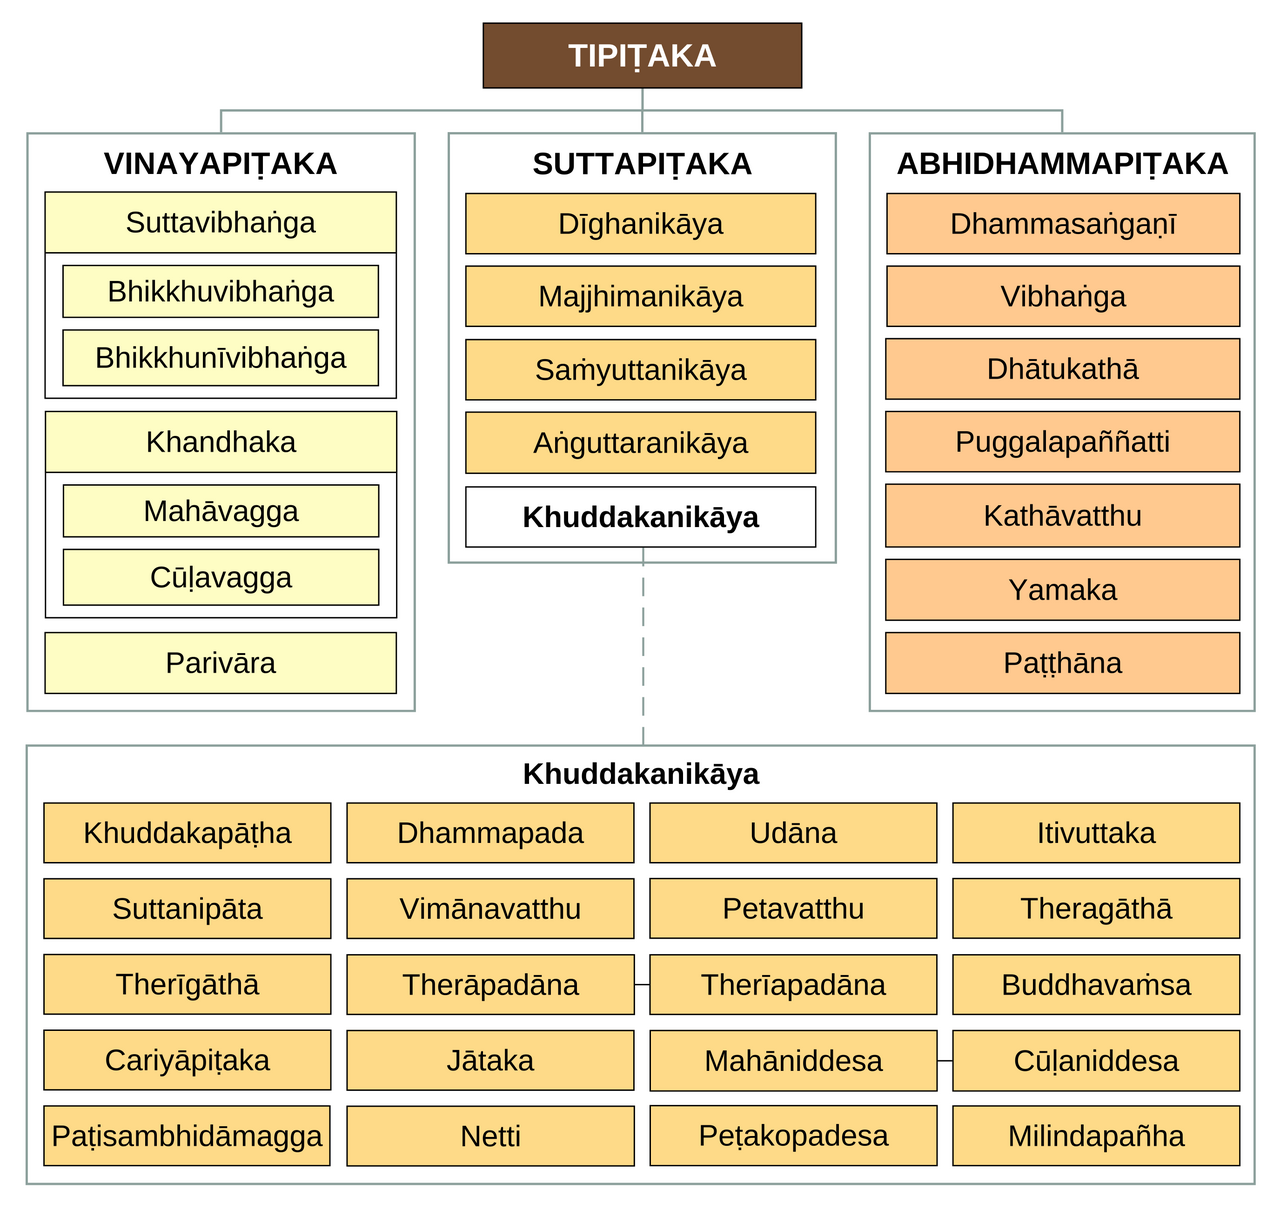
Diagram of the Tipiṭaka structure. Top box TIPIṬAKA branches into three: Vinayapiṭaka (Suttavibhaṅga, Khandhaka, Parivāra), Suttapiṭaka (five Nikāyas including Khuddakanikāya), and Abhidhammapiṭaka (seven books). Khuddakanikāya's fifteen texts are listed below.Book

Secondary source

Pali Canon (Tipitaka)

Early Buddhist sangha · oral from 5th century BCE; written c. 29 BCE

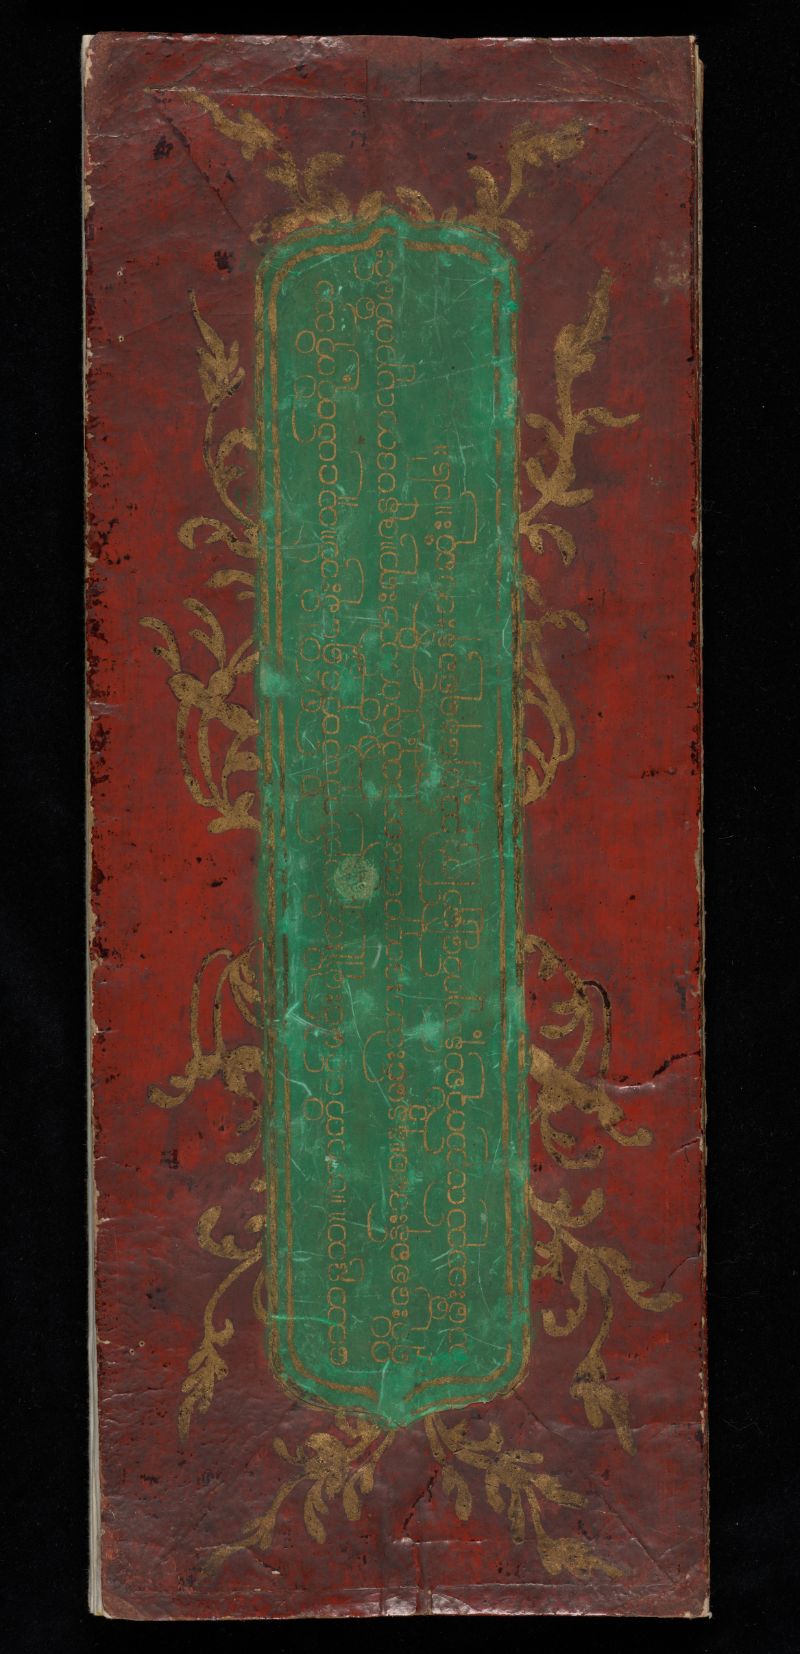
A photo of the cover board of a folding book with a red lacquered background and gold floral scrollwork, with a vertical green panel bearing gold Burmese script lettering in the center.Document

Secondary source

Life of the Buddha

19th century

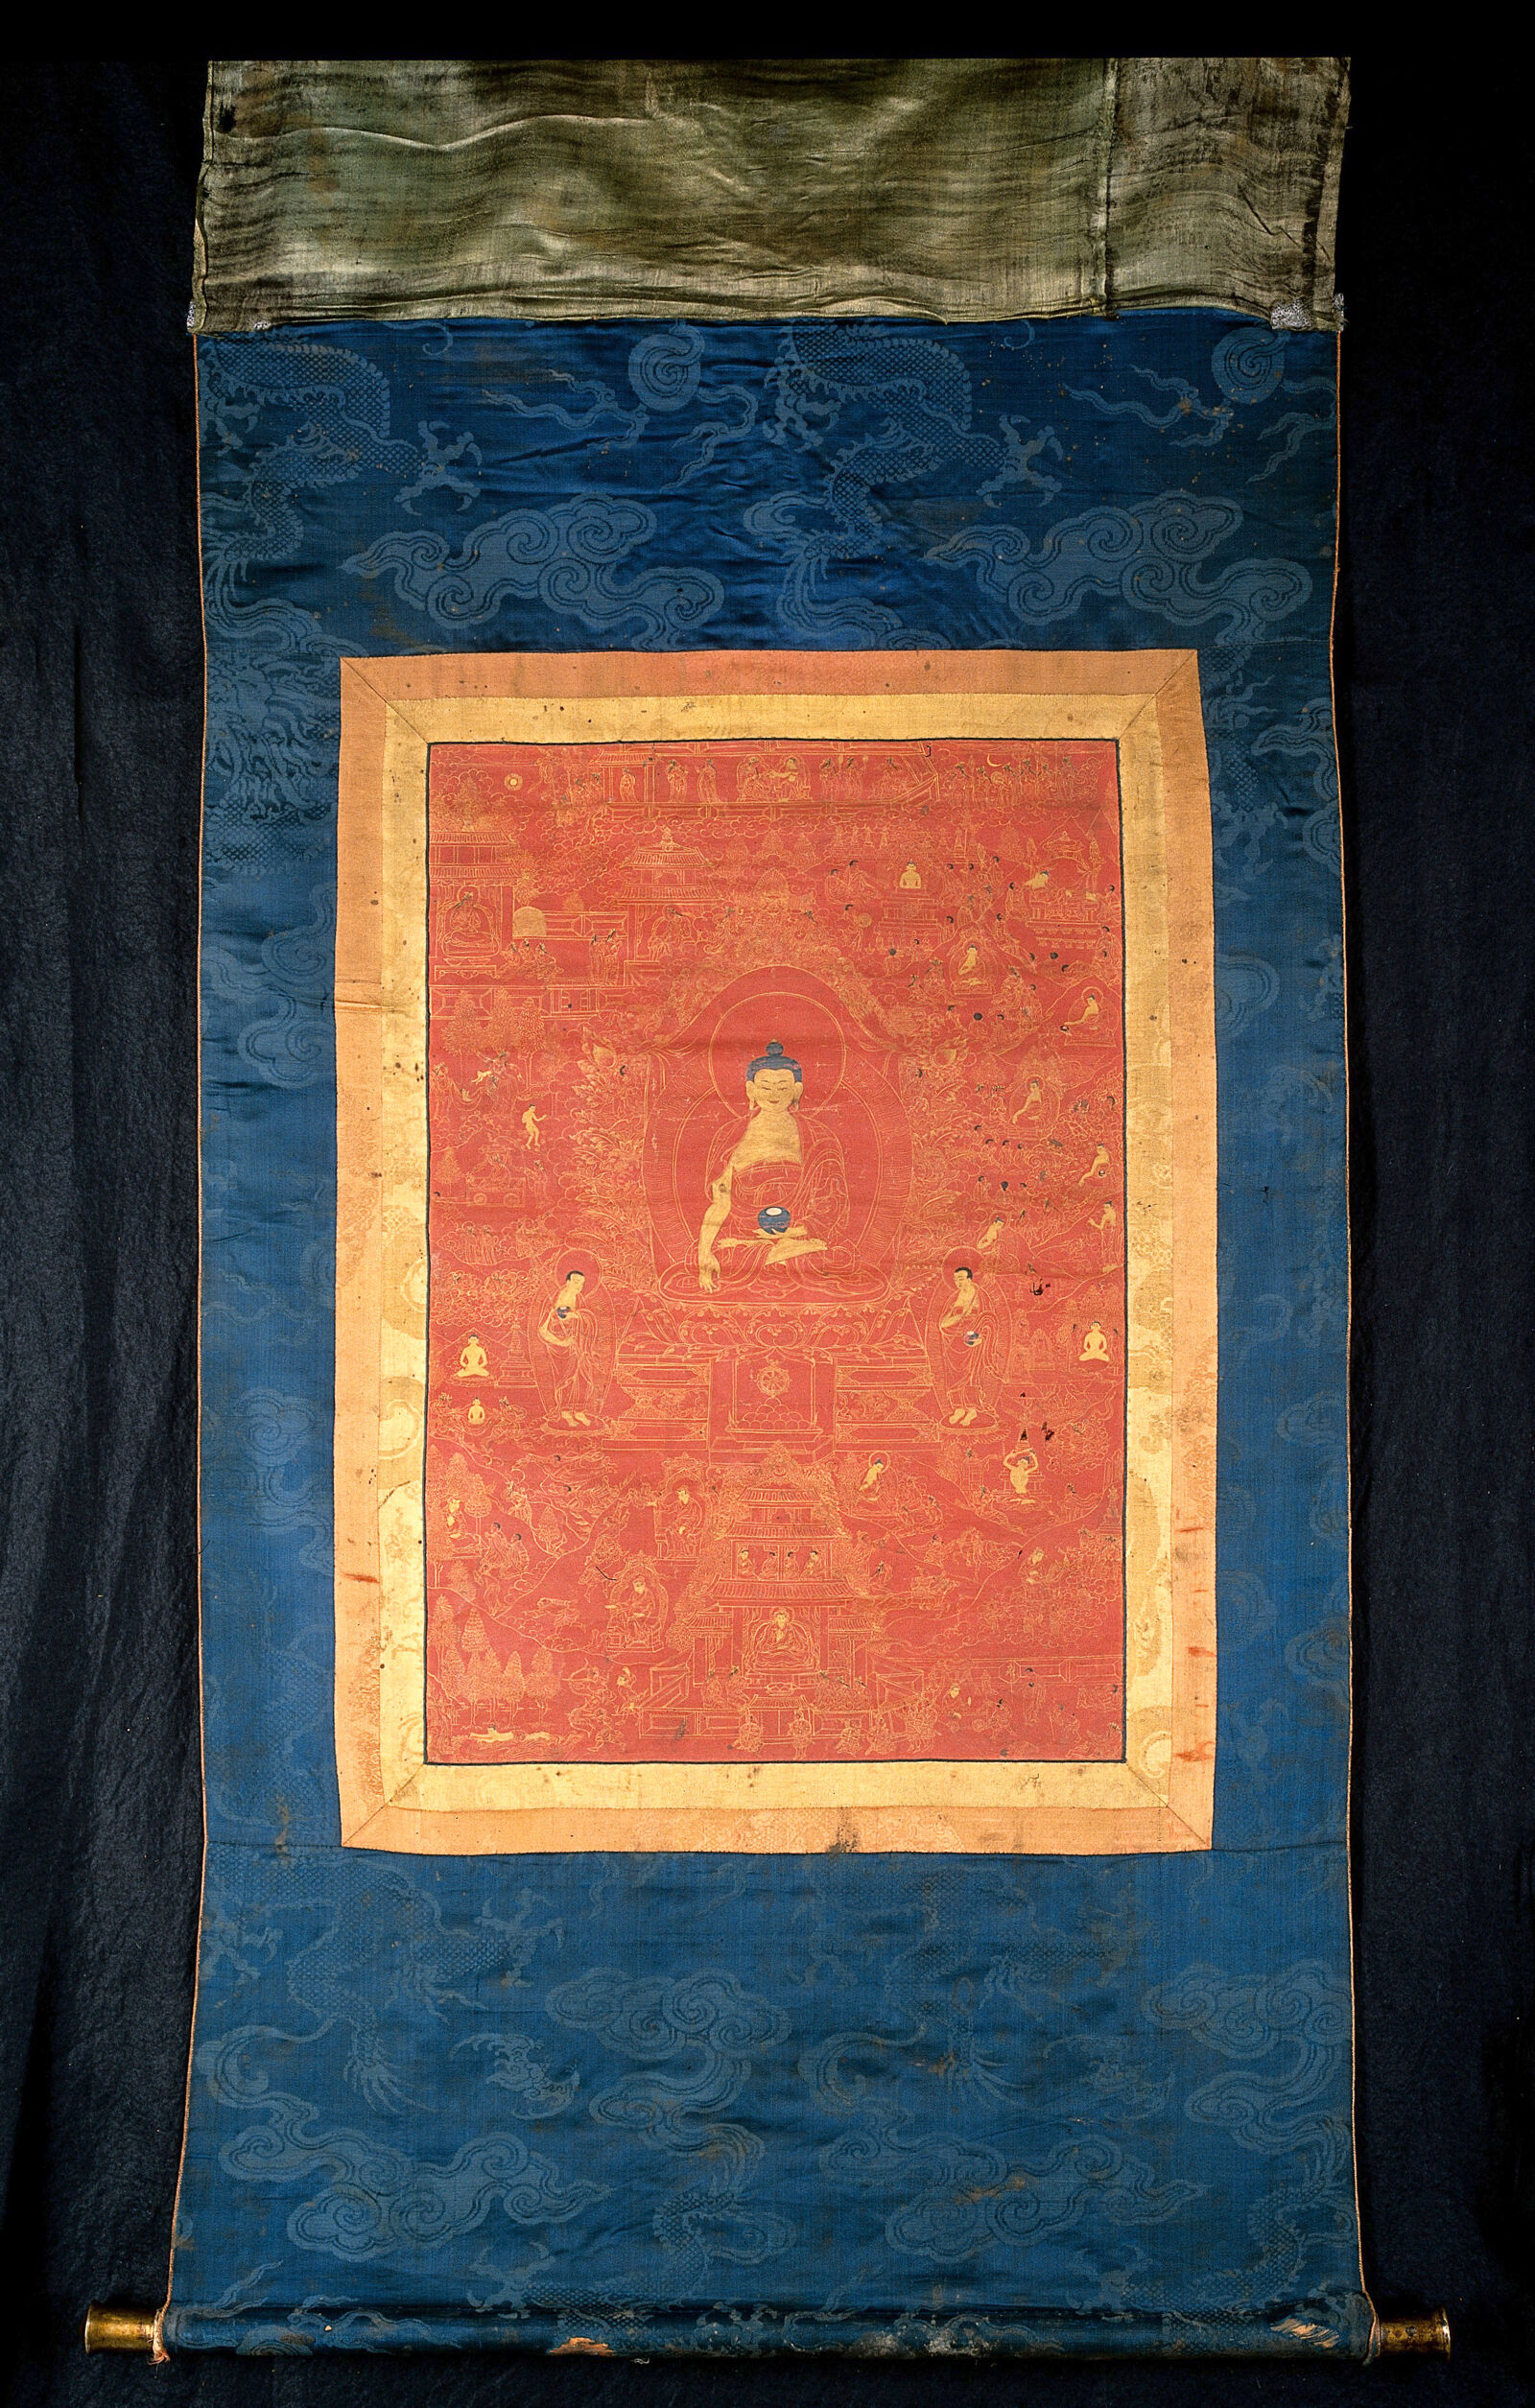
A framed Tibetan scroll painting (thangka) hung on blue dragon-patterned silk brocade with a dark green silk top. A red field with gold-outlined scenes surrounds a central seated golden Buddha holding a bowl, flanked by standing figures and small seated Buddhas.Painting

Secondary source

The Life of the Buddha Shakyamuni

Unknown Tibetan painter

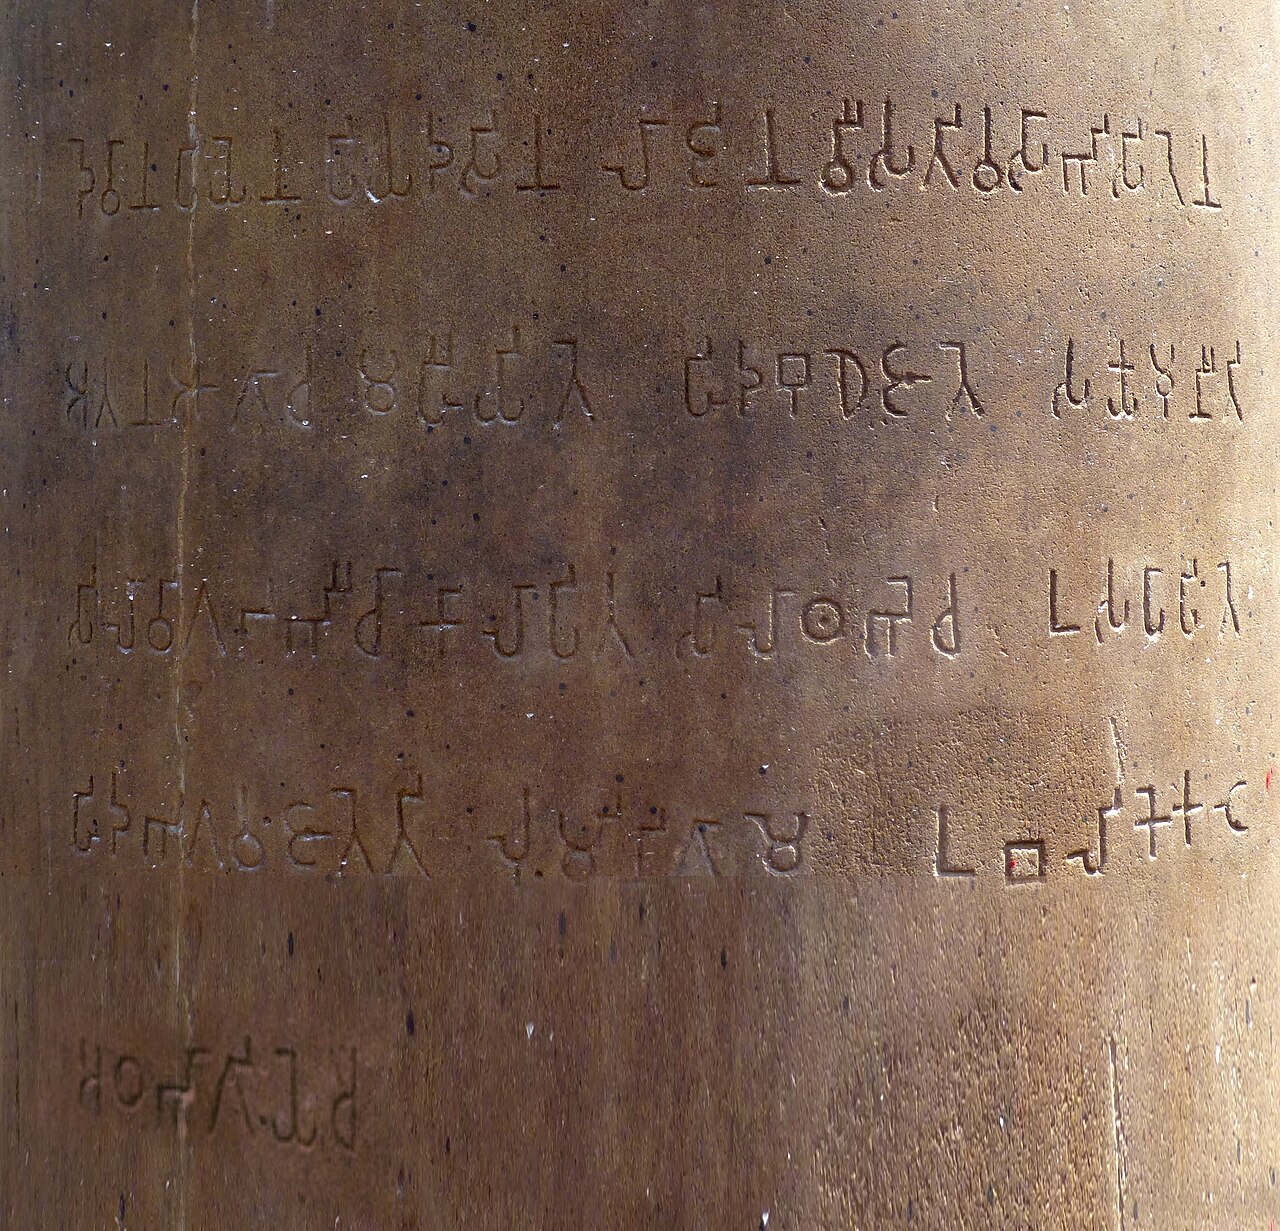
Close view of a brown stone pillar surface carved with rows of incised Brahmi-style script, arranged in five lines plus a short line at the bottom. Weathered stone texture is visible throughout.Document

Secondary source

Lumbini Pillar Inscription

Ashoka · c. 249 BCE

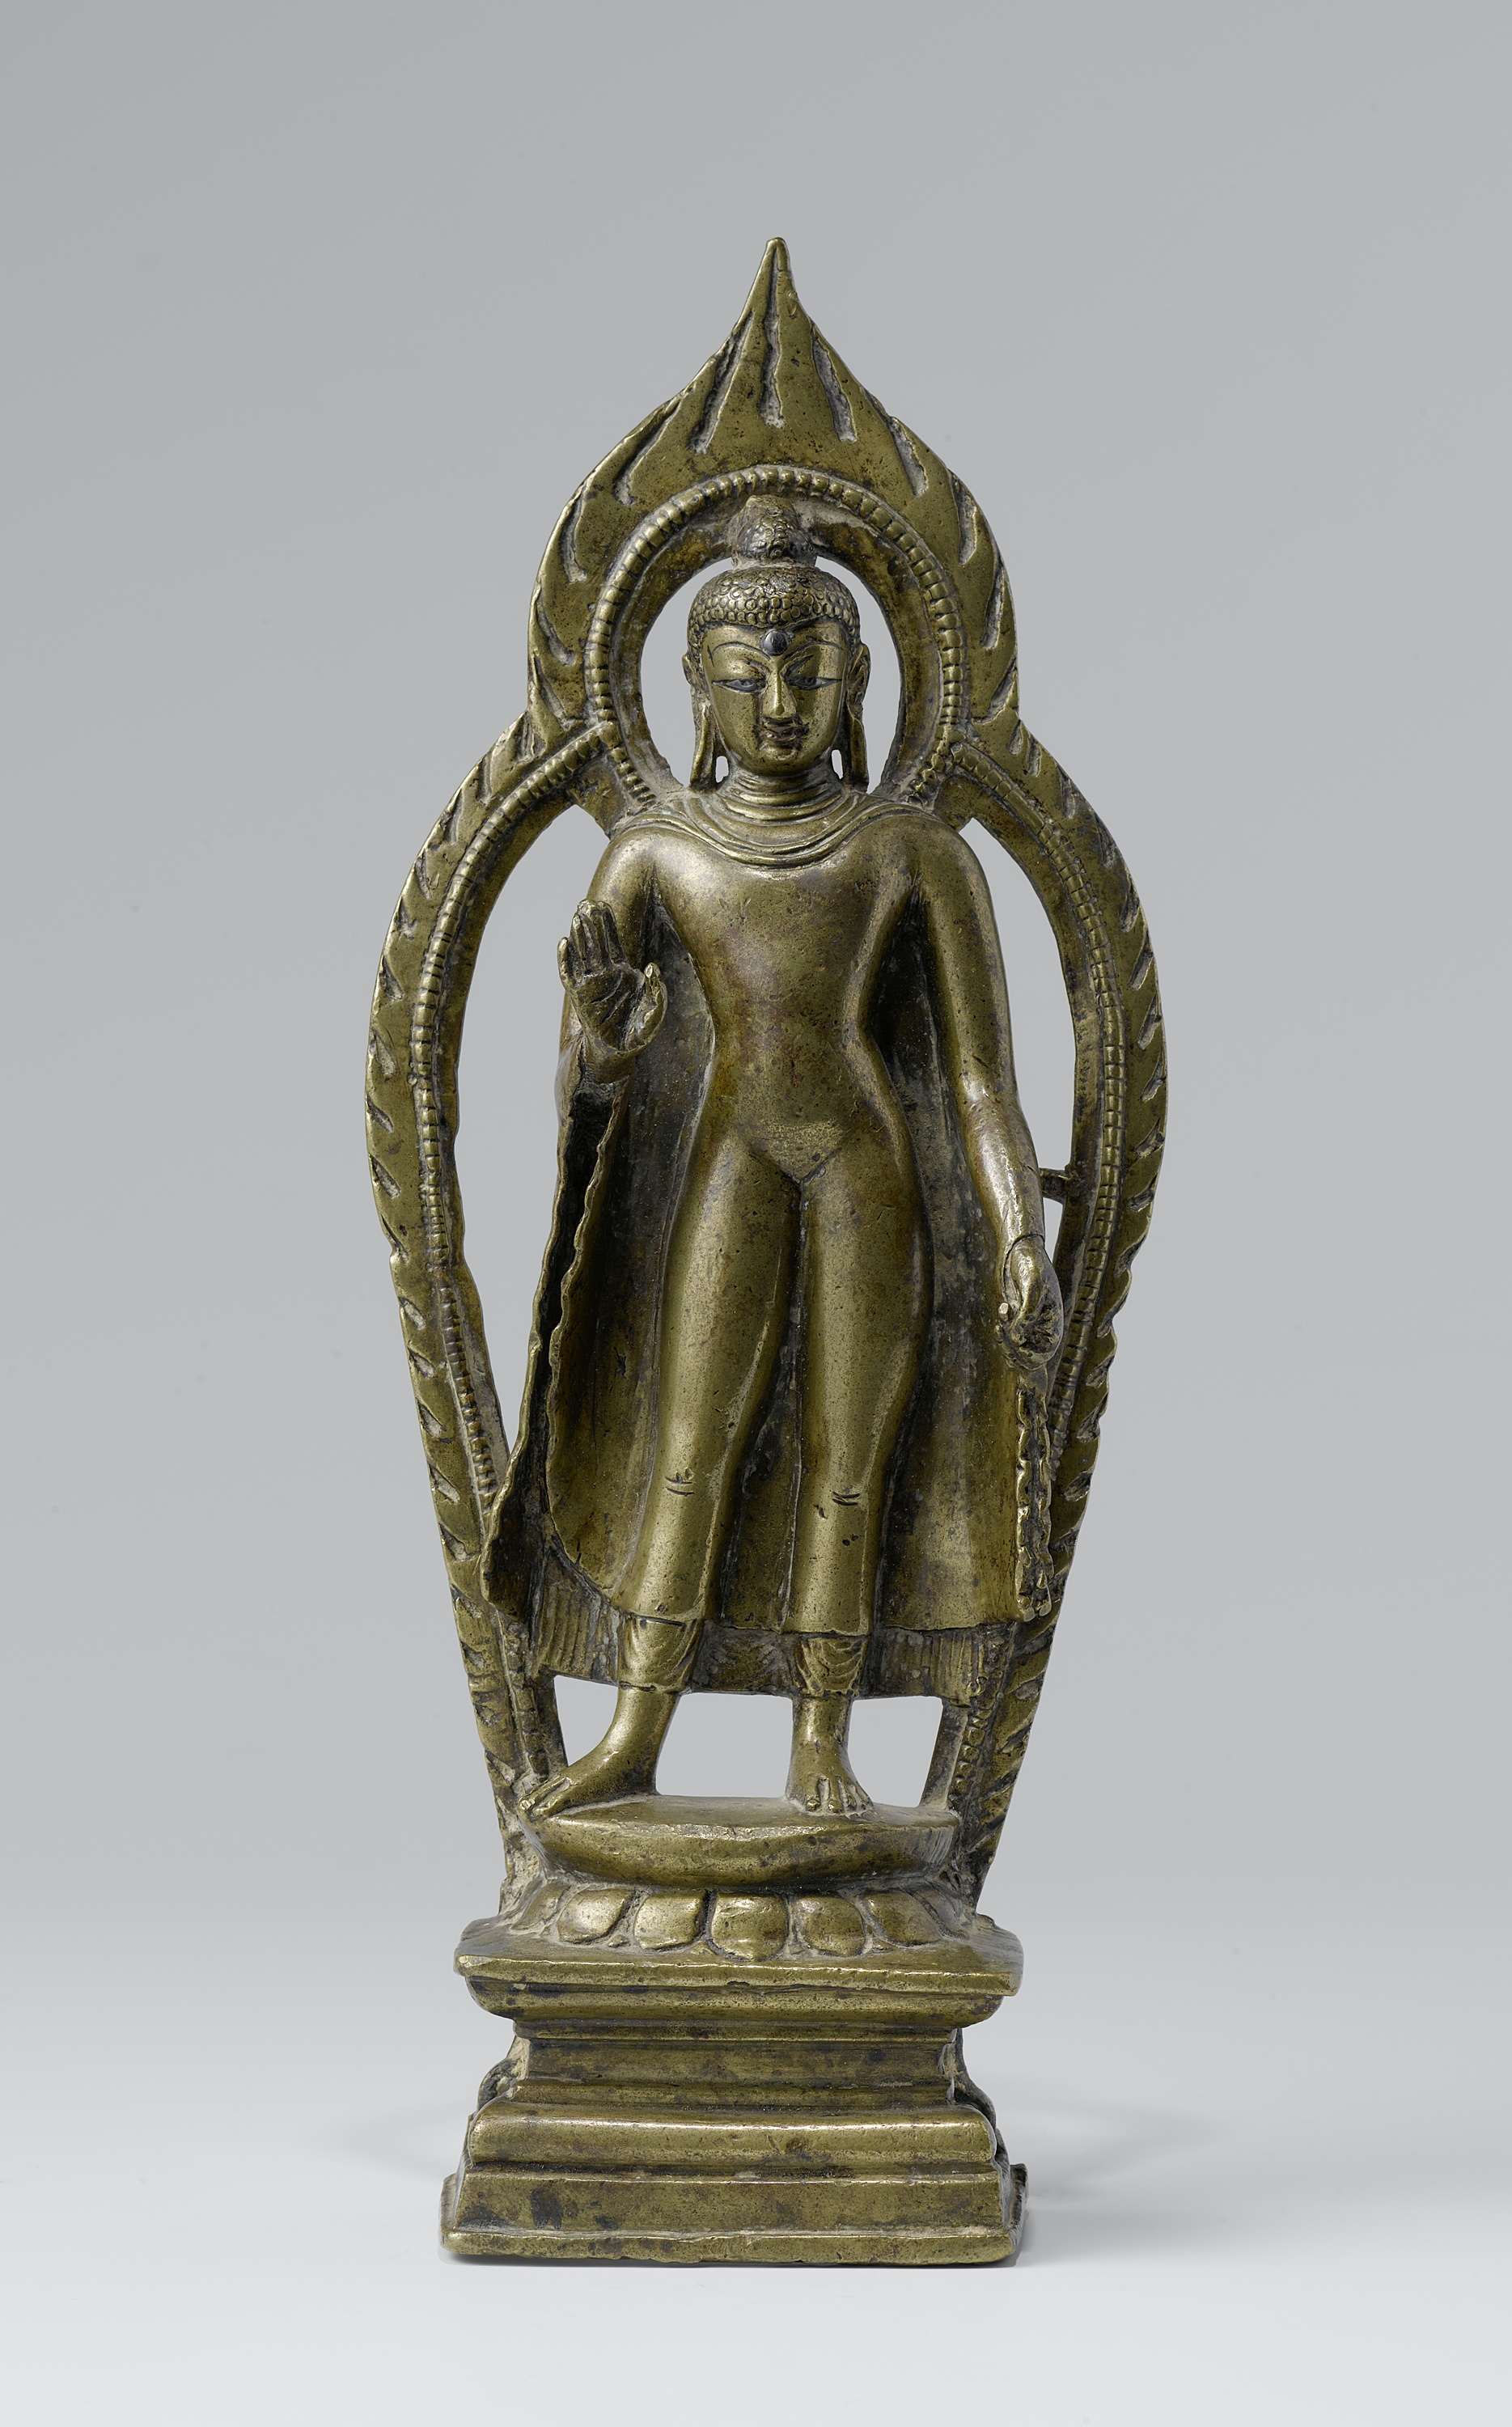
Photo of a small gilt bronze standing Buddha figure on a stepped base with a lotus pedestal. A flame-shaped arch with a beaded inner ring surrounds the figure, which has its right hand raised in a gesture of reassurance and holds a cloth edge in the left hand.Sculpture

Secondary source

Buddha sculpture in Kashmir style

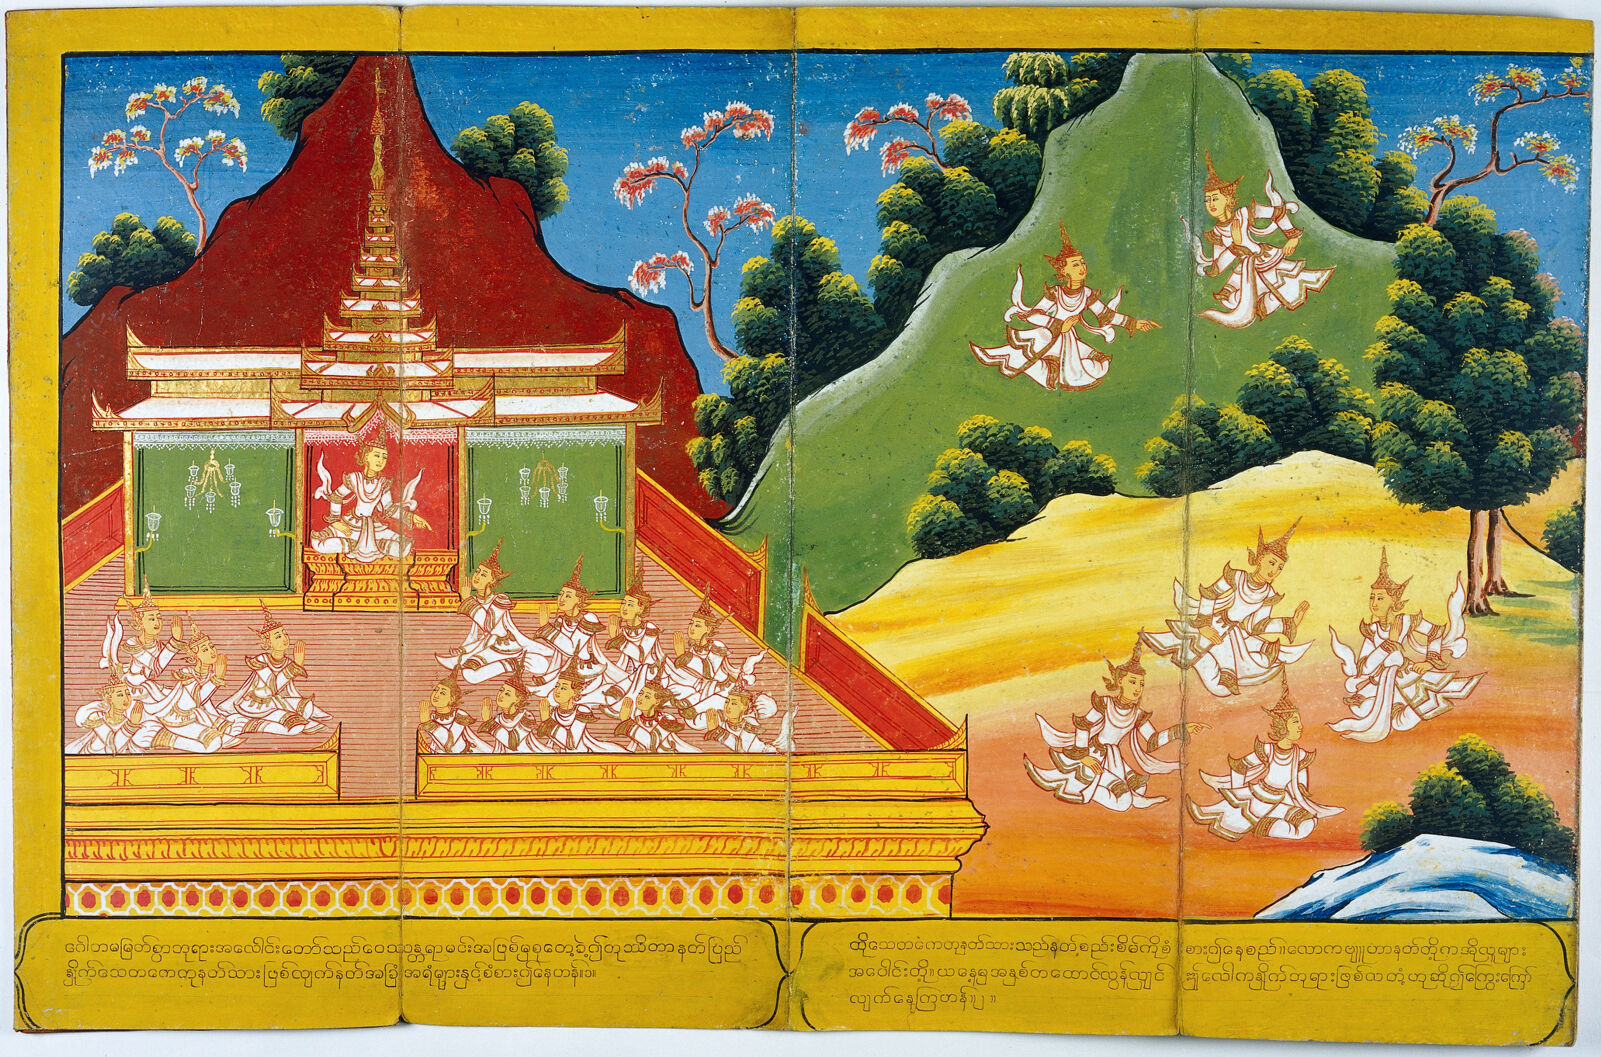
A painted manuscript page in Burmese style with a yellow border and Myanmar script text panels below. On the left, a golden pavilion with a tiered spire holds a seated figure surrounded by kneeling, palms-together figures on a terrace. On the right, flying white-robed celestial figures with tall crowns descend over a green mountain and yellow hill with trees.Painting

Secondary source

Devas Announce the Coming of a Buddha

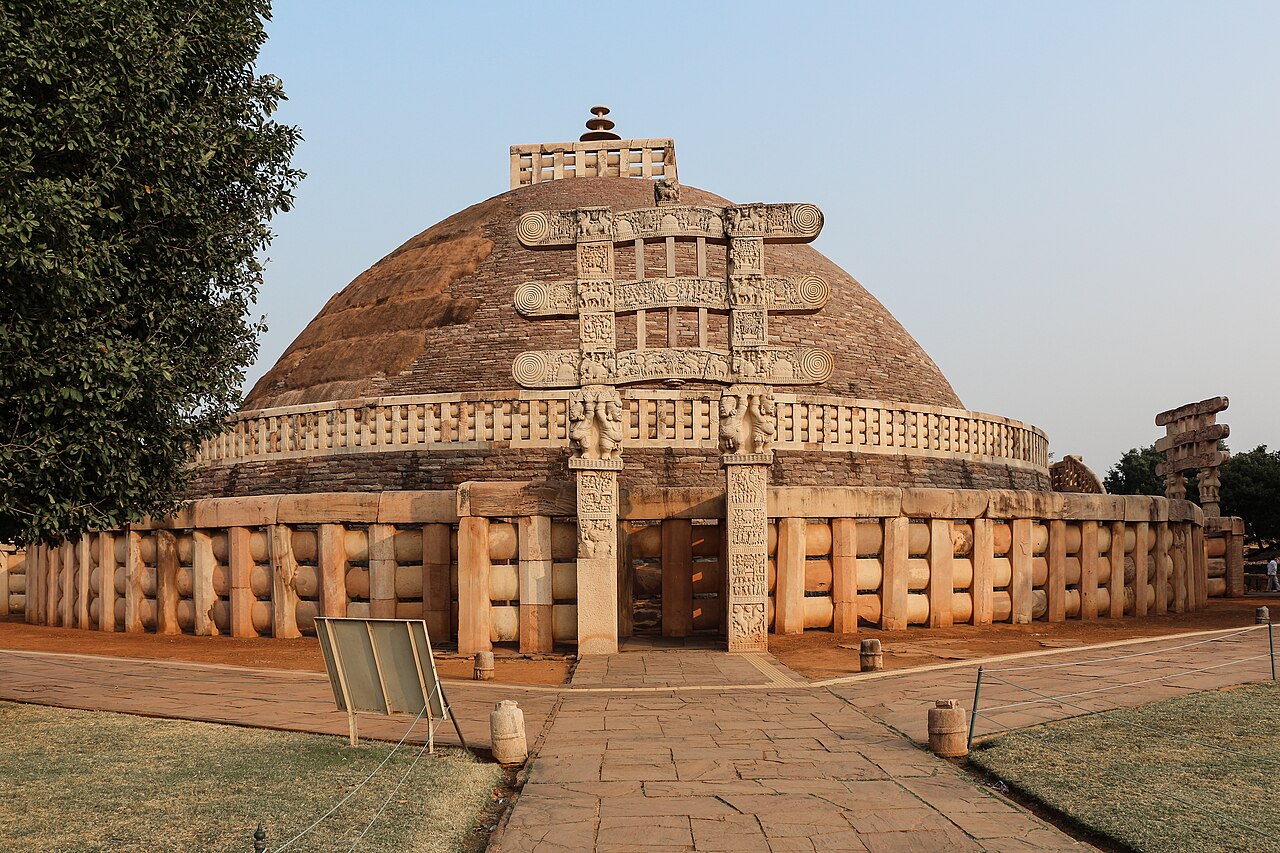
Great Stupa at Sanchi: a large brick dome with a stone railing and carved gateway, the west torana, with a stone pillar and tree at left, under a clear sky.Artifact

Secondary source

Sanchi Stupa

Commissioned by Ashoka · 3rd century BCE onward

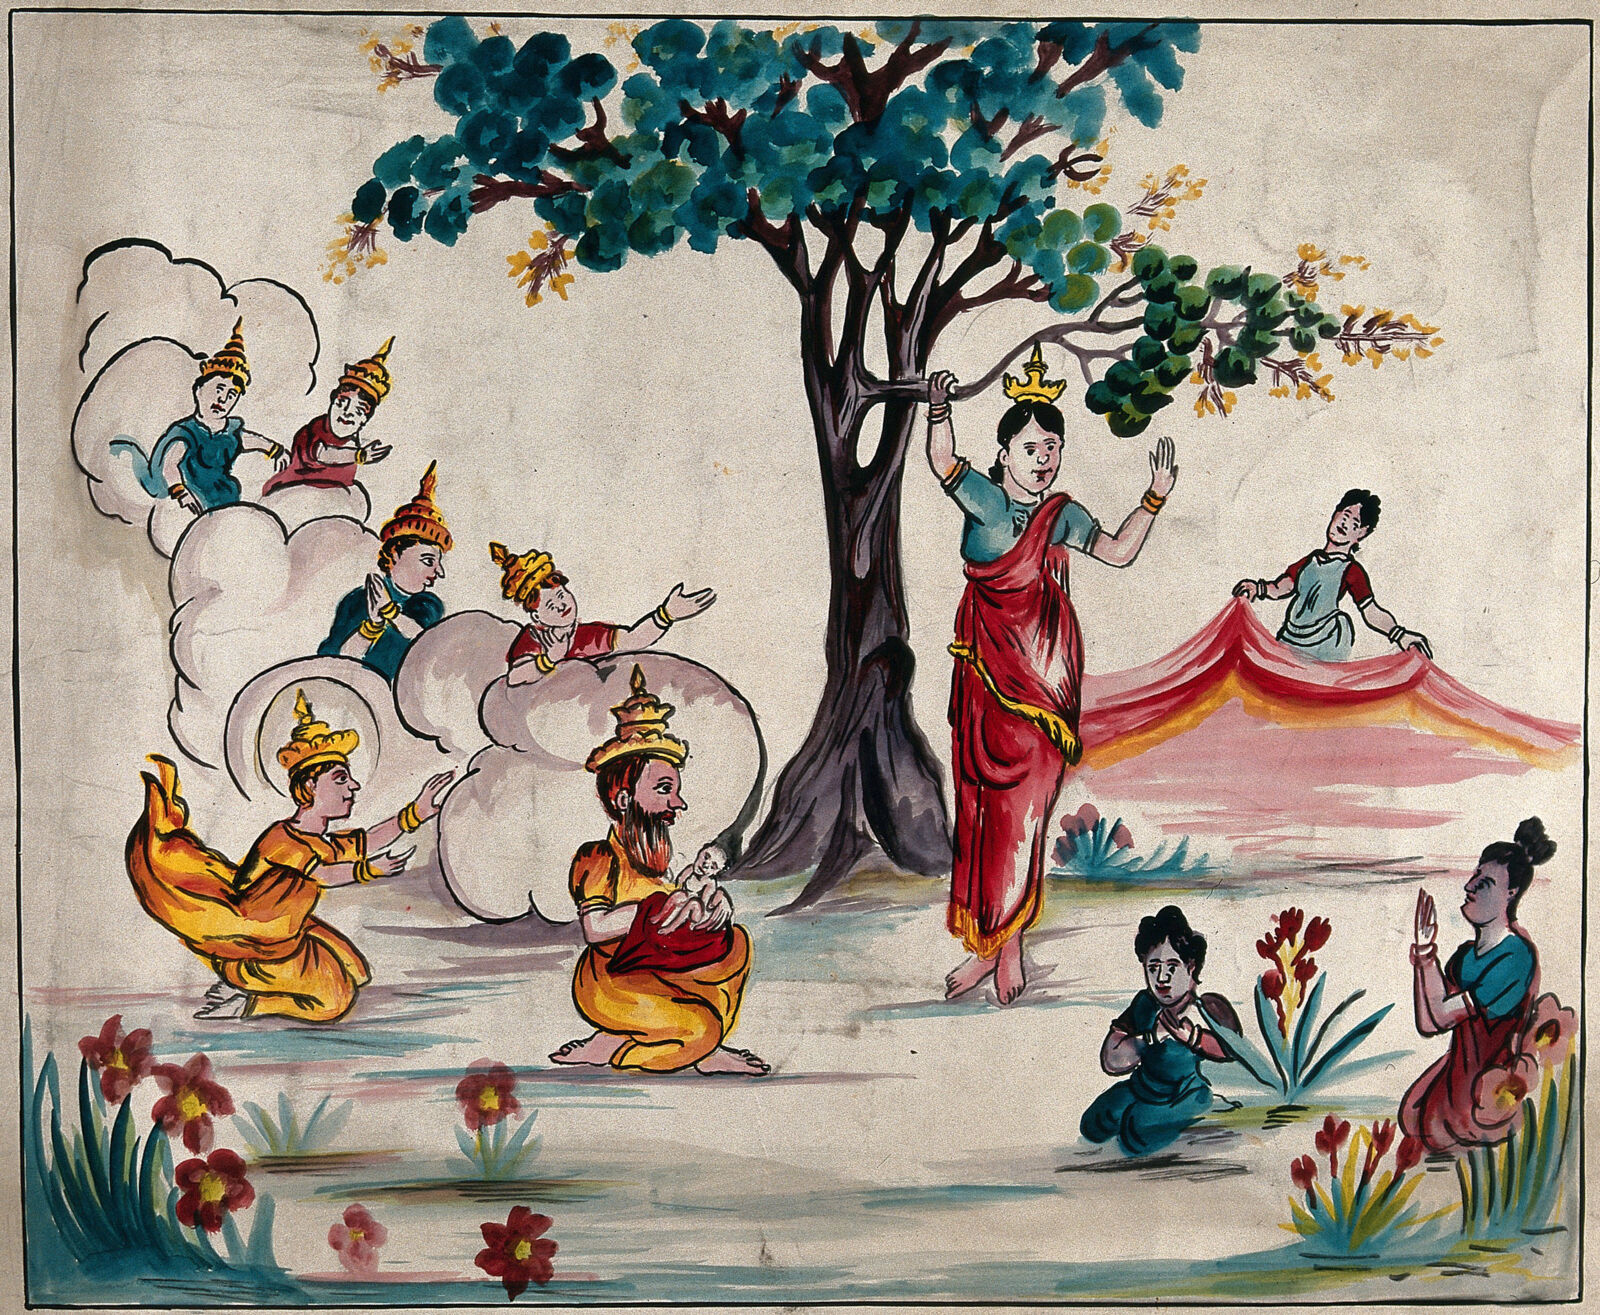
Painting of a crowned woman in a red robe holding a tree branch with one hand and raising the other hand, while a small infant is held by a bearded man in yellow robes kneeling below. Gods in clouds and a figure with a halo kneel nearby, and women in teal and red kneel with hands raised at the right, beside a red cloth held by a figure. Flowers and grass fill the foreground.Painting

Secondary source

The Birth of the Buddha, Queen Maya and Indra

Unknown Sri Lankan artist · between 1800 and 1899

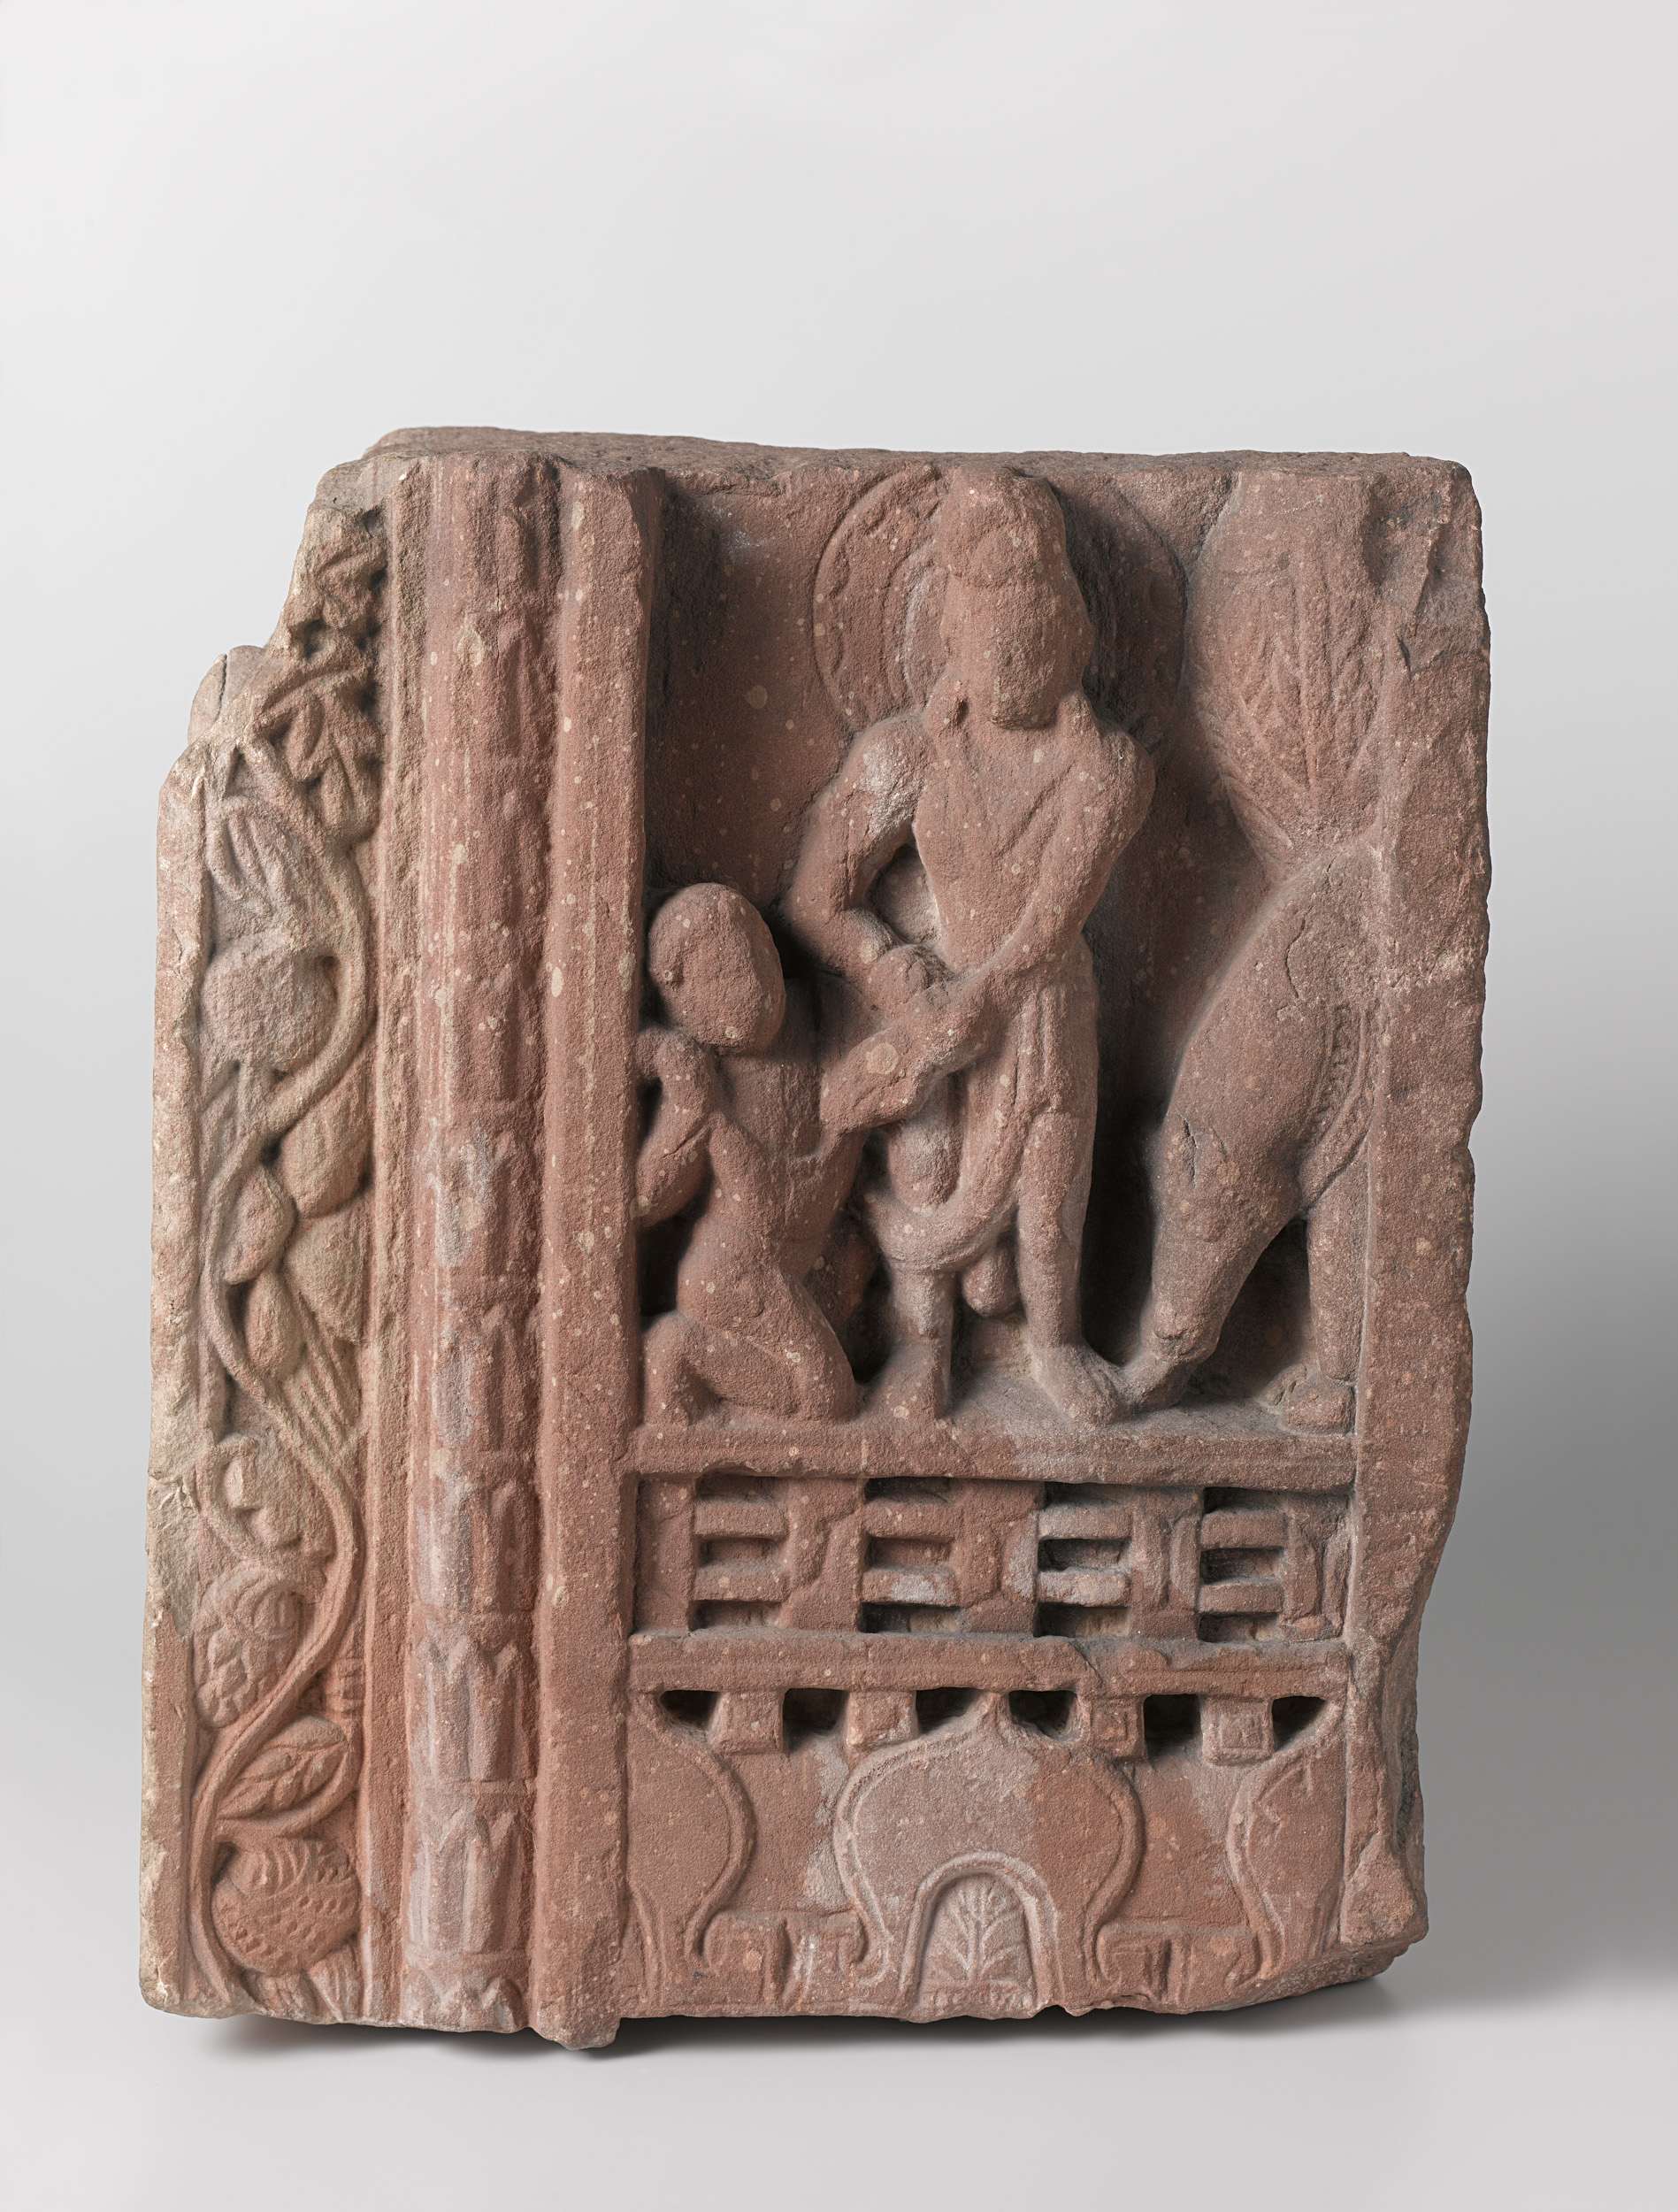
Photograph of a red sandstone carved fragment, a doorpost piece on a grey background. Left side has a vertical column with a foliage vine and buds. Right panel shows a standing male figure with a halo, a kneeling figure, and a small animal, with a lattice-like lower band and an arched niche at the base.Sculpture

Secondary source

Fragment of a doorpost: prince Siddhartha's life scenes

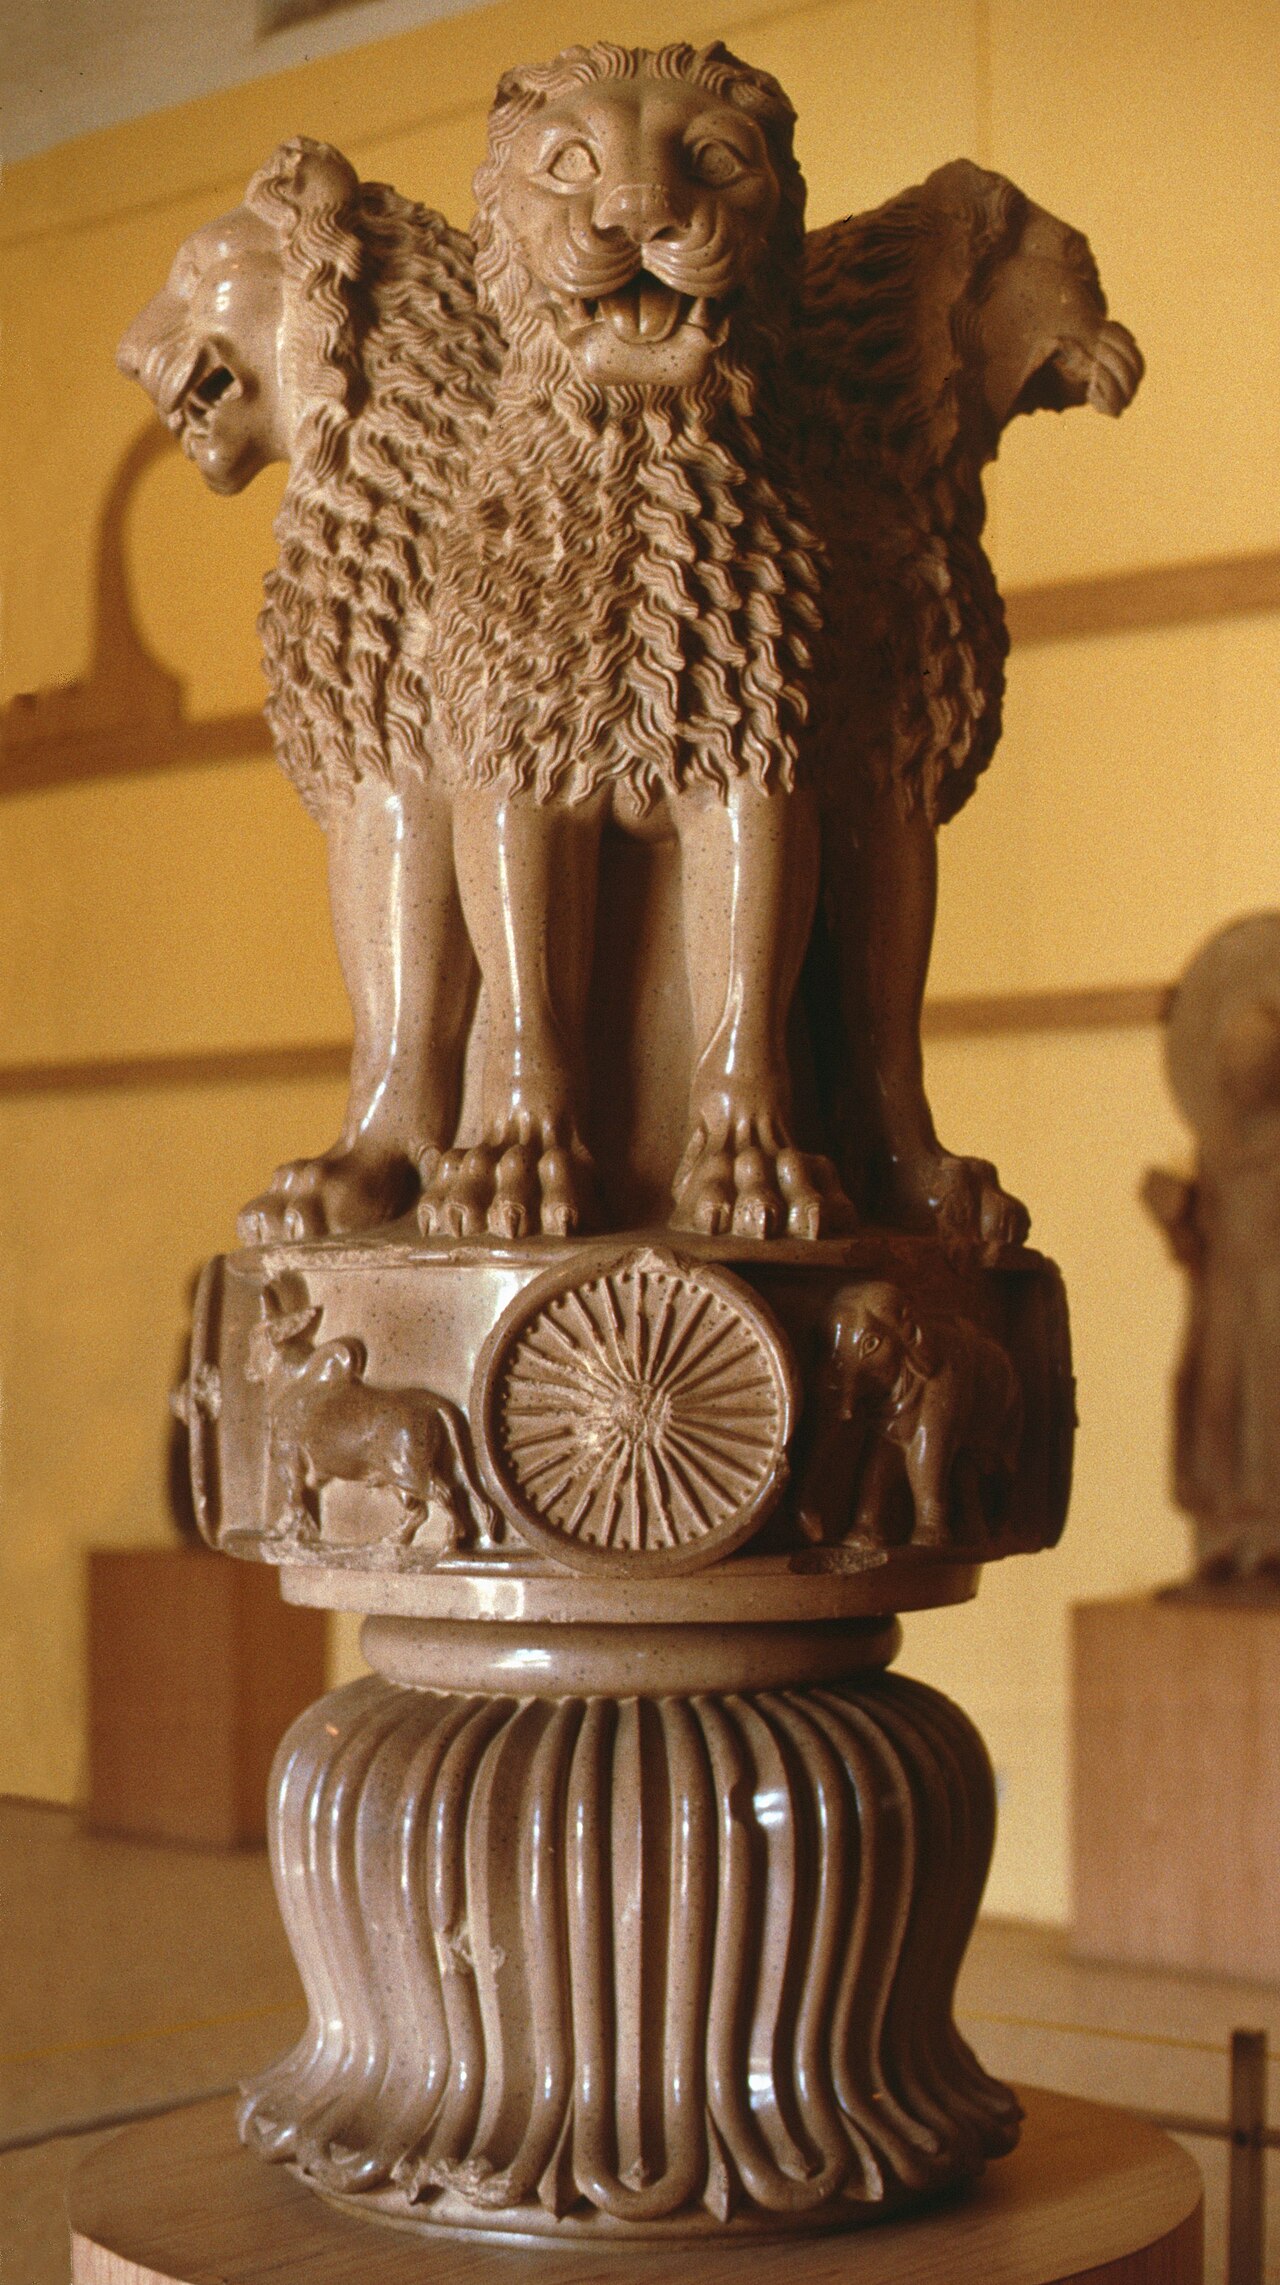
Photo of the Lion Capital of Asoka: four lions stand back to back atop a carved abacus with a wheel, elephant, horse and bull reliefs, over a bell-shaped base with fluted petals, in a museum with yellow walls.Sculpture

Secondary source

Lion Capital of Ashoka

Commissioned by Ashoka · c. 250 BCE

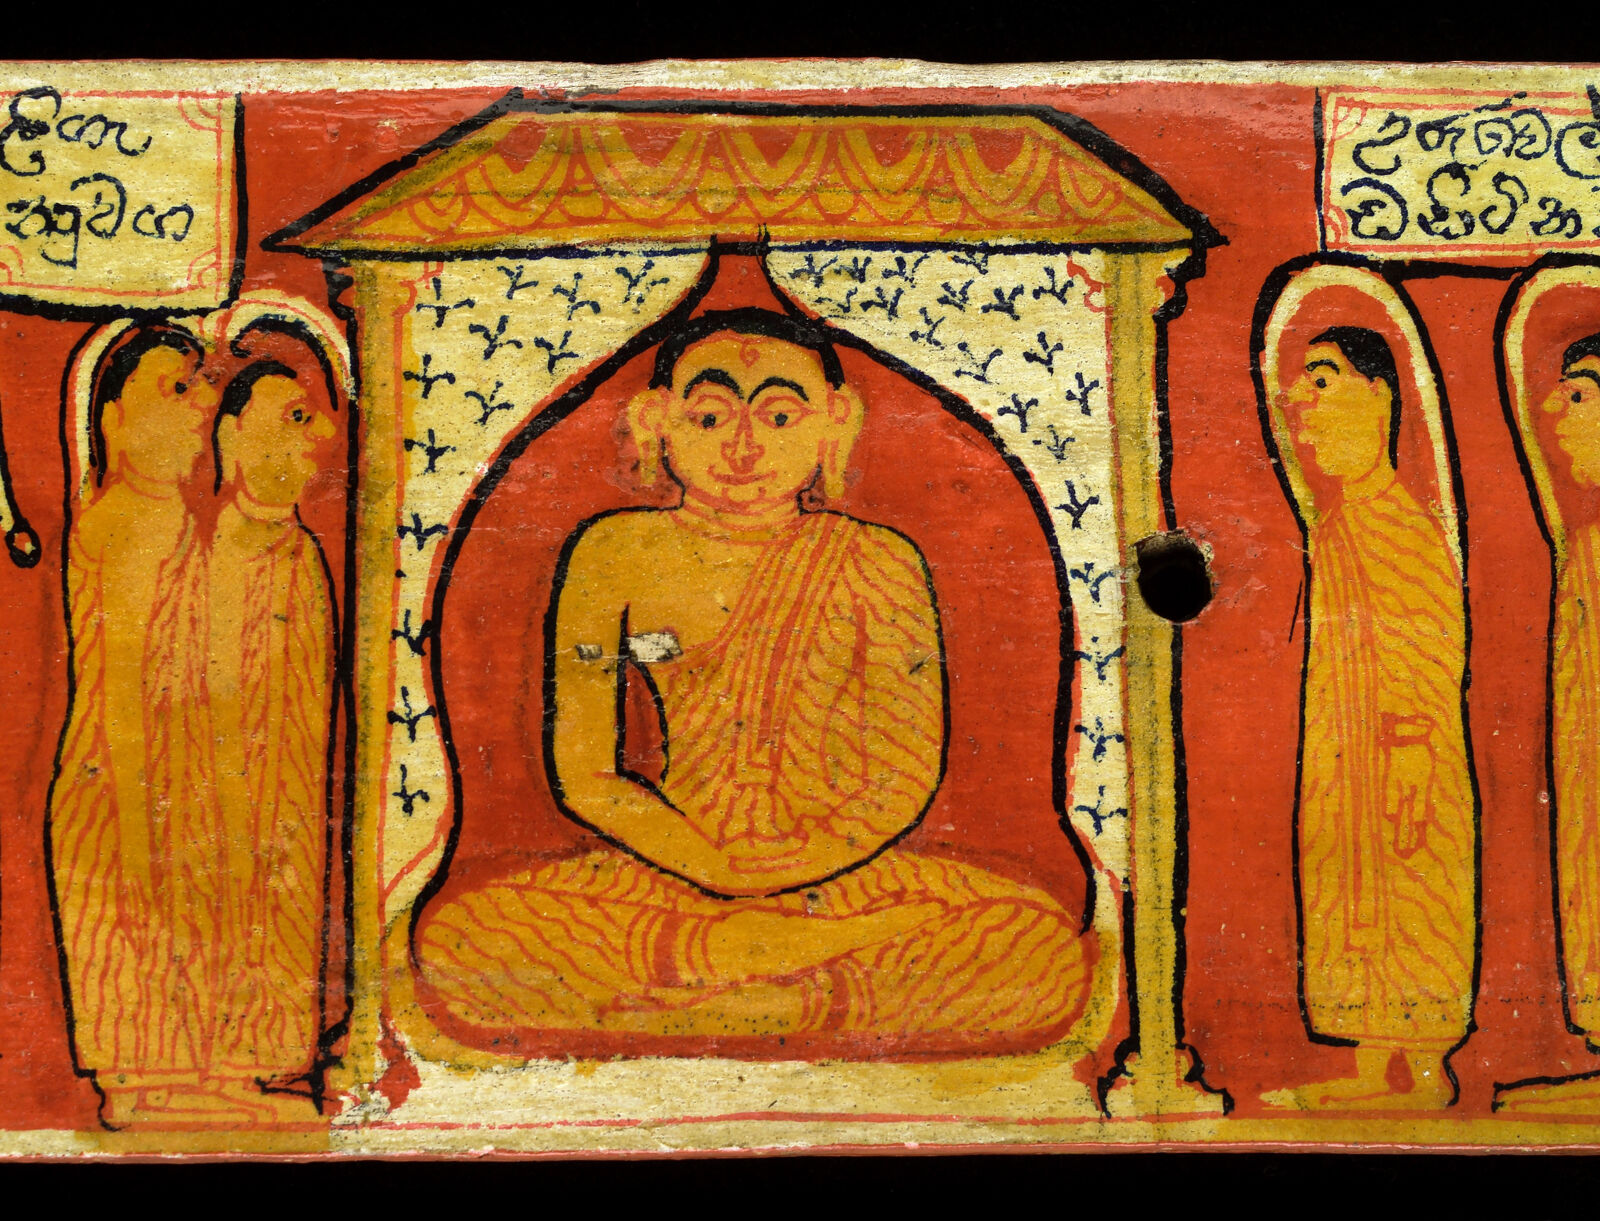
Painted wooden manuscript cover panel in red, yellow and black, showing a seated yellow-robed figure with a small mark on the forehead under a pavilion canopy, flanked by standing figures and Sinhalese script in cartouches.Artifact

Secondary source

Illustrated Sinhalese Manuscript Covers: Renunciation and First Teaching

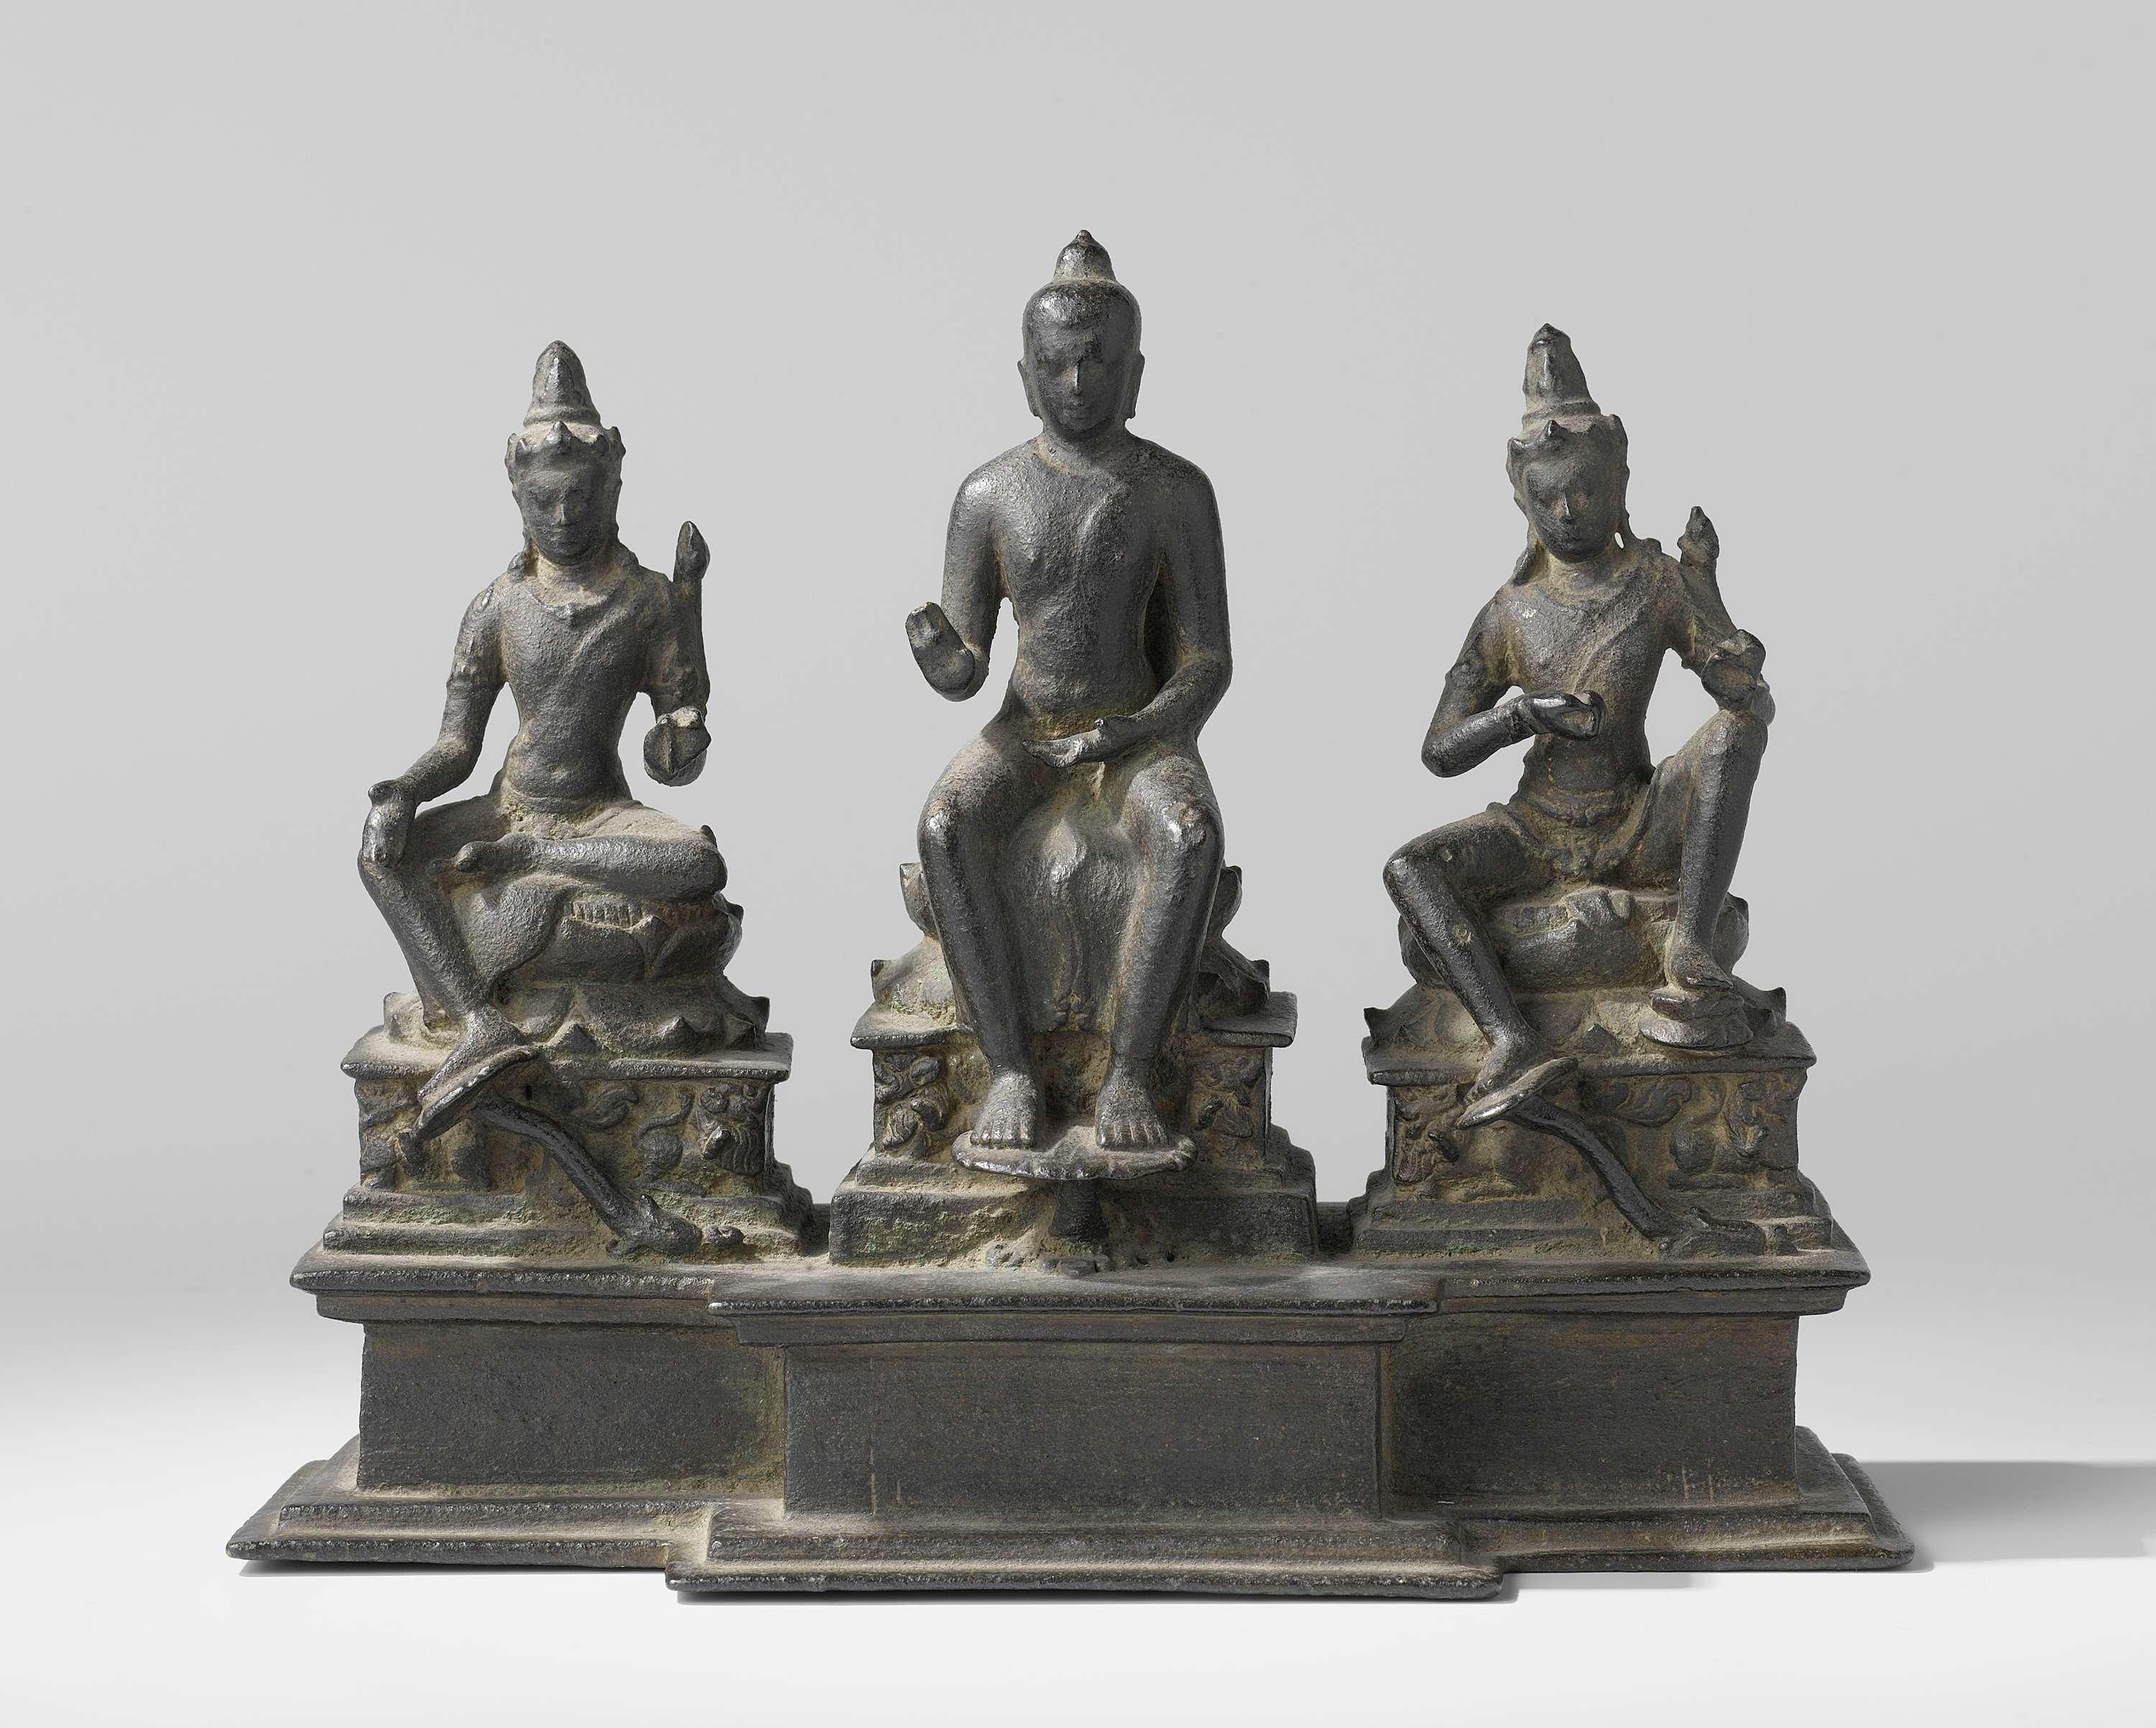
Dark bronze sculpture of three seated figures on a tiered base. A central seated Buddha with raised right hand and flame-topped hair is flanked by two seated bodhisattvas wearing crowns and jewelry, each on a lotus pedestal. Plain grey background.Sculpture

Secondary source

The Buddha between two bodhisattvas

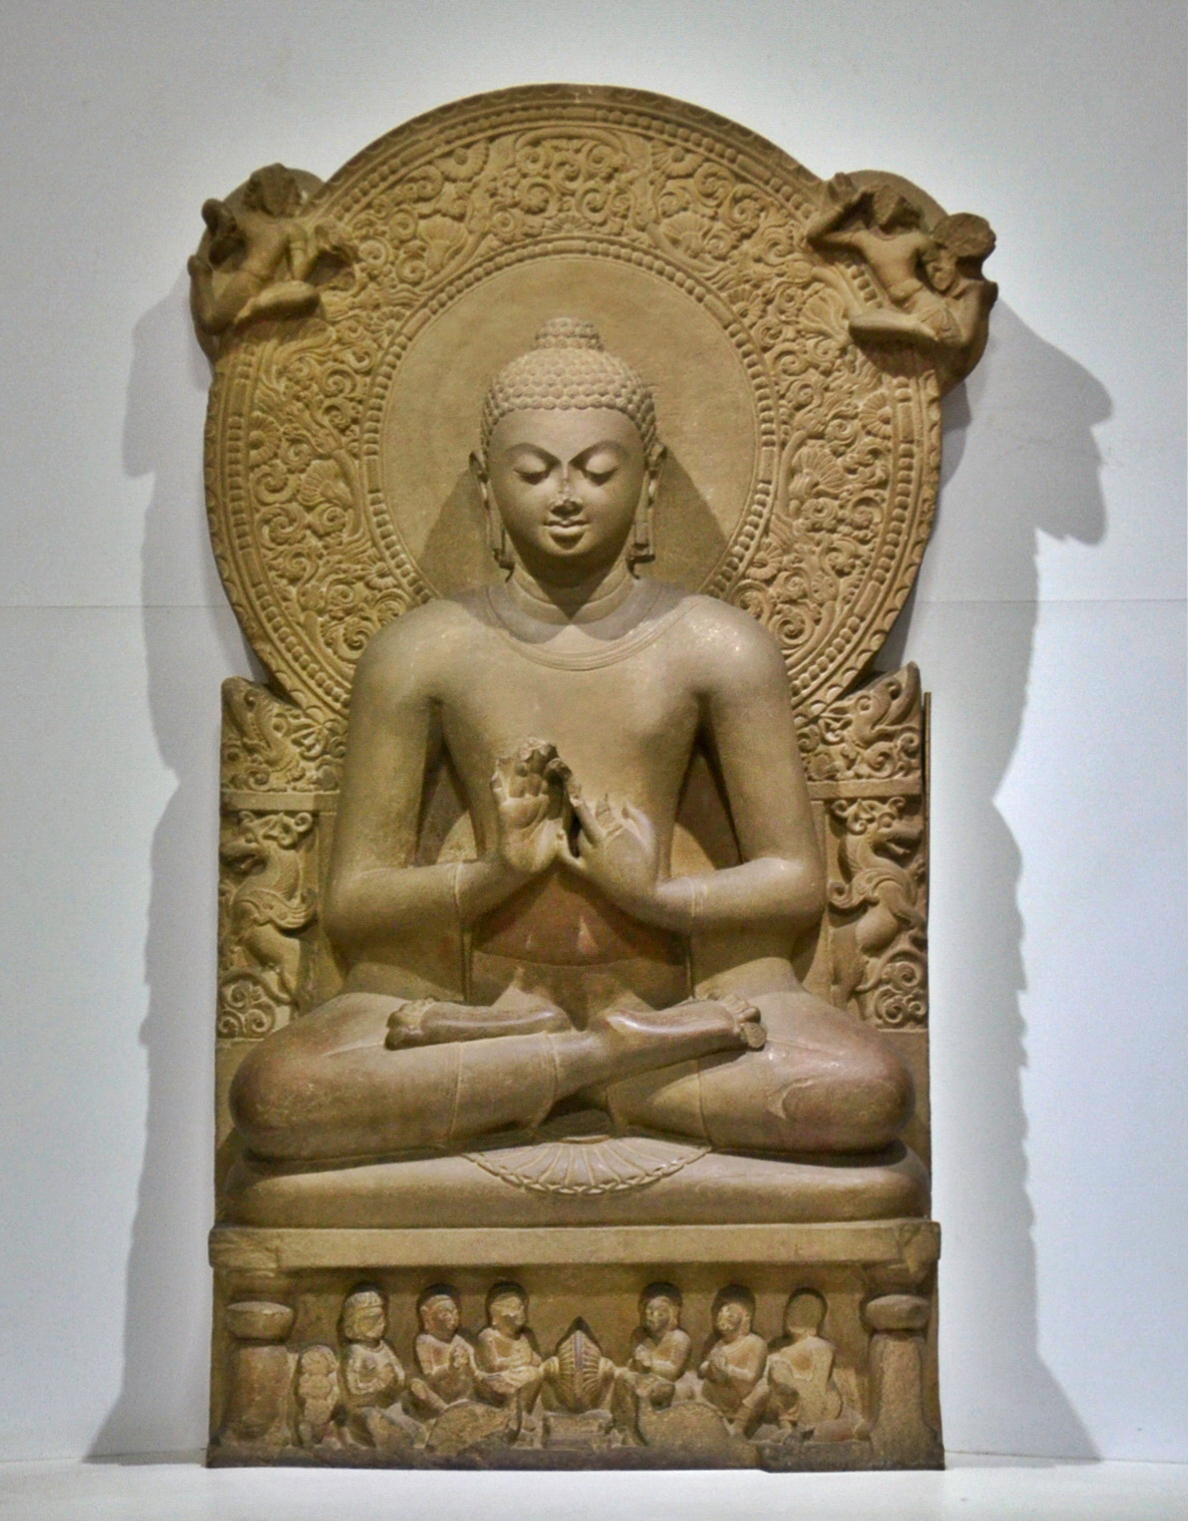
Seated sandstone Buddha statue with eyes lowered, hands in teaching gesture at chest, legs crossed, under a carved arched halo with flying figures at top and a relief of seated figures on the base.Sculpture

Secondary source

Buddha Preaching his First Sermon

Unknown, Sarnath school · c. 475 CE

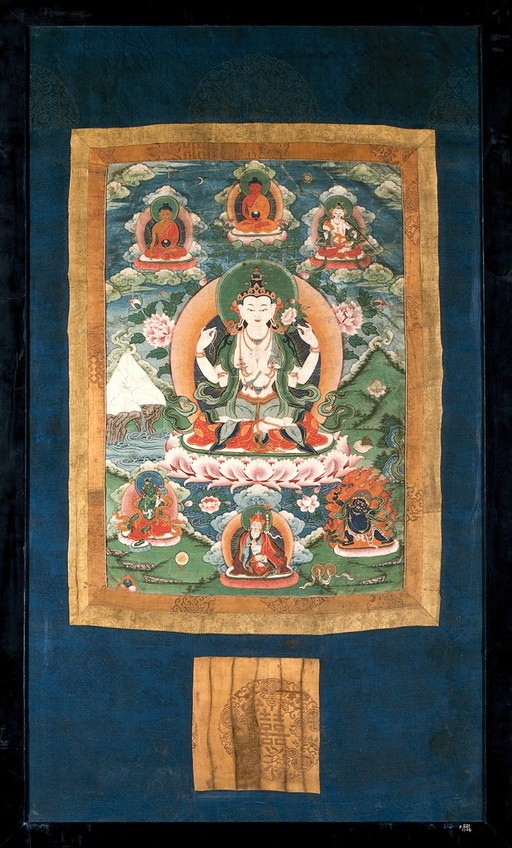
A framed Tibetan-style thangka painting of a central white four-armed Buddha seated on a lotus, surrounded by smaller seated Buddhas in clouds, lotuses, and fierce guardian figures, with a gold brocade border and a blue mount.Painting

Secondary source

The Buddha, gouache painting

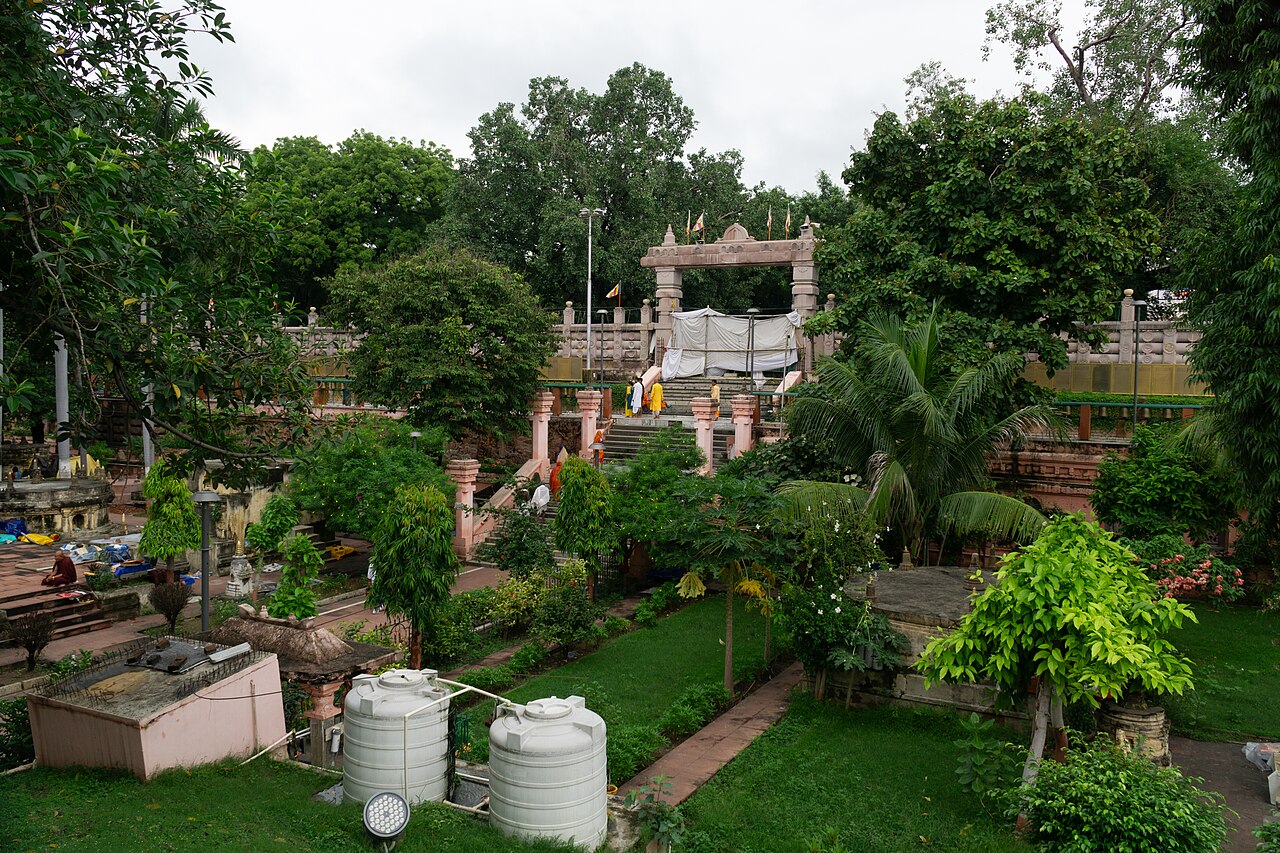
A green garden courtyard with lawns, paths, and trees in a temple complex. In the background, a stone gateway with small flags and a set of steps lead up toward a pale tent-like covering. Monks in orange and saffron robes stand near the steps. Two white water tanks and a small pink-walled structure sit in the foreground, and a palm tree stands to the right.Artifact

Secondary source

Mahabodhi Temple

Ashoka (founder); Gupta period builders (present structure) · 3rd century BCE; rebuilt 5th-6th century CE

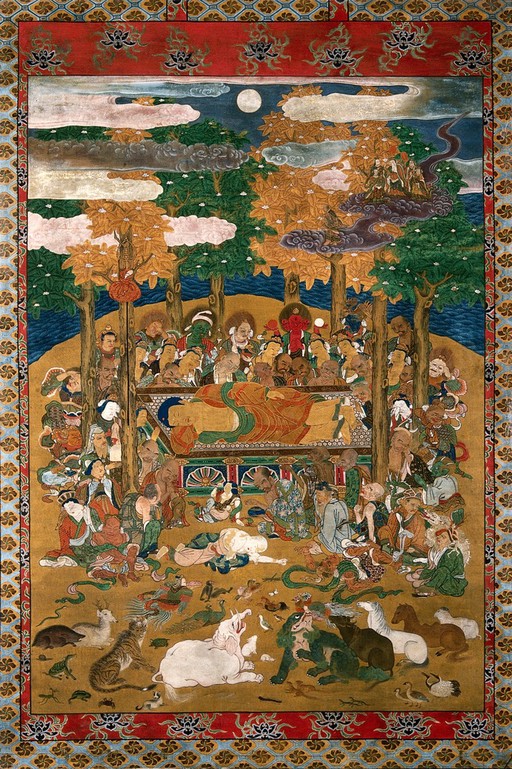
A painted scroll of the Buddha's death: the Buddha reclines on a raised bier under orange-leafed trees beneath a full moon, surrounded by mourning monks, figures, and animals in the foreground.Painting

Secondary source

Death of the Buddha

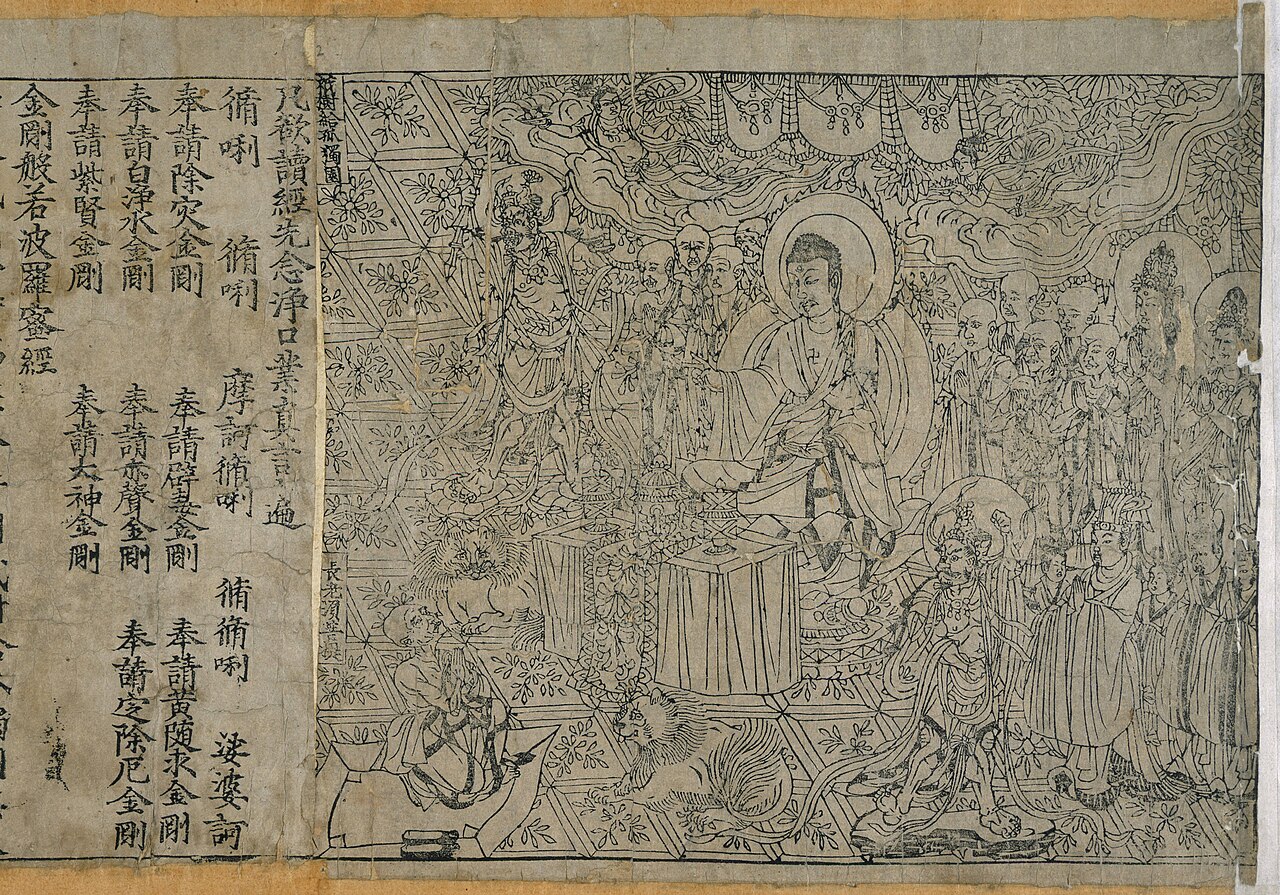
Frontispiece woodblock print of the Diamond Sutra. A seated Buddha with a halo sits center-right at a draped altar with incense, surrounded by monks, bodhisattvas, and attendants in a flowered, canopied setting. Columns of Chinese characters run down the left side of the scroll.Book

Secondary source

Diamond Sutra

868 CE

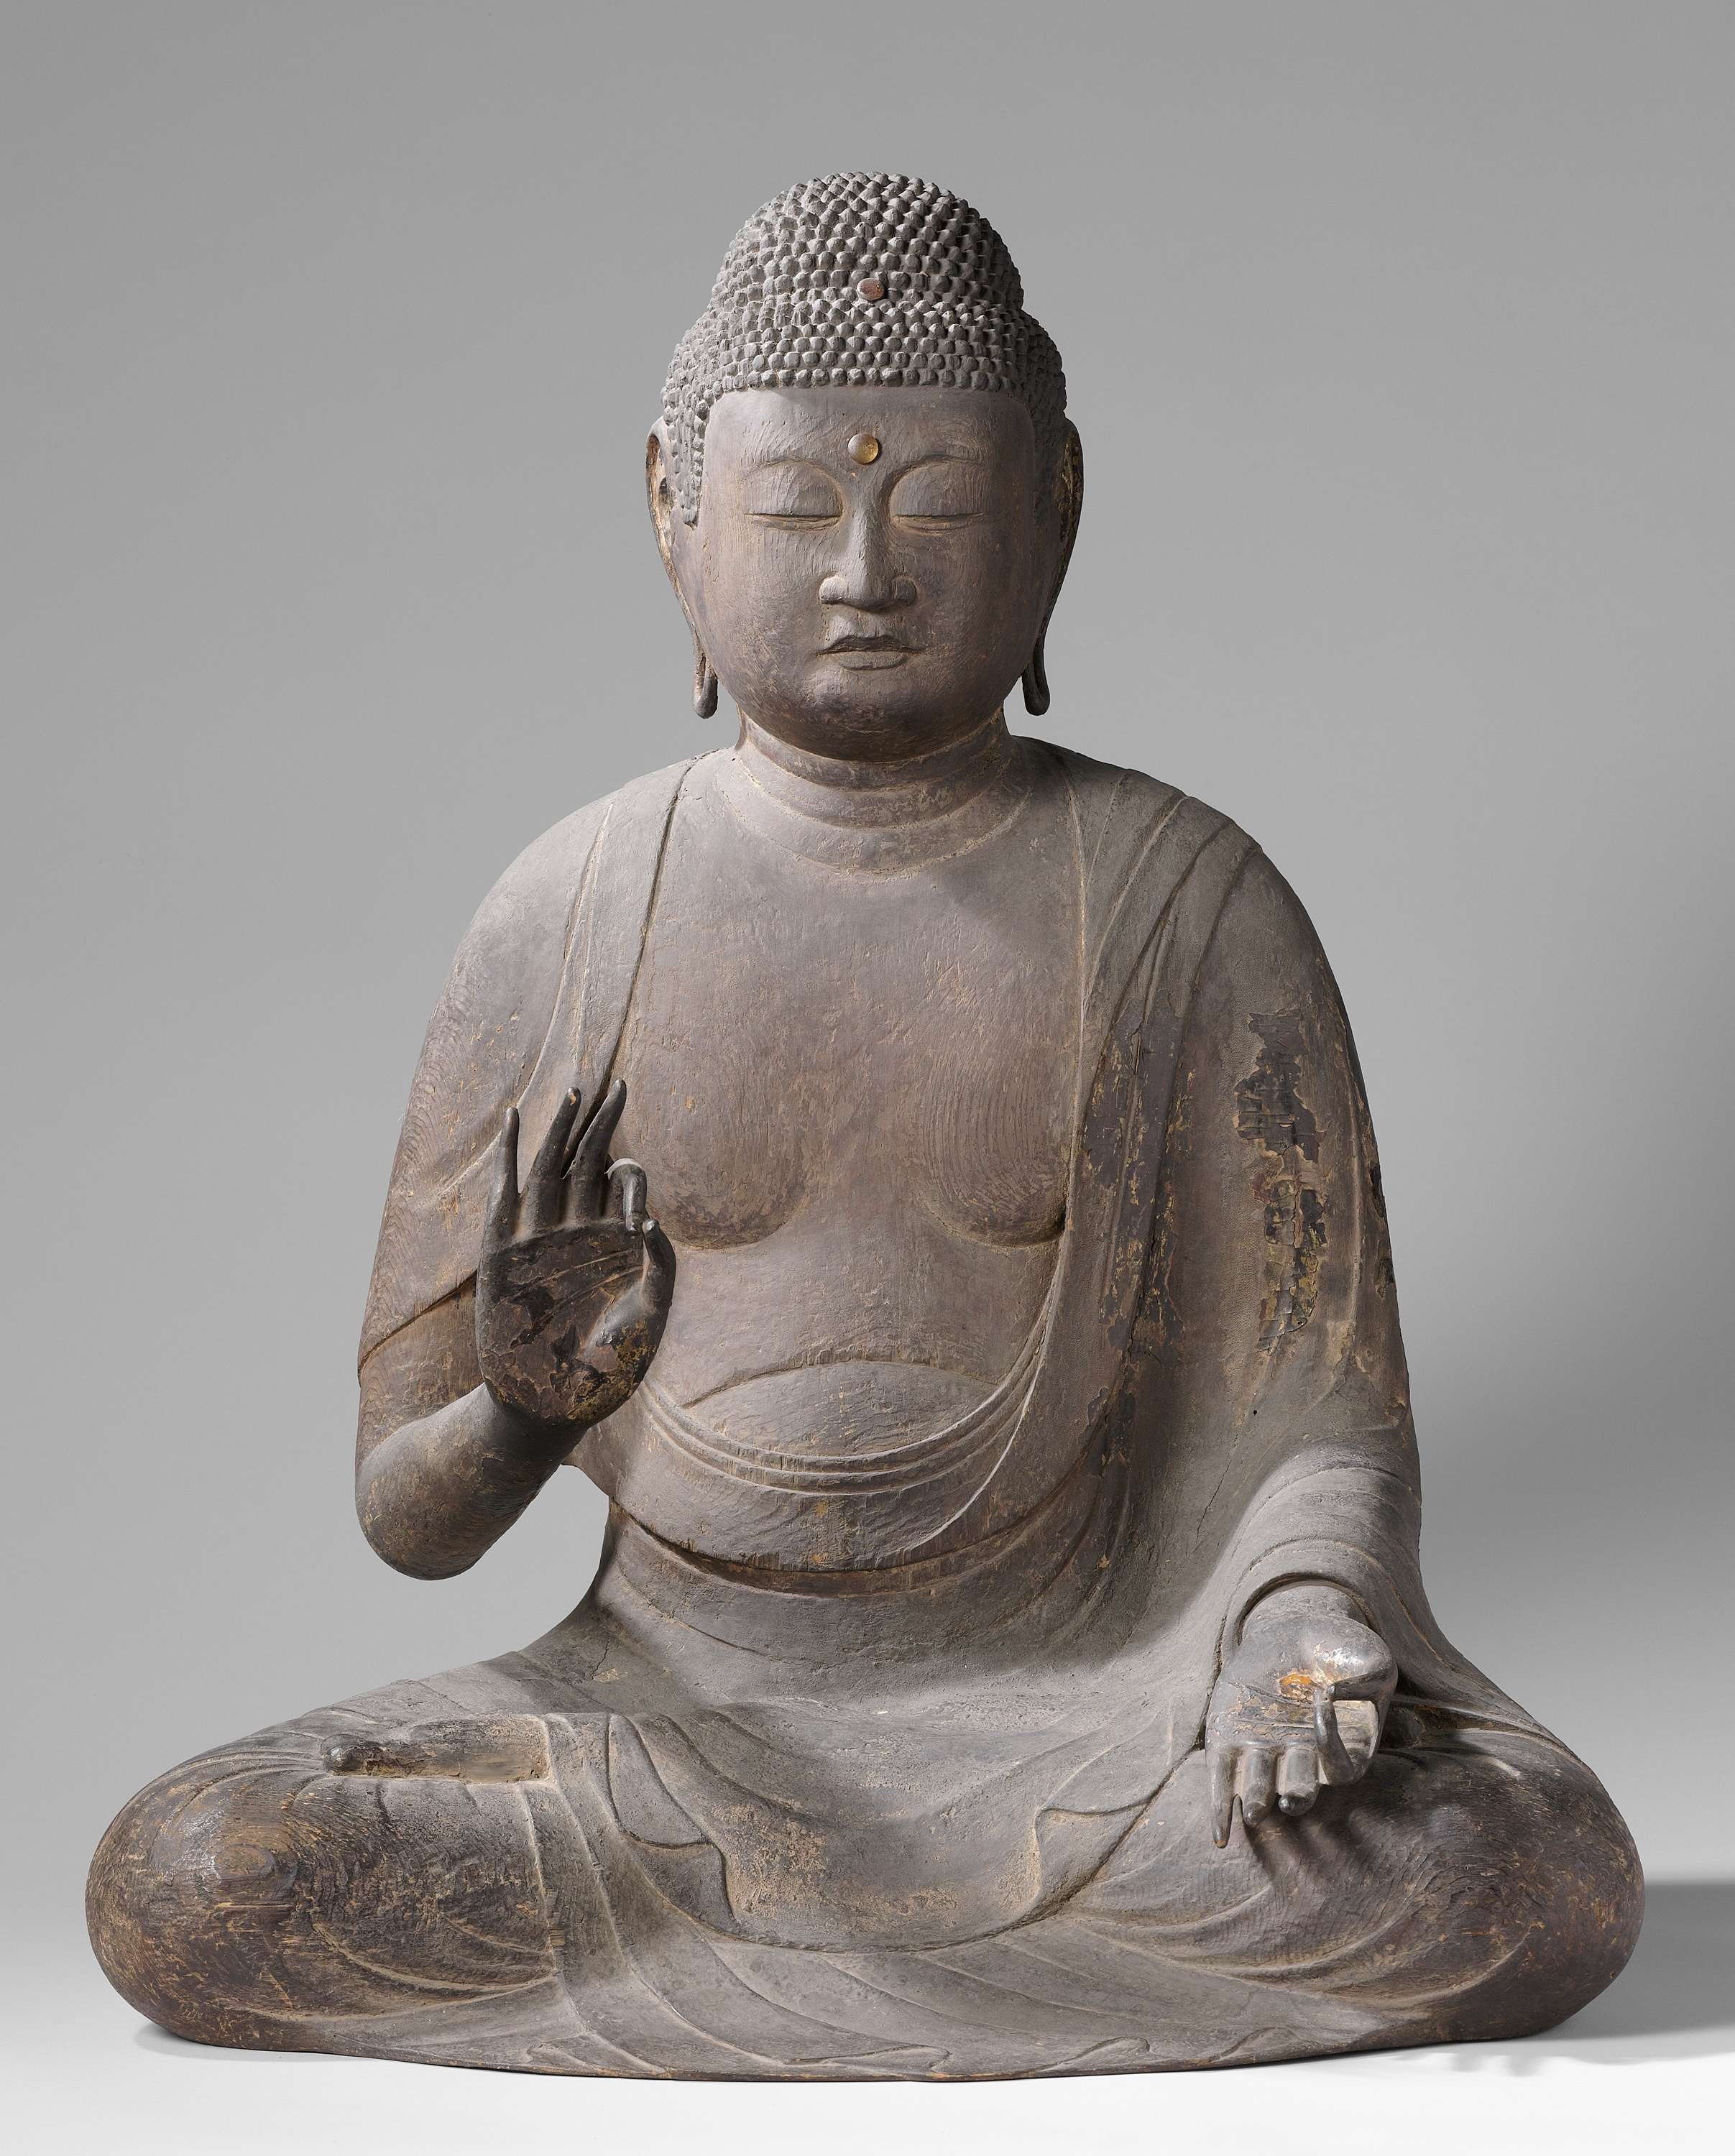
Photograph of a seated wooden Buddha sculpture with a dark, weathered lacquered surface and small metal inlaid eyes-and-urna details. The right hand is raised with palm out, the left rests open in the lap. Plain grey studio background.Sculpture

Secondary source

The Buddha Amida

12th century

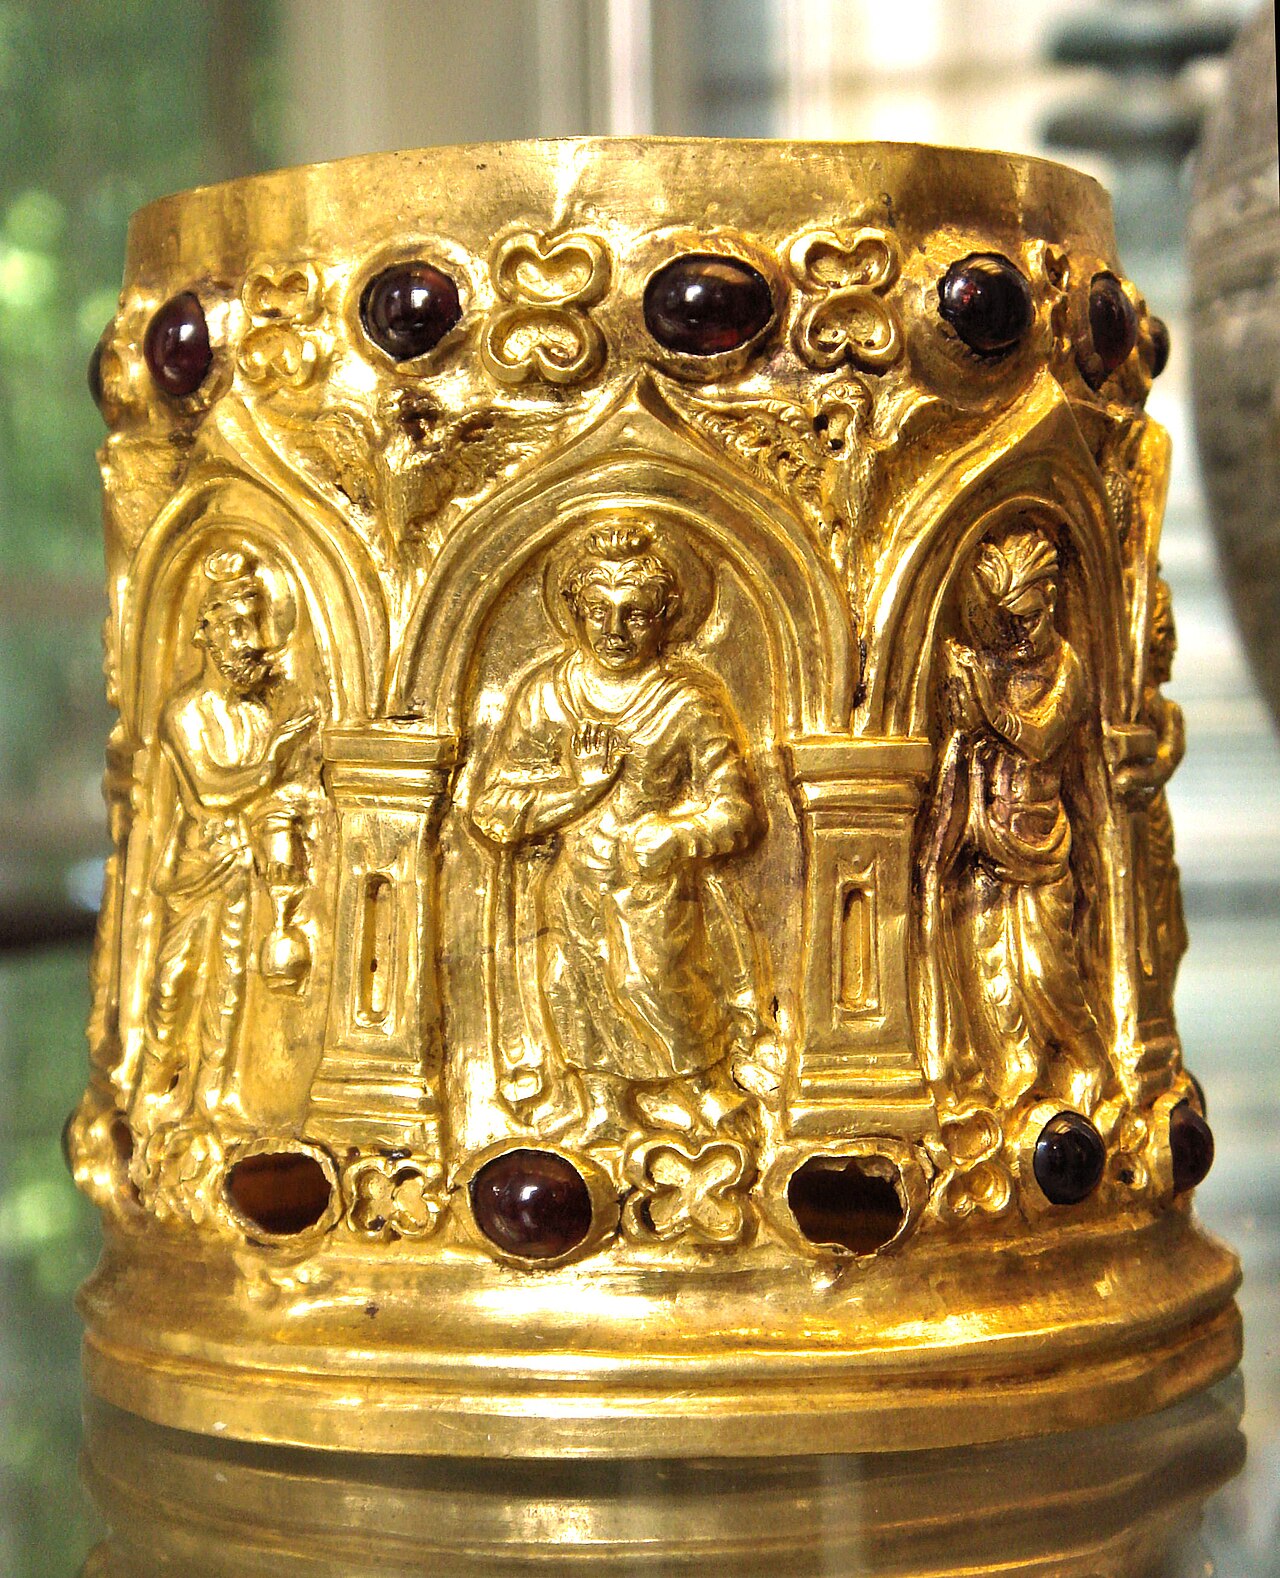
A cylindrical gold reliquary with embossed figures standing in arched niches around its side, separated by small columns. Red garnet cabochons and flat garnet-set panels alternate with gold floral motifs along the top and bottom rims. Shown on a glass surface.Artifact

Primary source

Bimaran Casket

1st century CE

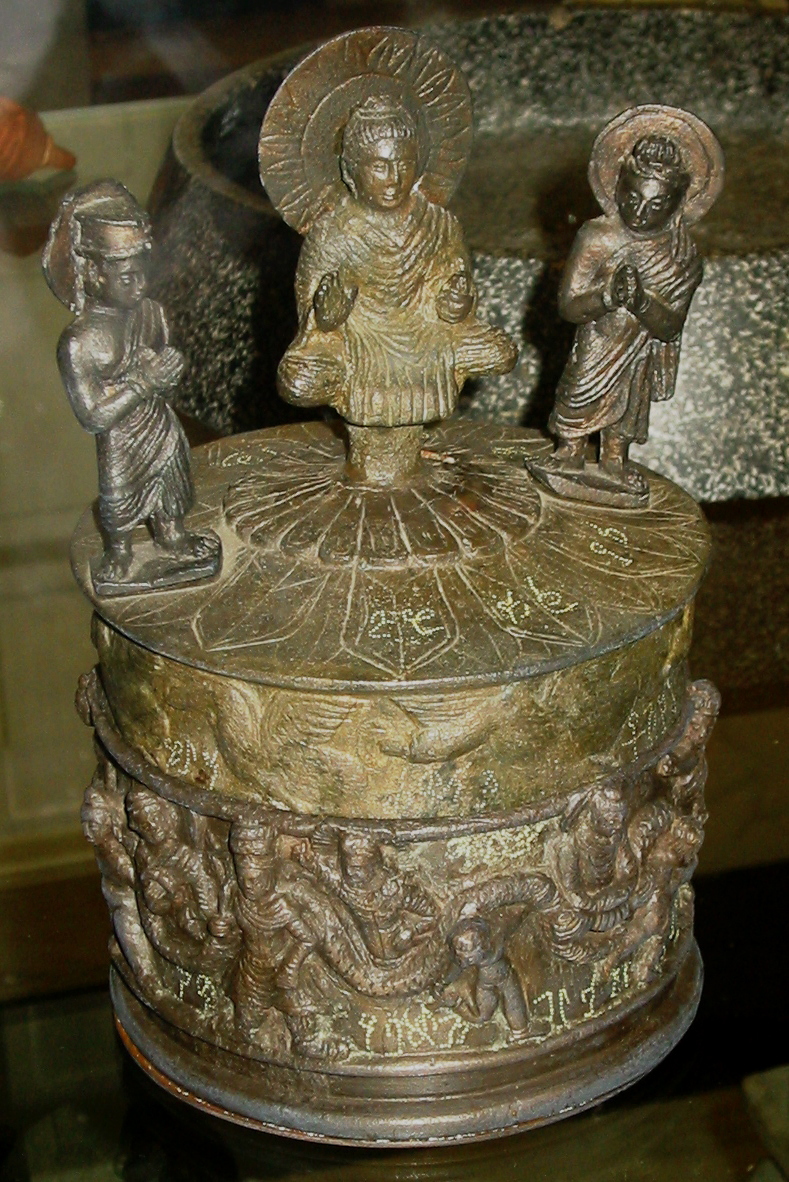
A cylindrical bronze reliquary casket with a domed lid topped by a seated Buddha figure with a halo, flanked by two standing devotee figures with raised hands. The sides show carved figures and scrolling reliefs with inscriptions.Artifact

Secondary source

Kanishka Casket

127 CE

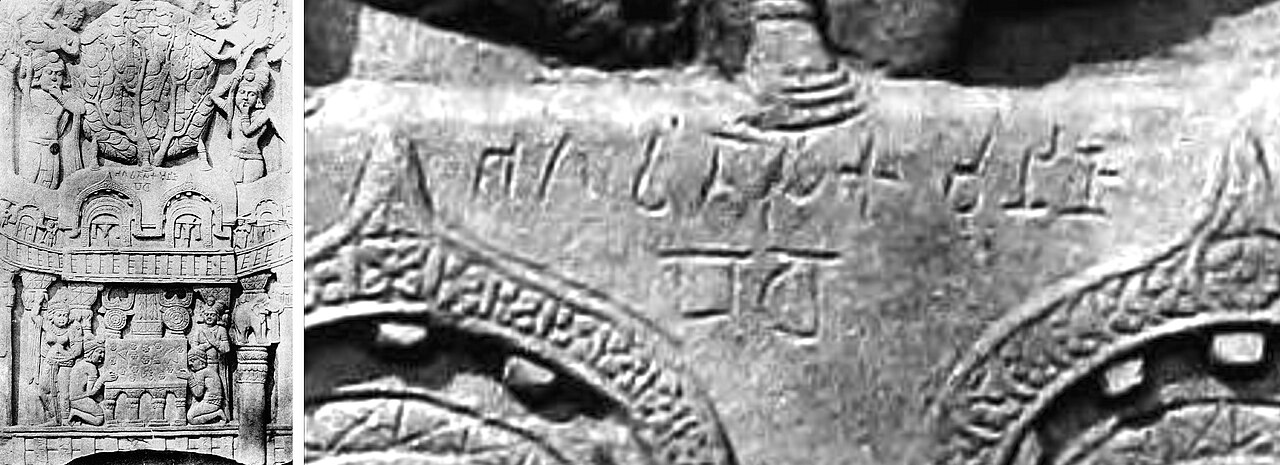
Left: a carved stone relief panel with a tree, a railing-like structure, and figures in an architectural frame. Right: a close-up of Brahmi script inscription carved on stone, with a small stupa-like finial above and ornamental carving at the edges.Photograph

Secondary source

Bhagavato Sakamunino Bodho Inscription at Bharhut

Alexander Cunningham (photographer) · c. 100 BCE (relief); photograph 19th century

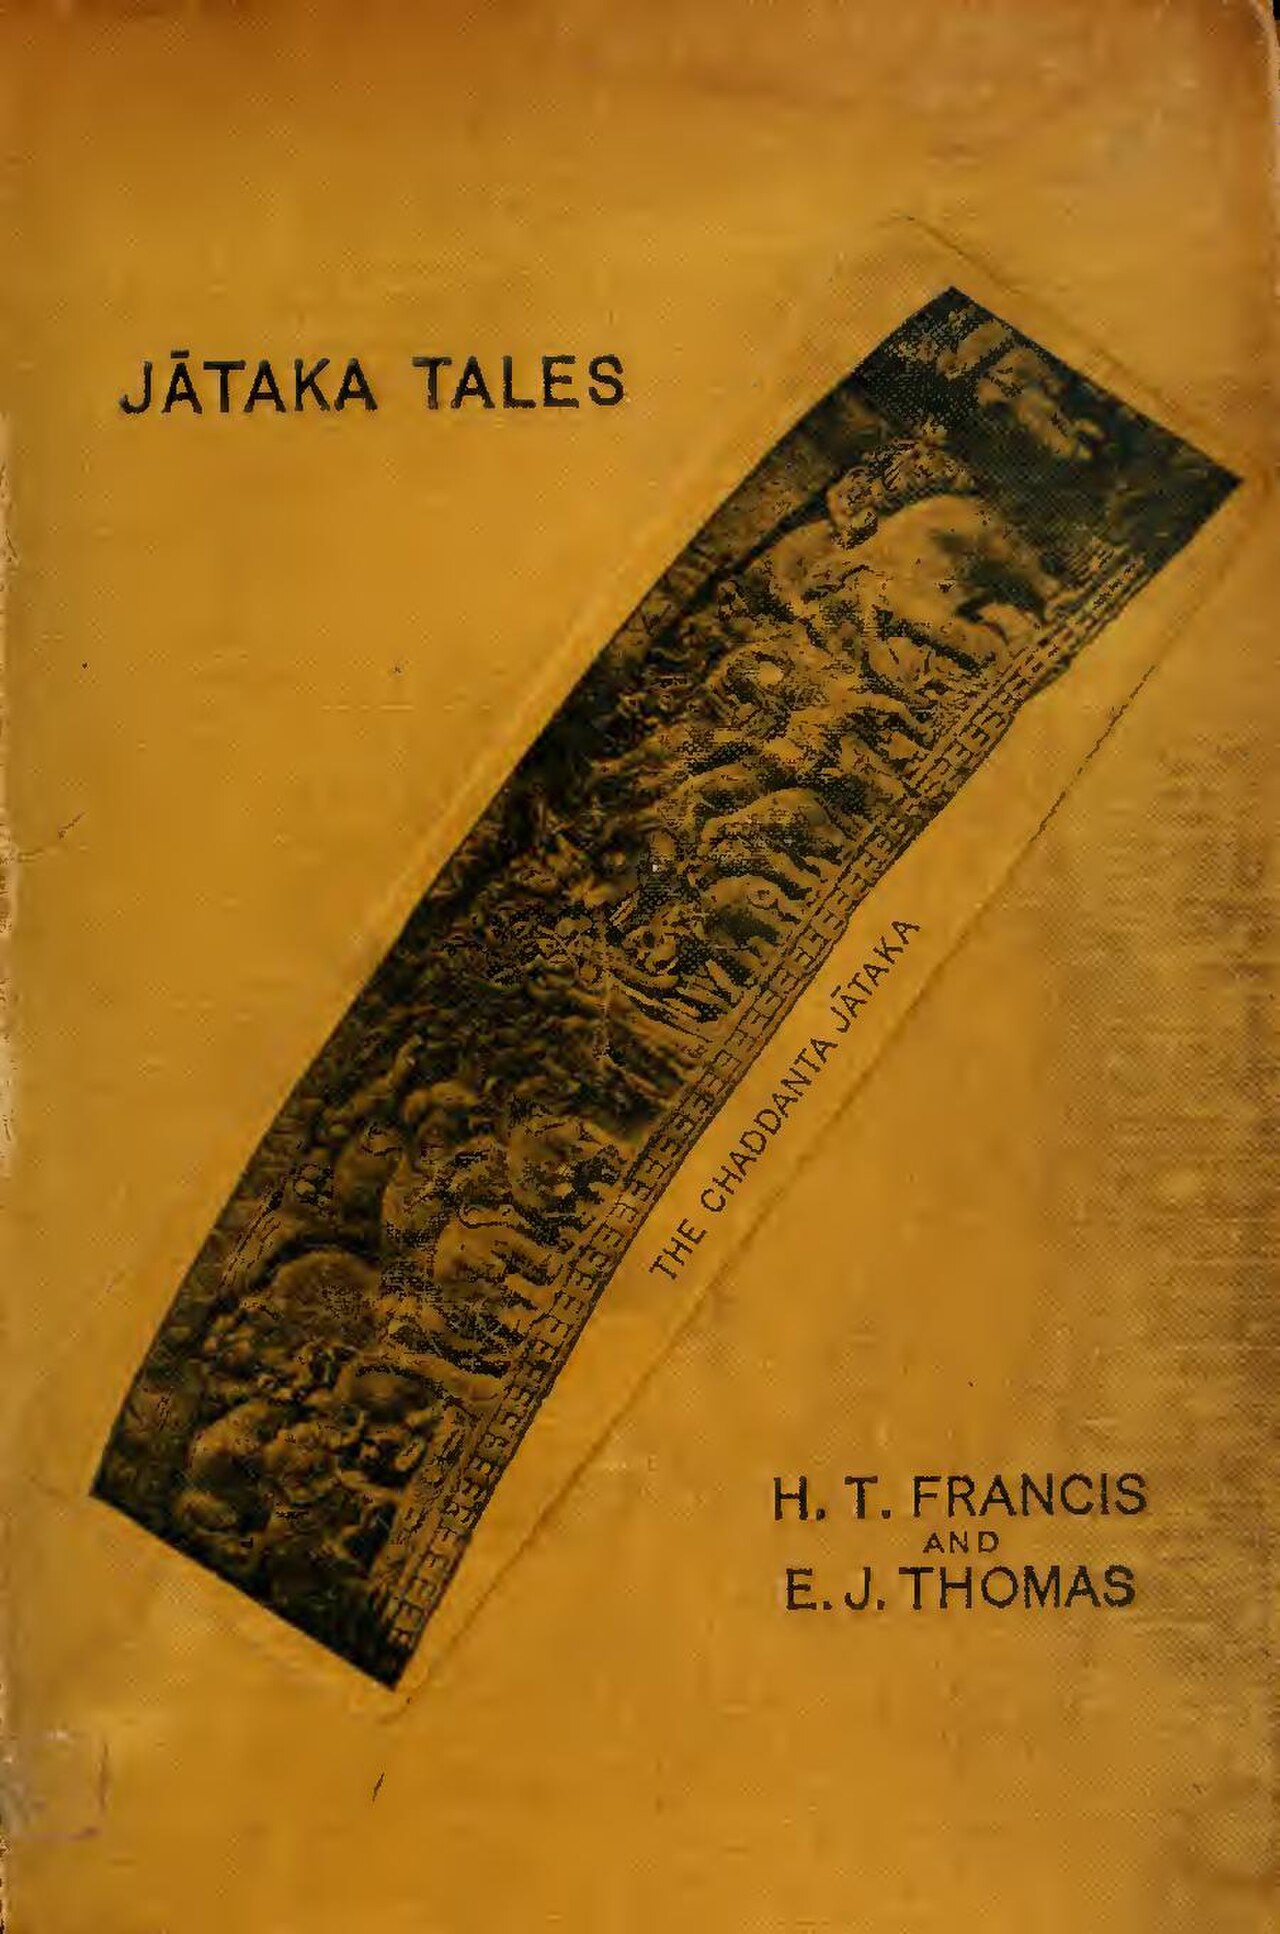
Front cover of the book 'Jataka Tales' by H. T. Francis and E. J. Thomas, in yellow-orange tones. A dark, rectangular relief panel of carved figures and animals runs diagonally across the cover, labeled 'The Chaddanta Jataka'.Book

Secondary source

Jātaka

Various authors · c. 5th century BCE – 3rd century CE

Scan of a page of Tibetan block-print text in horizontal lines, with a page number at the top left and a dark margin mark on the left edge. The text is written in Tibetan script in black ink on a light background.Book

Secondary source

Heart Sutra

Attributed to the Buddha; Mahayana authors · Dated by translations from the 3rd century CE onward

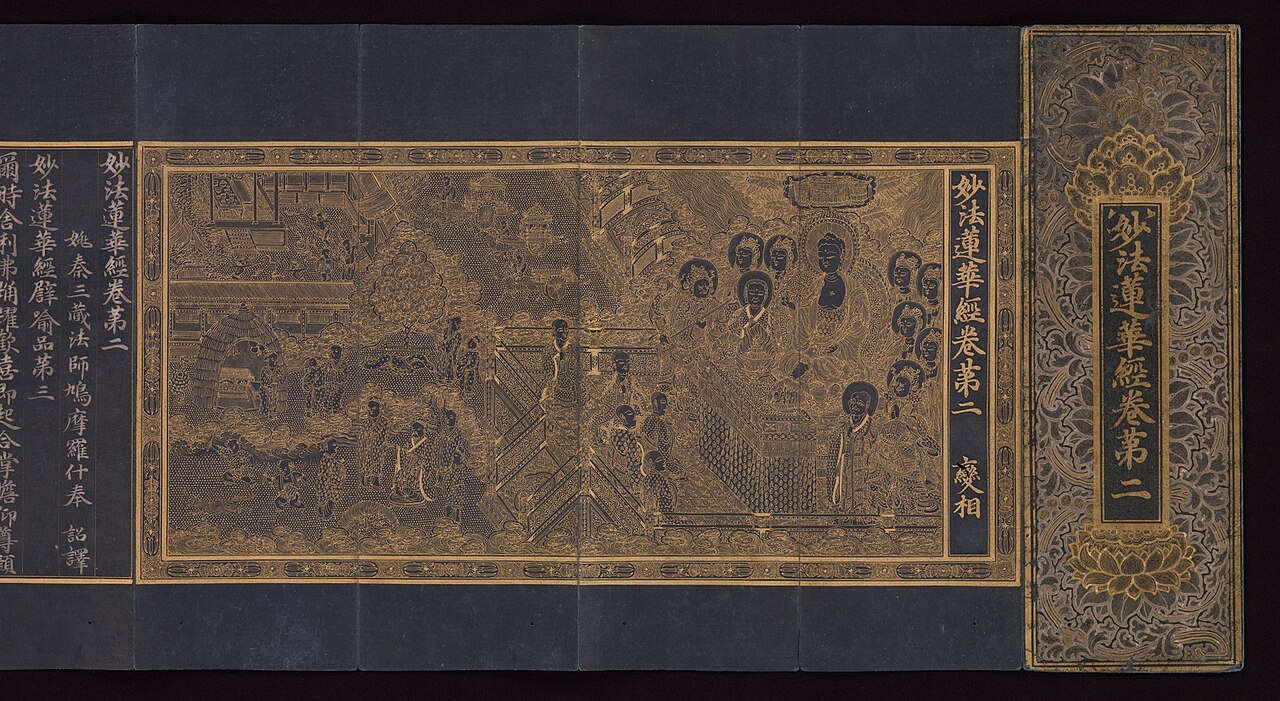
Scroll-like folding book of indigo-dyed paper with gold and silver text and illustrations. Left panel shows a gold-ink text column; center panel shows a gold line-drawing of a landscape with buildings, figures, and seated Buddhas; right cover panel has a gold title label reading Lotus Sutra scroll two, framed by lotus and floral patterns.Book

Secondary source

Lotus Sutra

Attributed to the Buddha; Mahayana authors · c. 1st–2nd century CE (manuscript c. 1340)

Blue cloth book cover with a white library label at top left reading 'UC-NRLF', a barcode, and the number 'B 3 141 870'. No title is visible on this cover.Book

Secondary source

A Record of Buddhist Kingdoms

Faxian · c. 416 CE

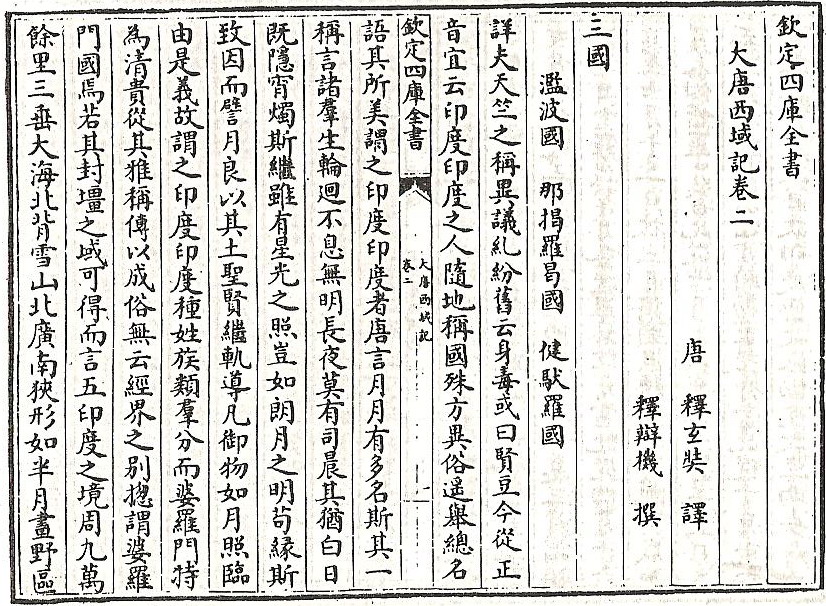
Scanned page of a traditional Chinese woodblock-style printed book, the Siku Quanshu edition of Great Tang Records on the Western Regions, vertical columns of black characters on cream paper with a title block reading 大唐西域記 and attribution to 唐 釋玄奘 譯 (Xuanzang), with a section heading 三國 and place names listed at top.Book

Secondary source

Record of the Western Regions

Xuanzang · 646 CE

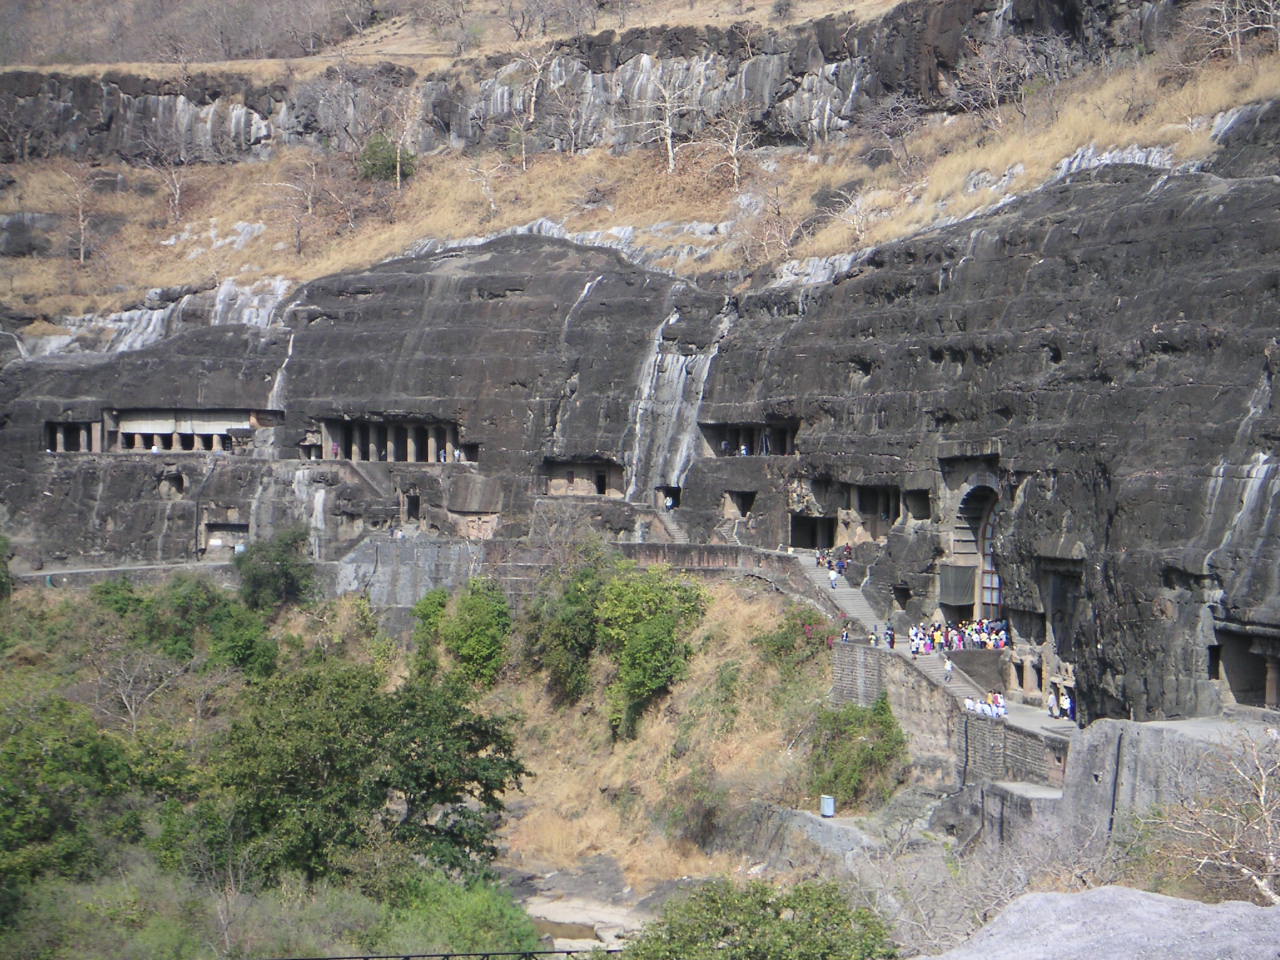
A wide view of a steep, dark basalt cliff carved with several rock-cut cave entrances, some with pillared facades, and a stone stairway with visitors climbing up toward the caves. Dry grass and trees are in the foreground, with waterfall streaks running down the rock face.Artifact

Secondary source

Ajanta Caves

c. 2nd century BCE – c. 480 CE

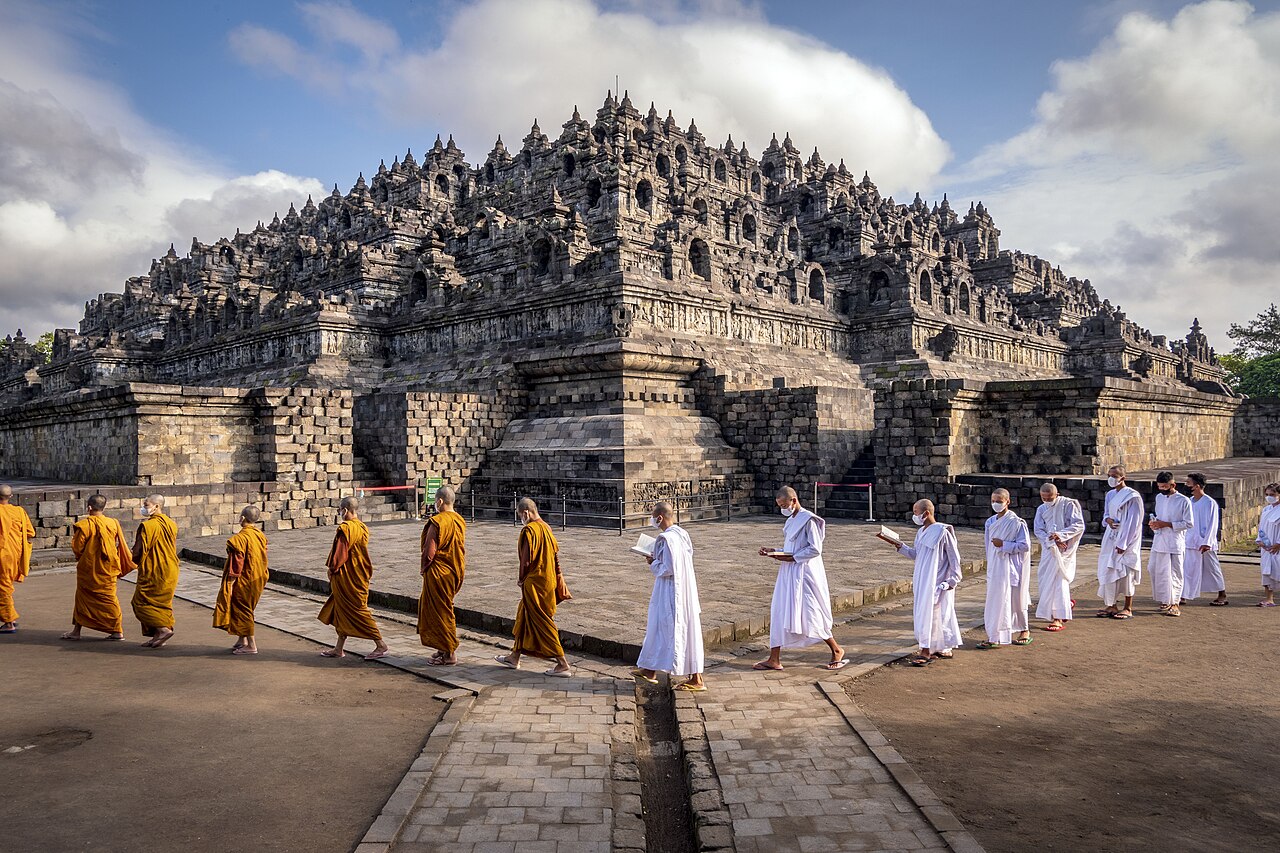
Monks in orange robes and white-robed lay participants walk in procession along a stone path toward the tiered stone Borobudur temple, which has many small bell-shaped stupas and carved walls under a partly cloudy blue sky.Artifact

Secondary source

Borobudur Temple

c. 800 CE

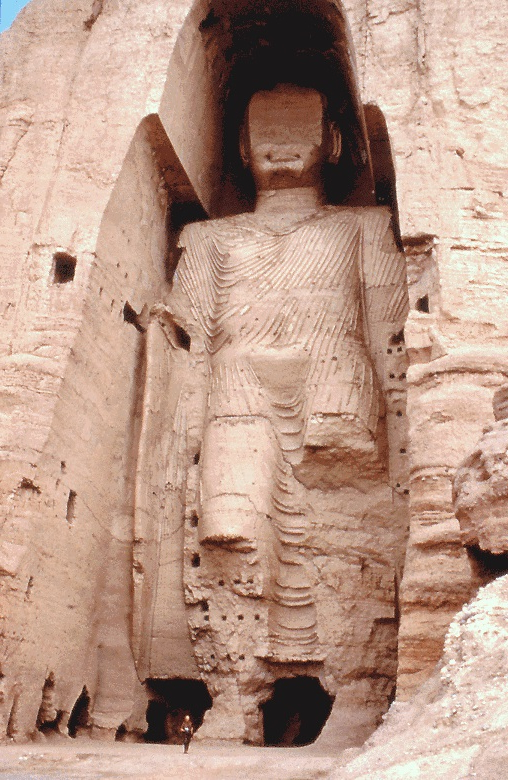
A large carved niche in a pale sandstone cliff showing a standing Buddha statue with its face and head destroyed, leaving a rough empty opening. A small human figure stands at the base for scale, with dark cave openings below.Sculpture

Secondary source

Buddhas of Bamiyan

c. 6th century CE

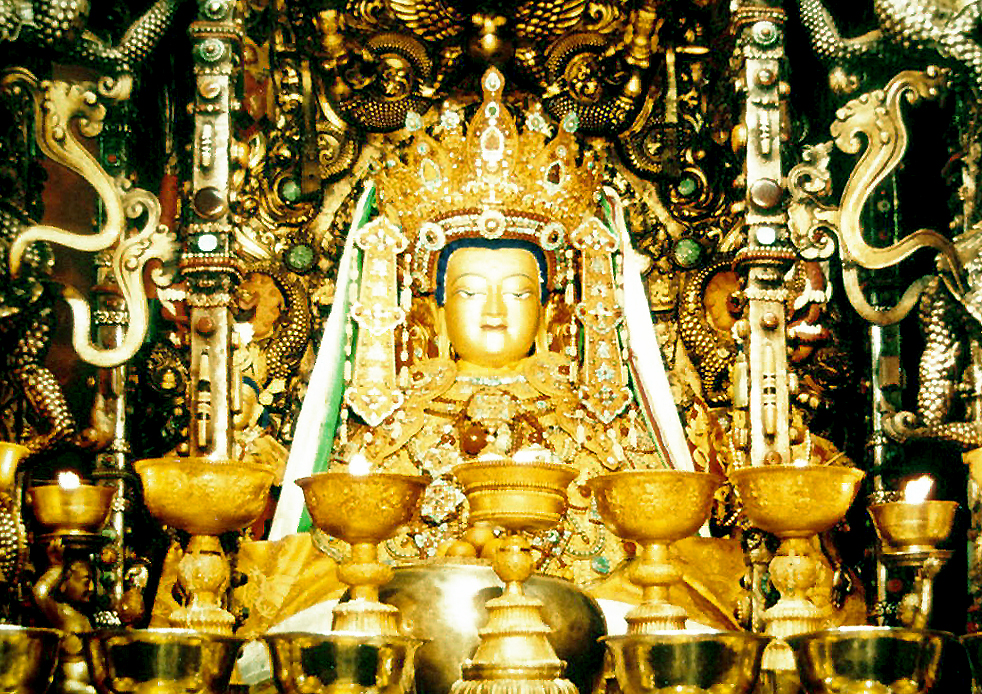
A gilded statue of a Buddha figure with a jeweled crown and a serene golden face, seated in an ornate shrine surrounded by gold and silver ritual offering bowls, candles, and carved dragon-like decorations.Sculpture

Secondary source

Jowo

7th century CE

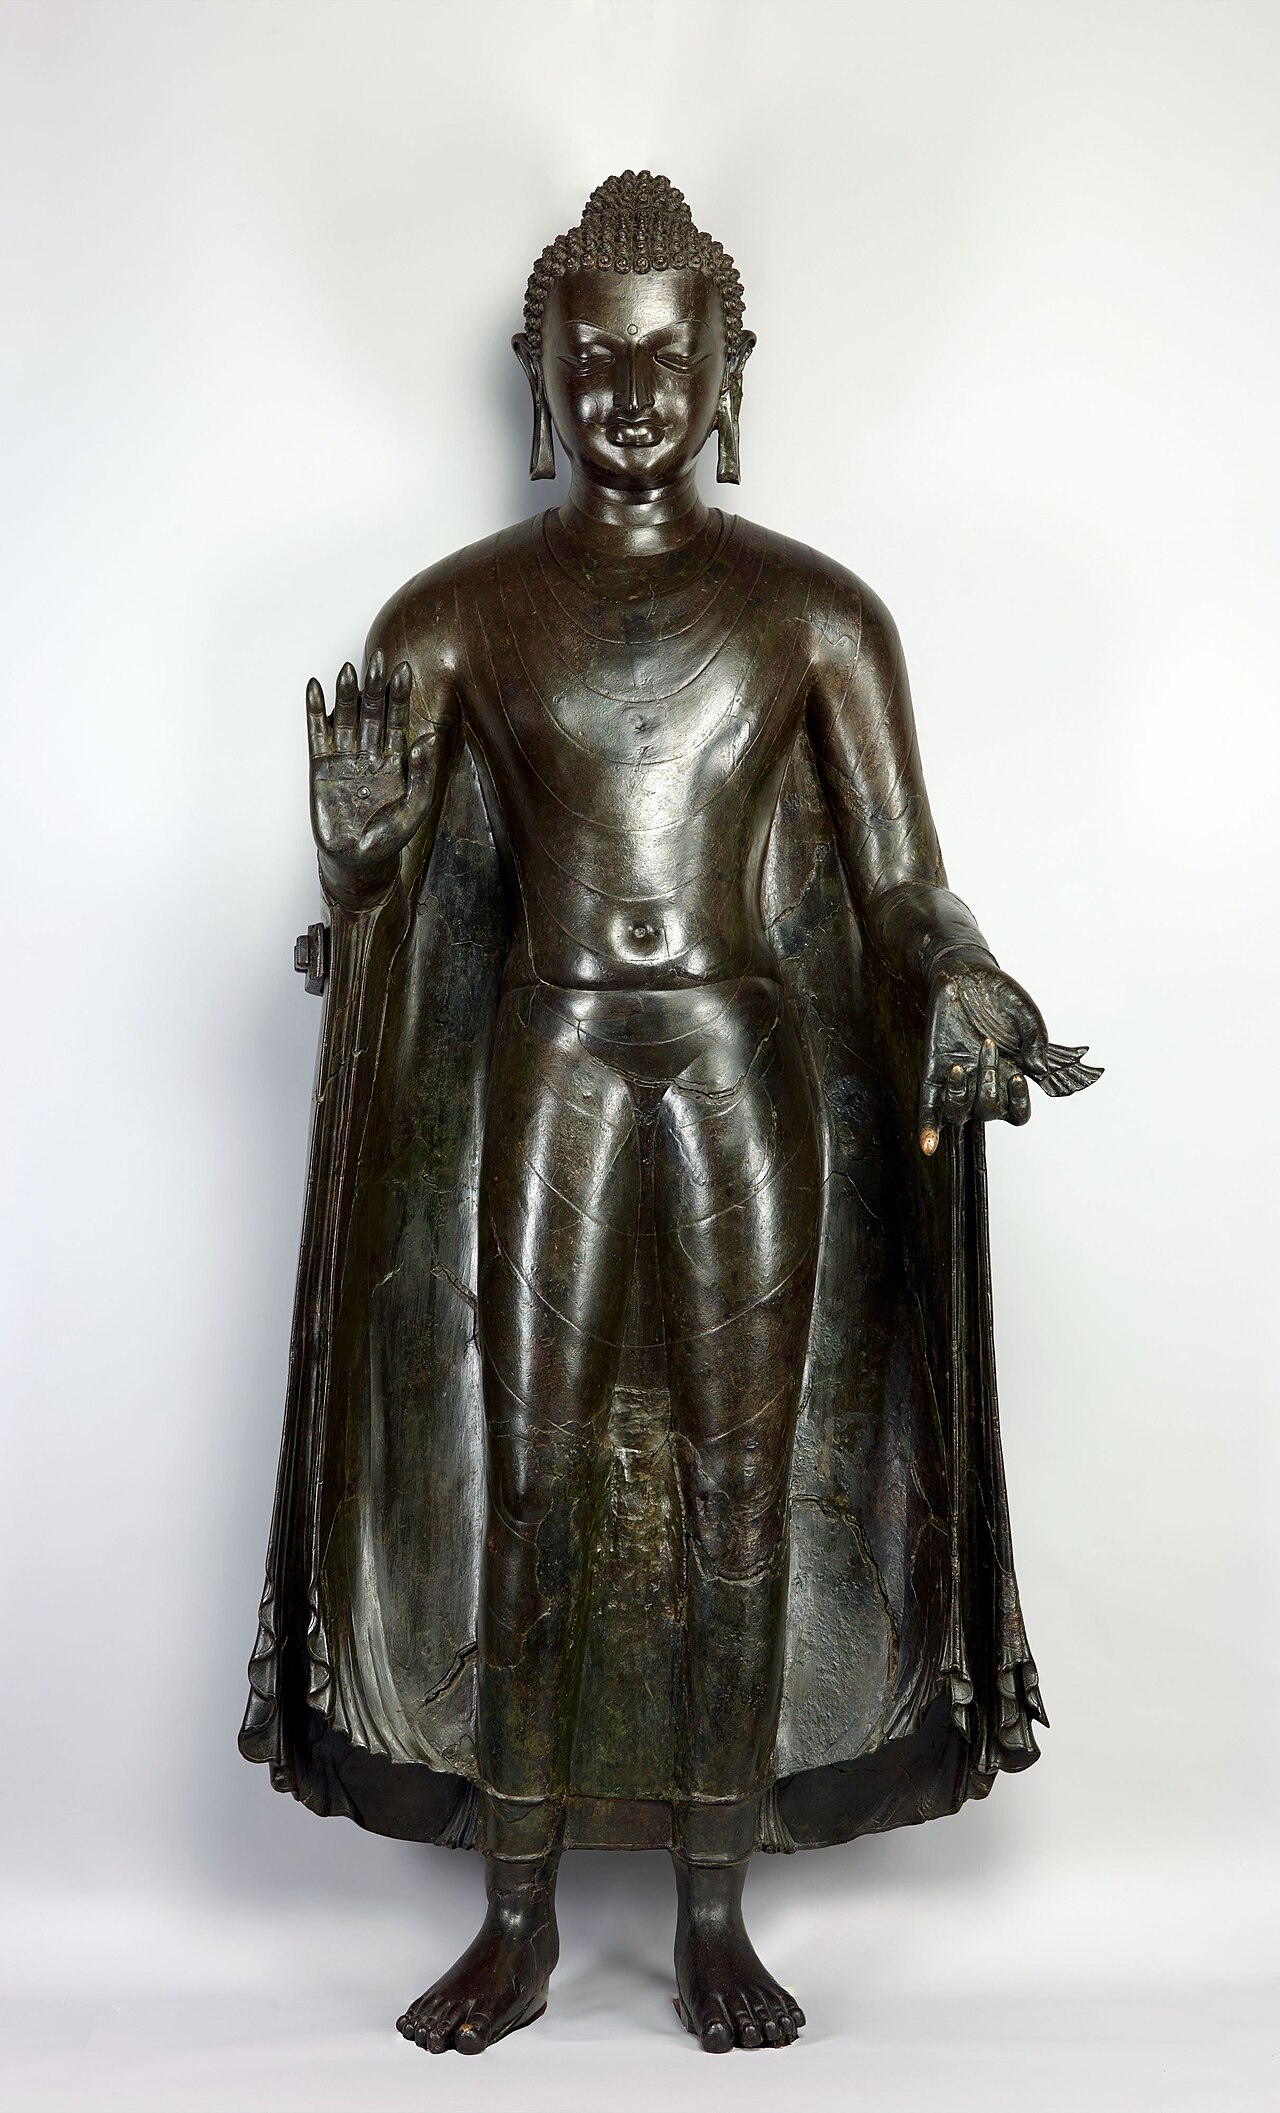
Full-length bronze standing figure of the Buddha against a plain light background. Right hand raised palm outward, left hand lowered with palm open, wearing a monastic robe draped over both shoulders, with tightly curled hair and eyes downcast.Sculpture

Secondary source

Sultanganj Buddha

c. 500–700 CE

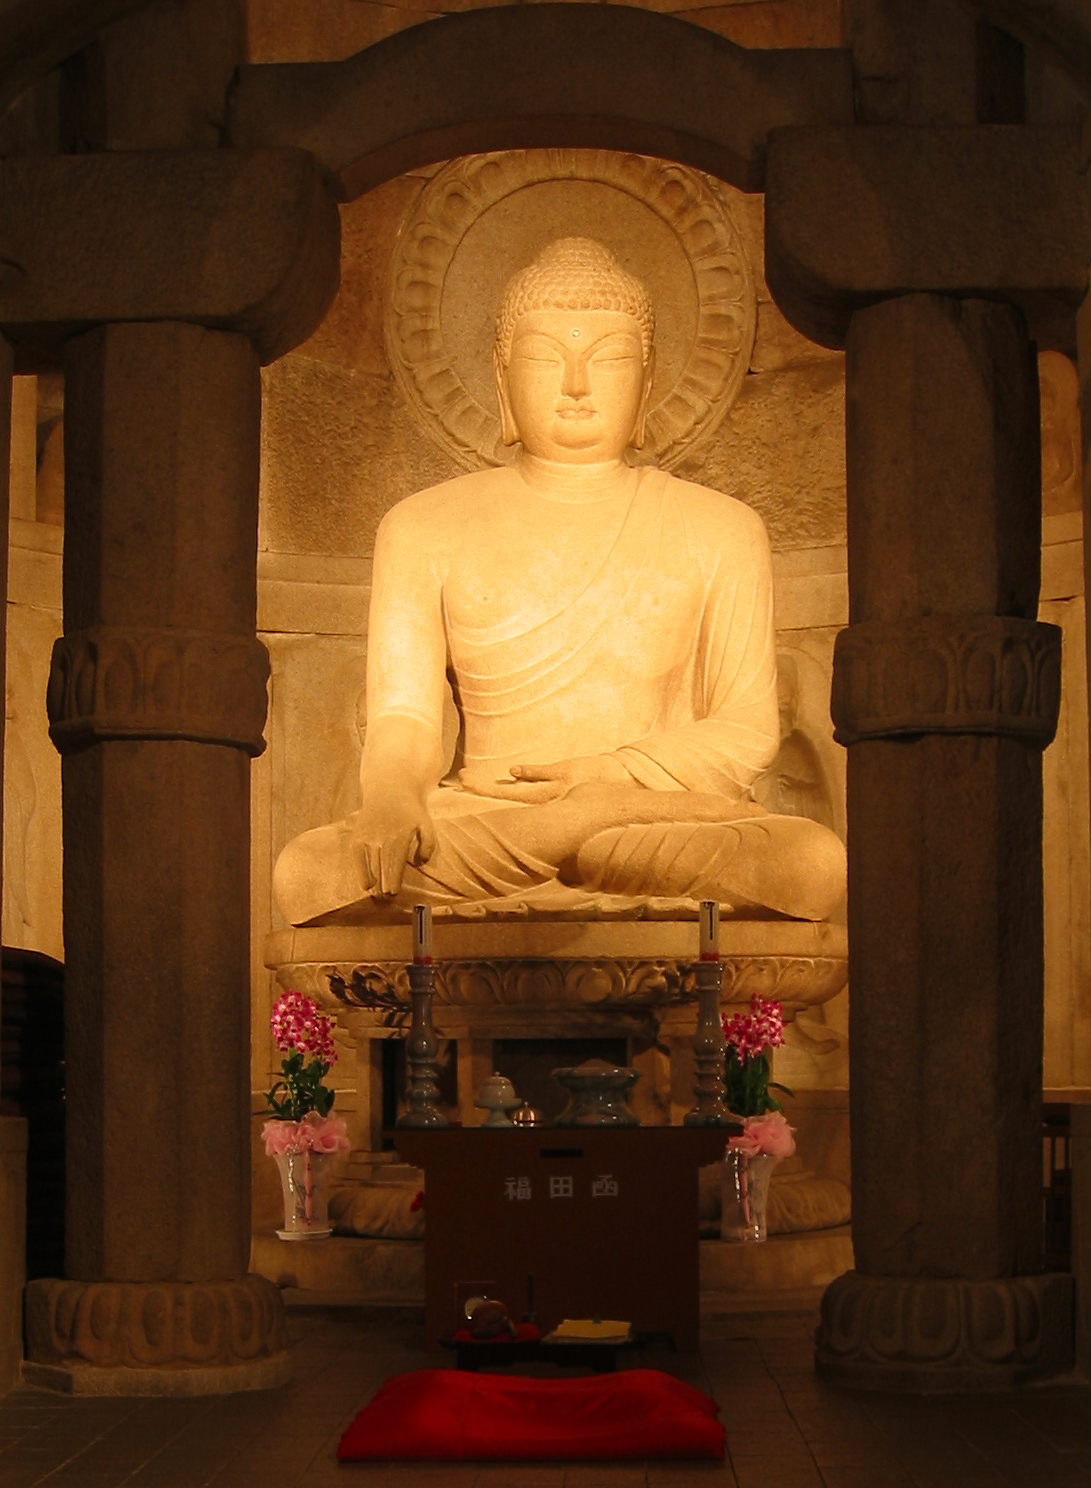
A large pale stone seated Buddha statue with a halo carved in relief behind it, flanked by two dark stone pillars with lotus-carved bases. Pink flowers in vases, candles, and a red cushion sit in the foreground.Sculpture

Secondary source

Seokguram Grotto

Kim Dae-seong (patron) · c. 751–774 CE

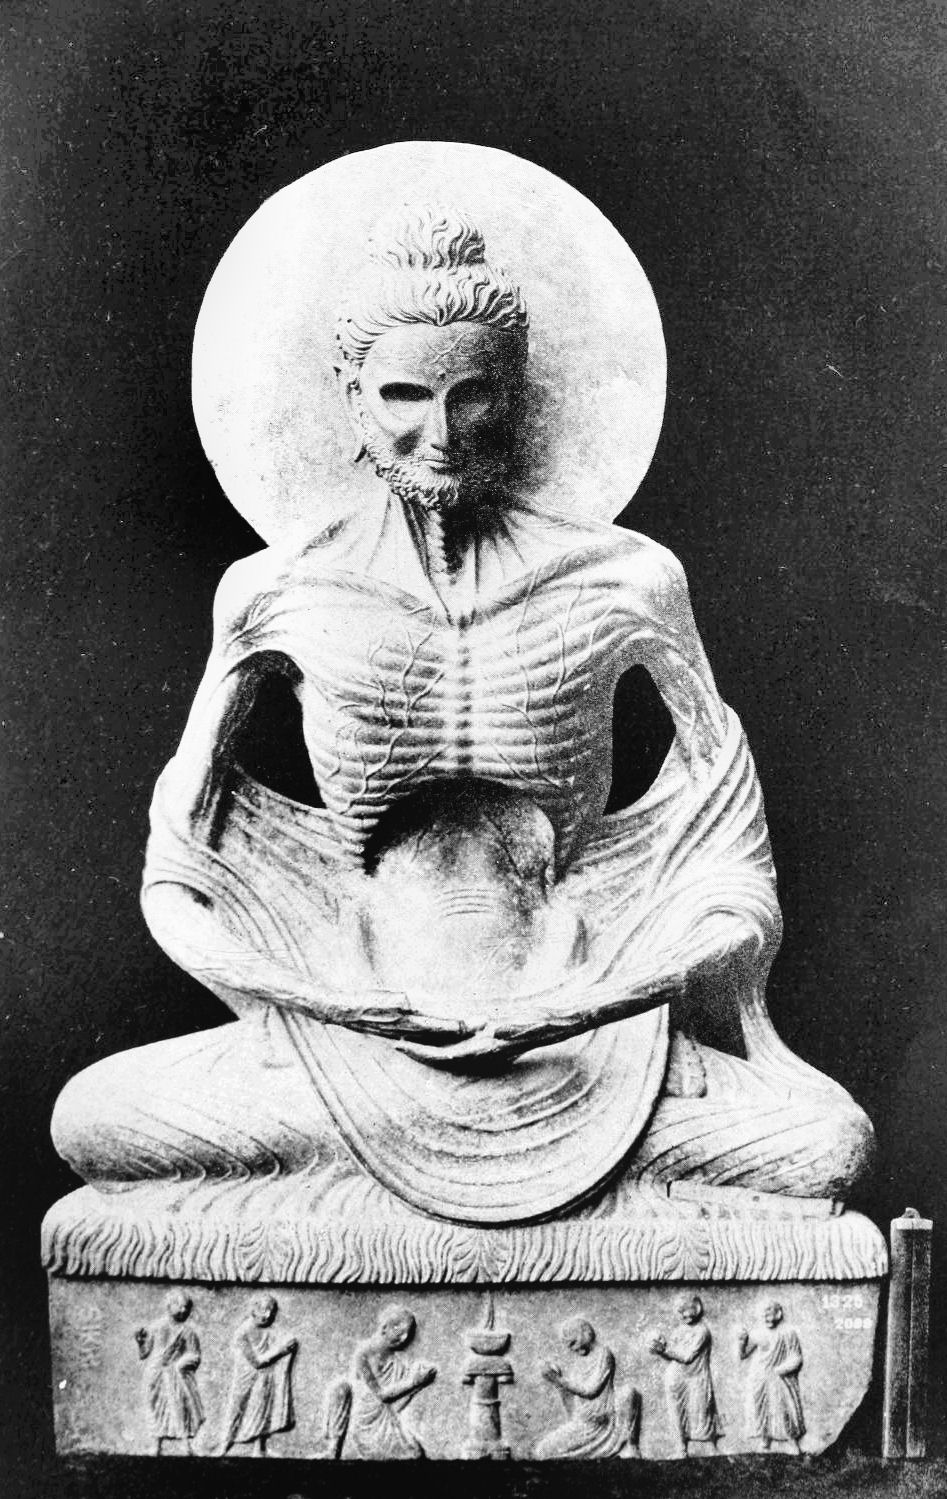
Black-and-white photograph of the Fasting Buddha, a seated Gandharan stone sculpture with a large circular halo behind its head. The emaciated figure has ribs visible, a bearded face, and wrapped drapery, with hands resting in the lap. Relief scenes of standing and kneeling figures and a stupa run along the base.Sculpture

Secondary source

Fasting Buddha from Gandhara

Gandharan sculptor · c. 2nd–3rd century CE

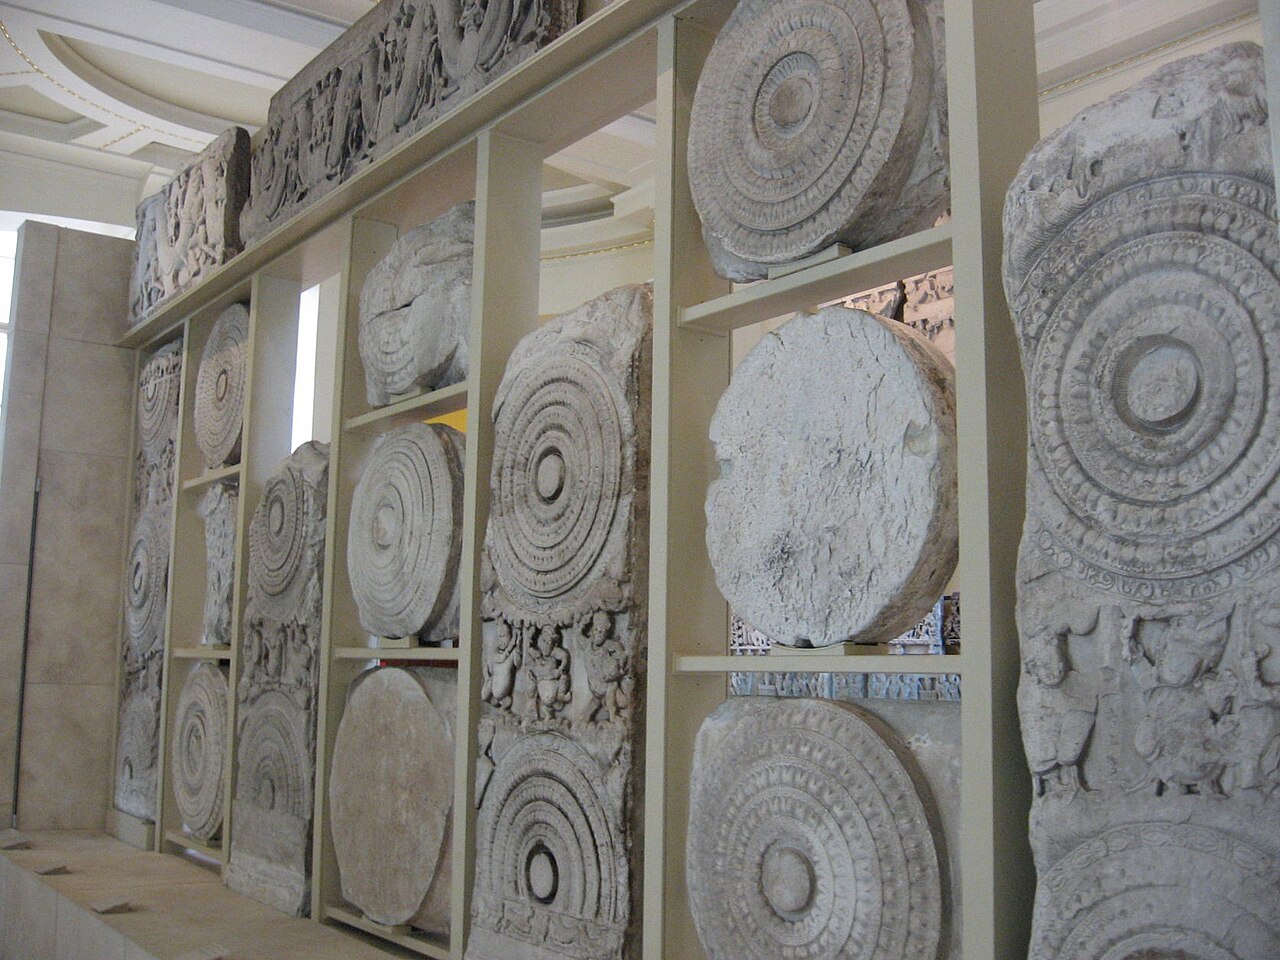
Interior of a museum gallery with a tall wall of shelving-like display bays holding carved limestone Amaravati sculptures: circular medallions with concentric rings, relief panels with figures, and a carved frieze along the top. Pale ceiling with molding visible above.Sculpture

Secondary source

Amaravati Sculptures

1st century BCE – 8th century CE

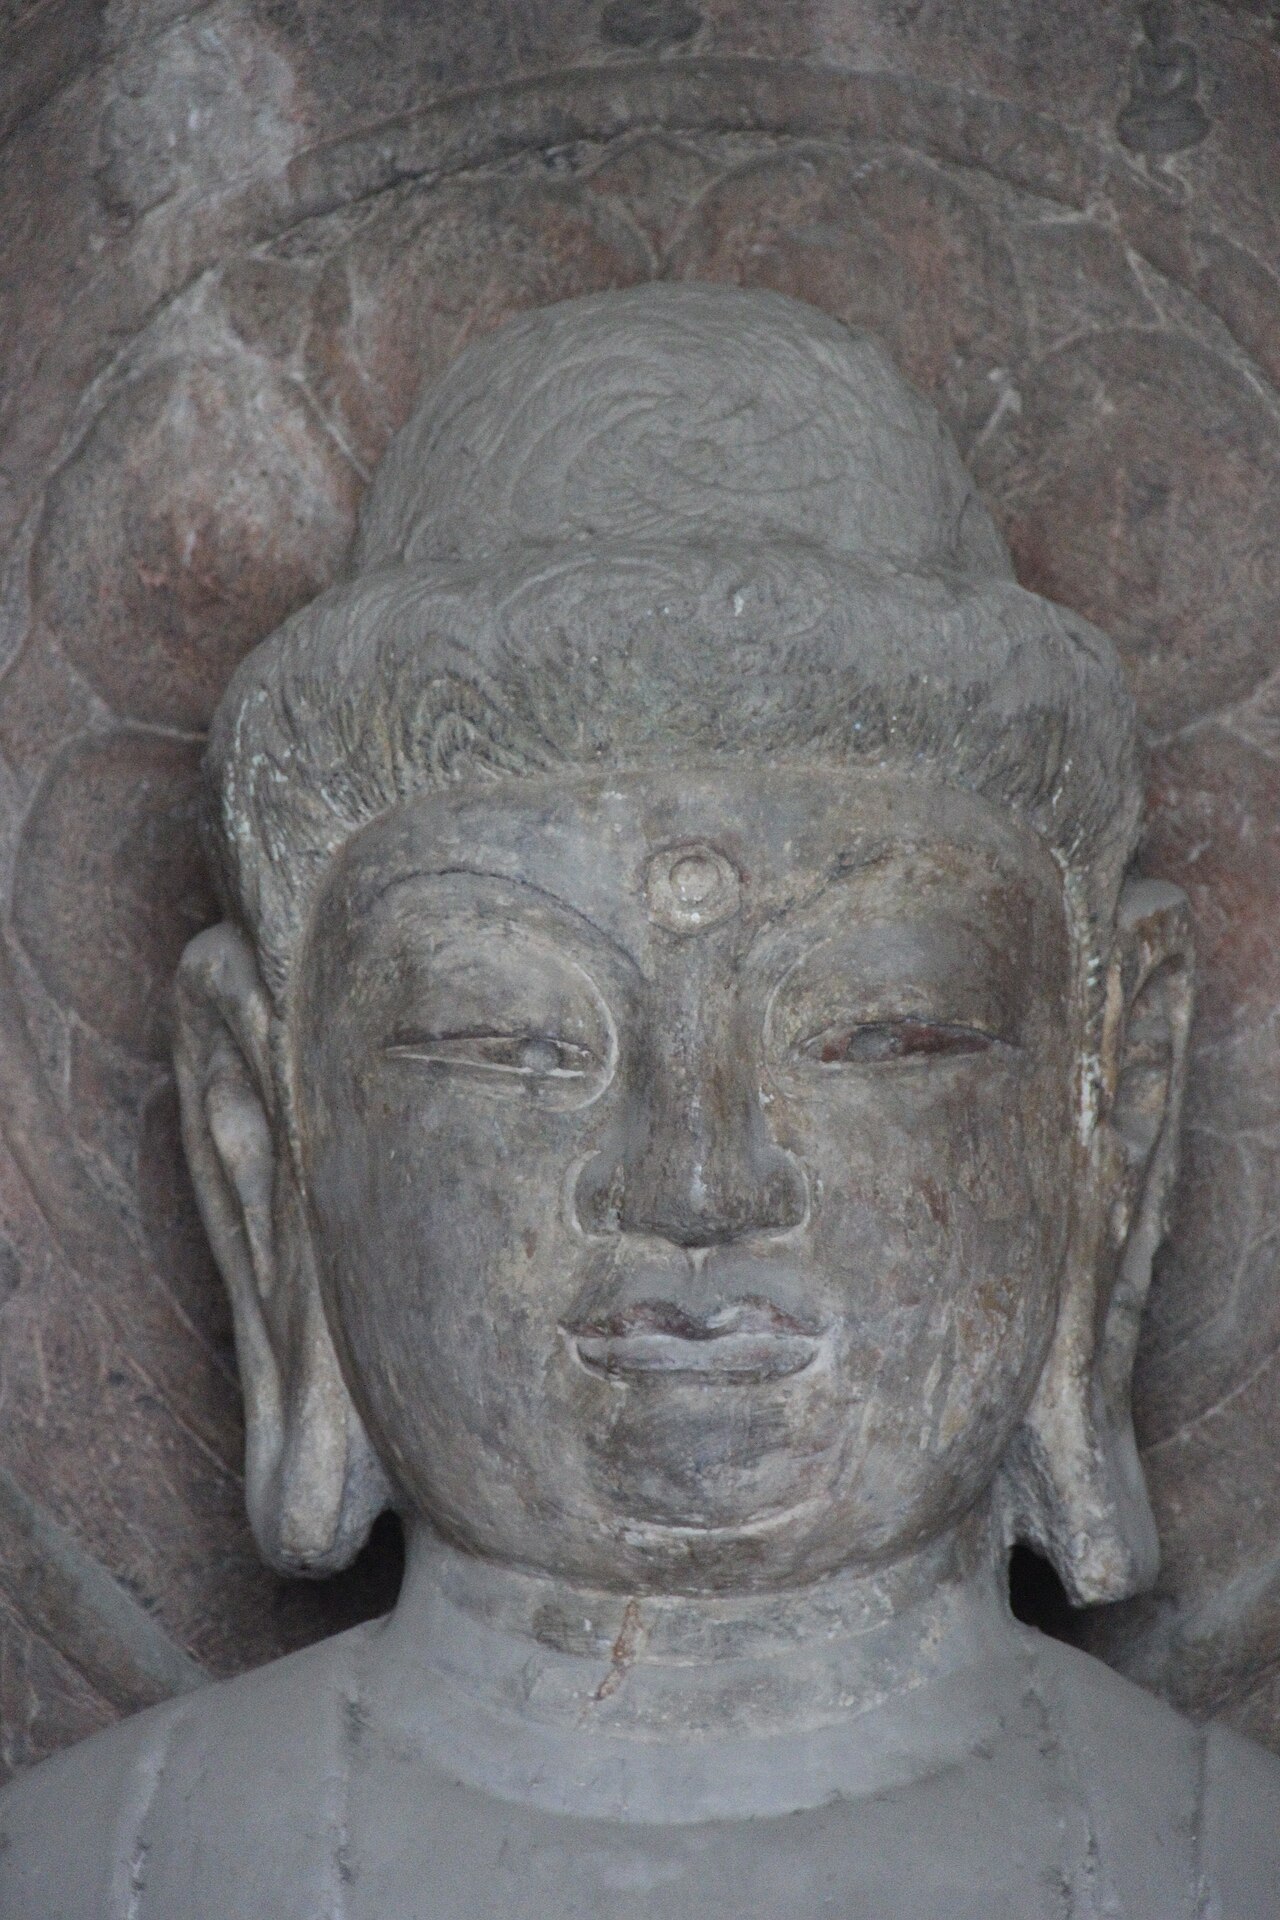
Close-up of a carved stone Buddha head with a long face, half-closed eyes, a small raised circle on the forehead, and tightly curled hair. Behind it is a carved stone backdrop with lotus-like patterns.Sculpture

Secondary source

Longmen Grottoes

Northern Wei and Tang patrons · 493 – c. 755 CE

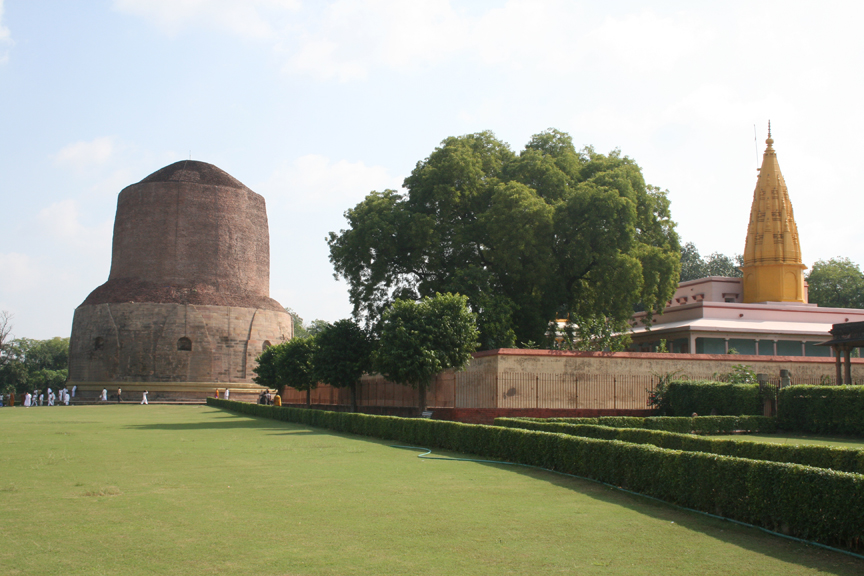
Dhamek Stupa, a tall cylindrical brick stupa with a stone base on a green lawn at Sarnath. Hedges and trees stand to the right, and a golden-spired temple with a pink wall is behind them. A few people walk near the base.Artifact

Secondary source

Dhamek Stupa

Gupta-era builders on an Ashokan foundation · c. 500 CE

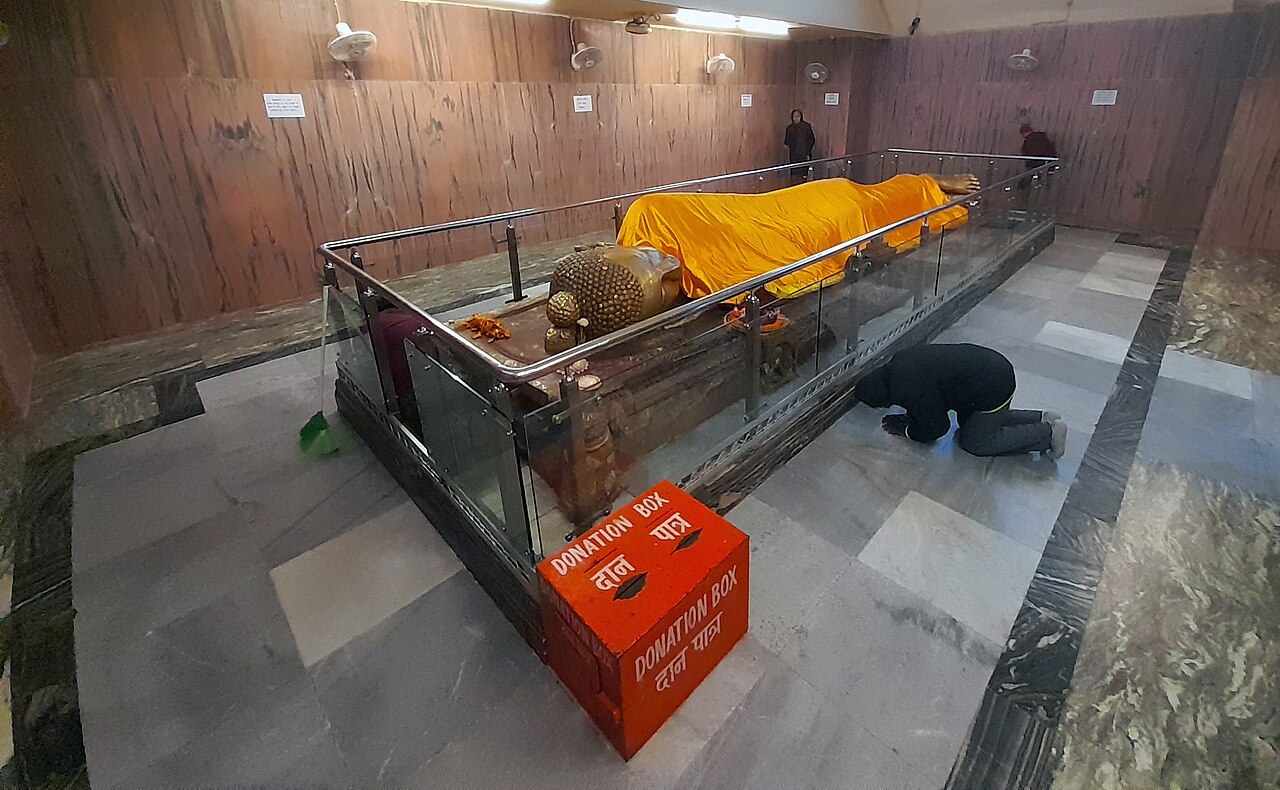
A large reclining Buddha statue lying on its right side under a glass enclosure, draped with a yellow-orange cloth, with a golden curled-hair head visible. A person kneels at the side of the glass case, and a red donation box sits in the foreground. Wood-paneled walls surround the room.Sculpture

Secondary source

Reclining Buddha Statue, Mahaparinirvana Temple

Dinna · c. 5th century CE

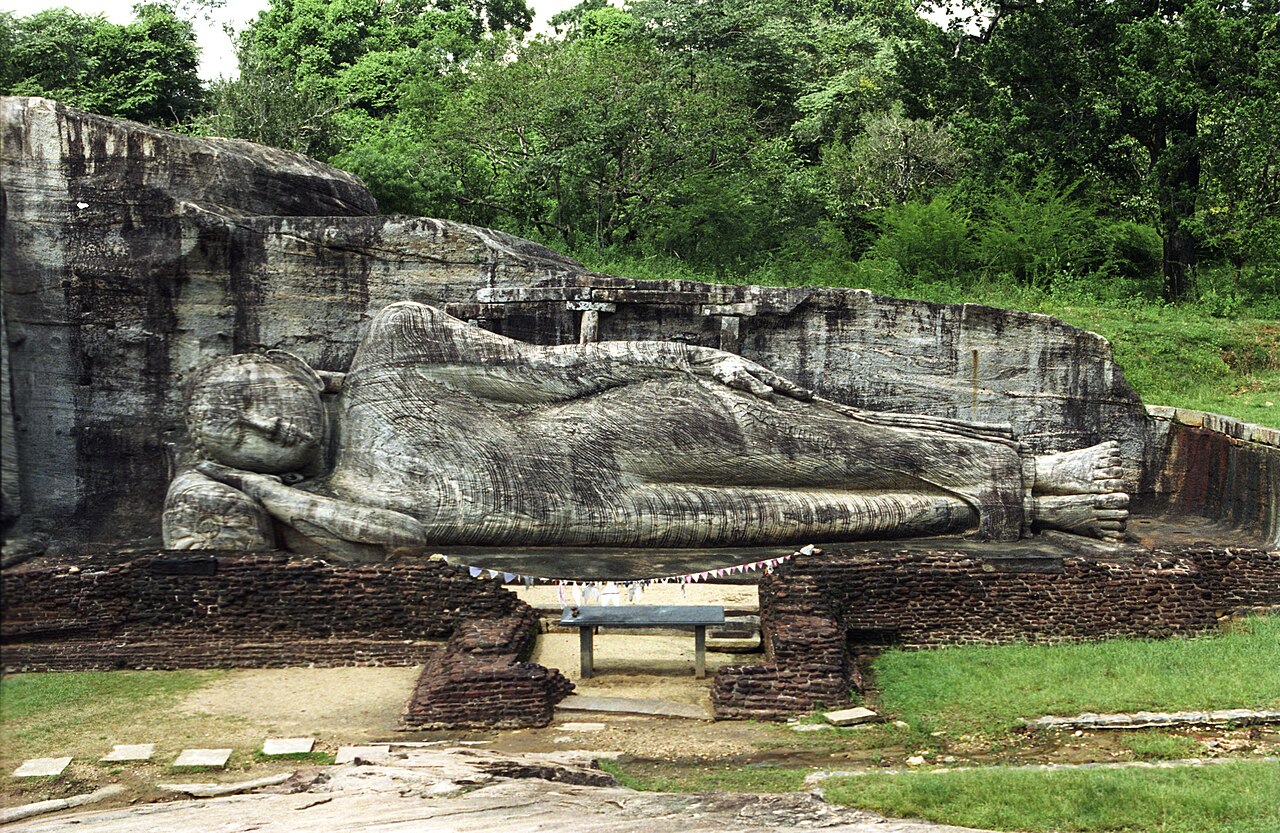
A large carved granite reclining Buddha statue lies along a rock face, head resting on its right hand, with a small stone bench and brick walls in front, surrounded by green trees and grass.Sculpture

Secondary source

Gal Vihara Reclining Buddha

Parakramabahu I (patron) · 12th century CE

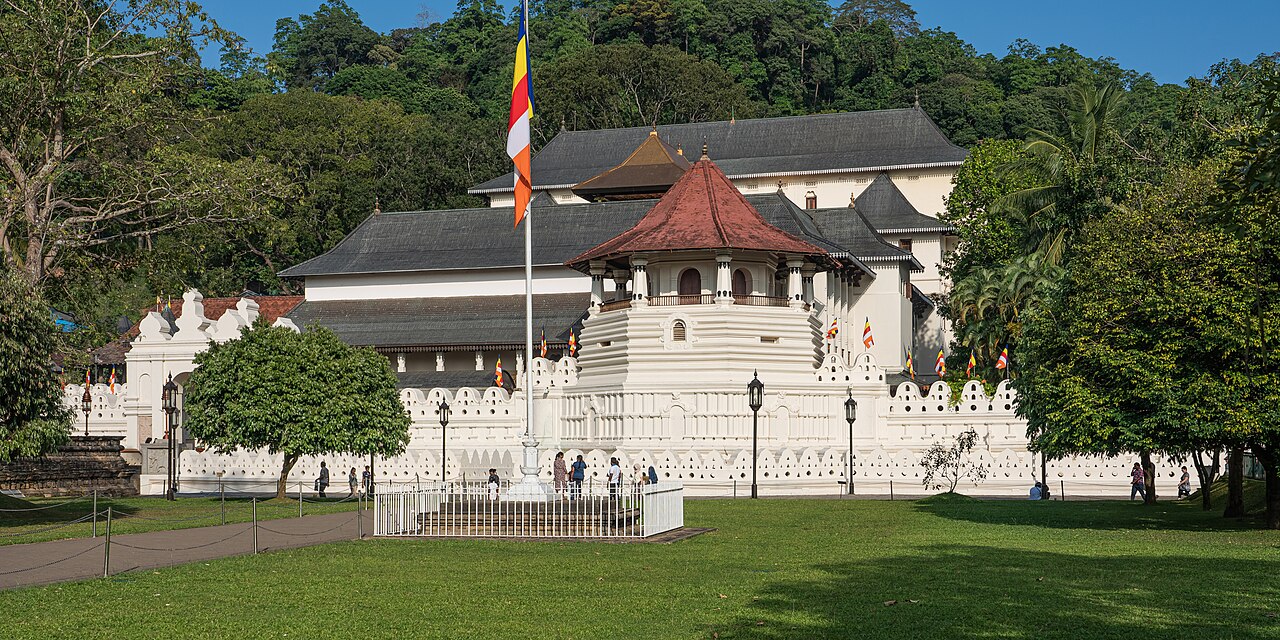
A white temple complex with a dark grey tiled roof and a small red-roofed octagonal shrine in front, surrounded by a white perimeter wall with openwork. A yellow, red, and white flag flies from a pole on a lawn, with green forested hills behind and people walking on the grounds.Artifact

Secondary source

Temple of the Tooth

1595

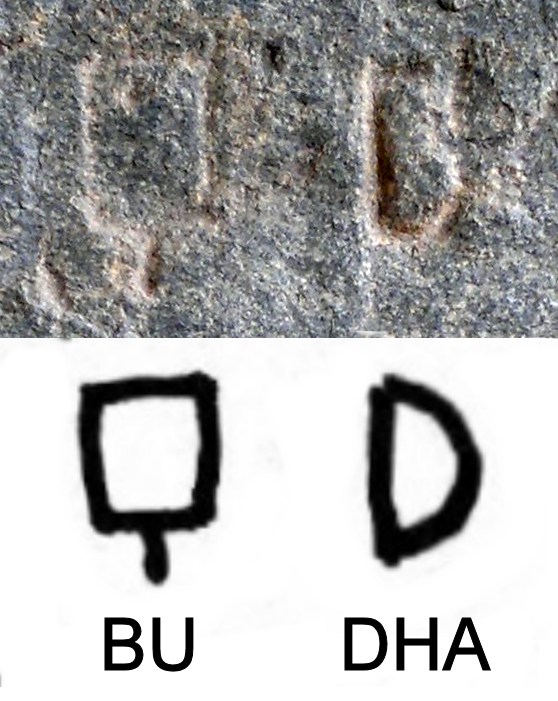
Top: a photograph of carved Brahmi letters on grey rock, showing the characters for BU and DHA. Bottom: a line drawing of the same two characters, labelled BU and DHA, with a stem below the BU character.Artifact

Secondary source

Maski Inscription of the Word Buddha

3rd century BCE

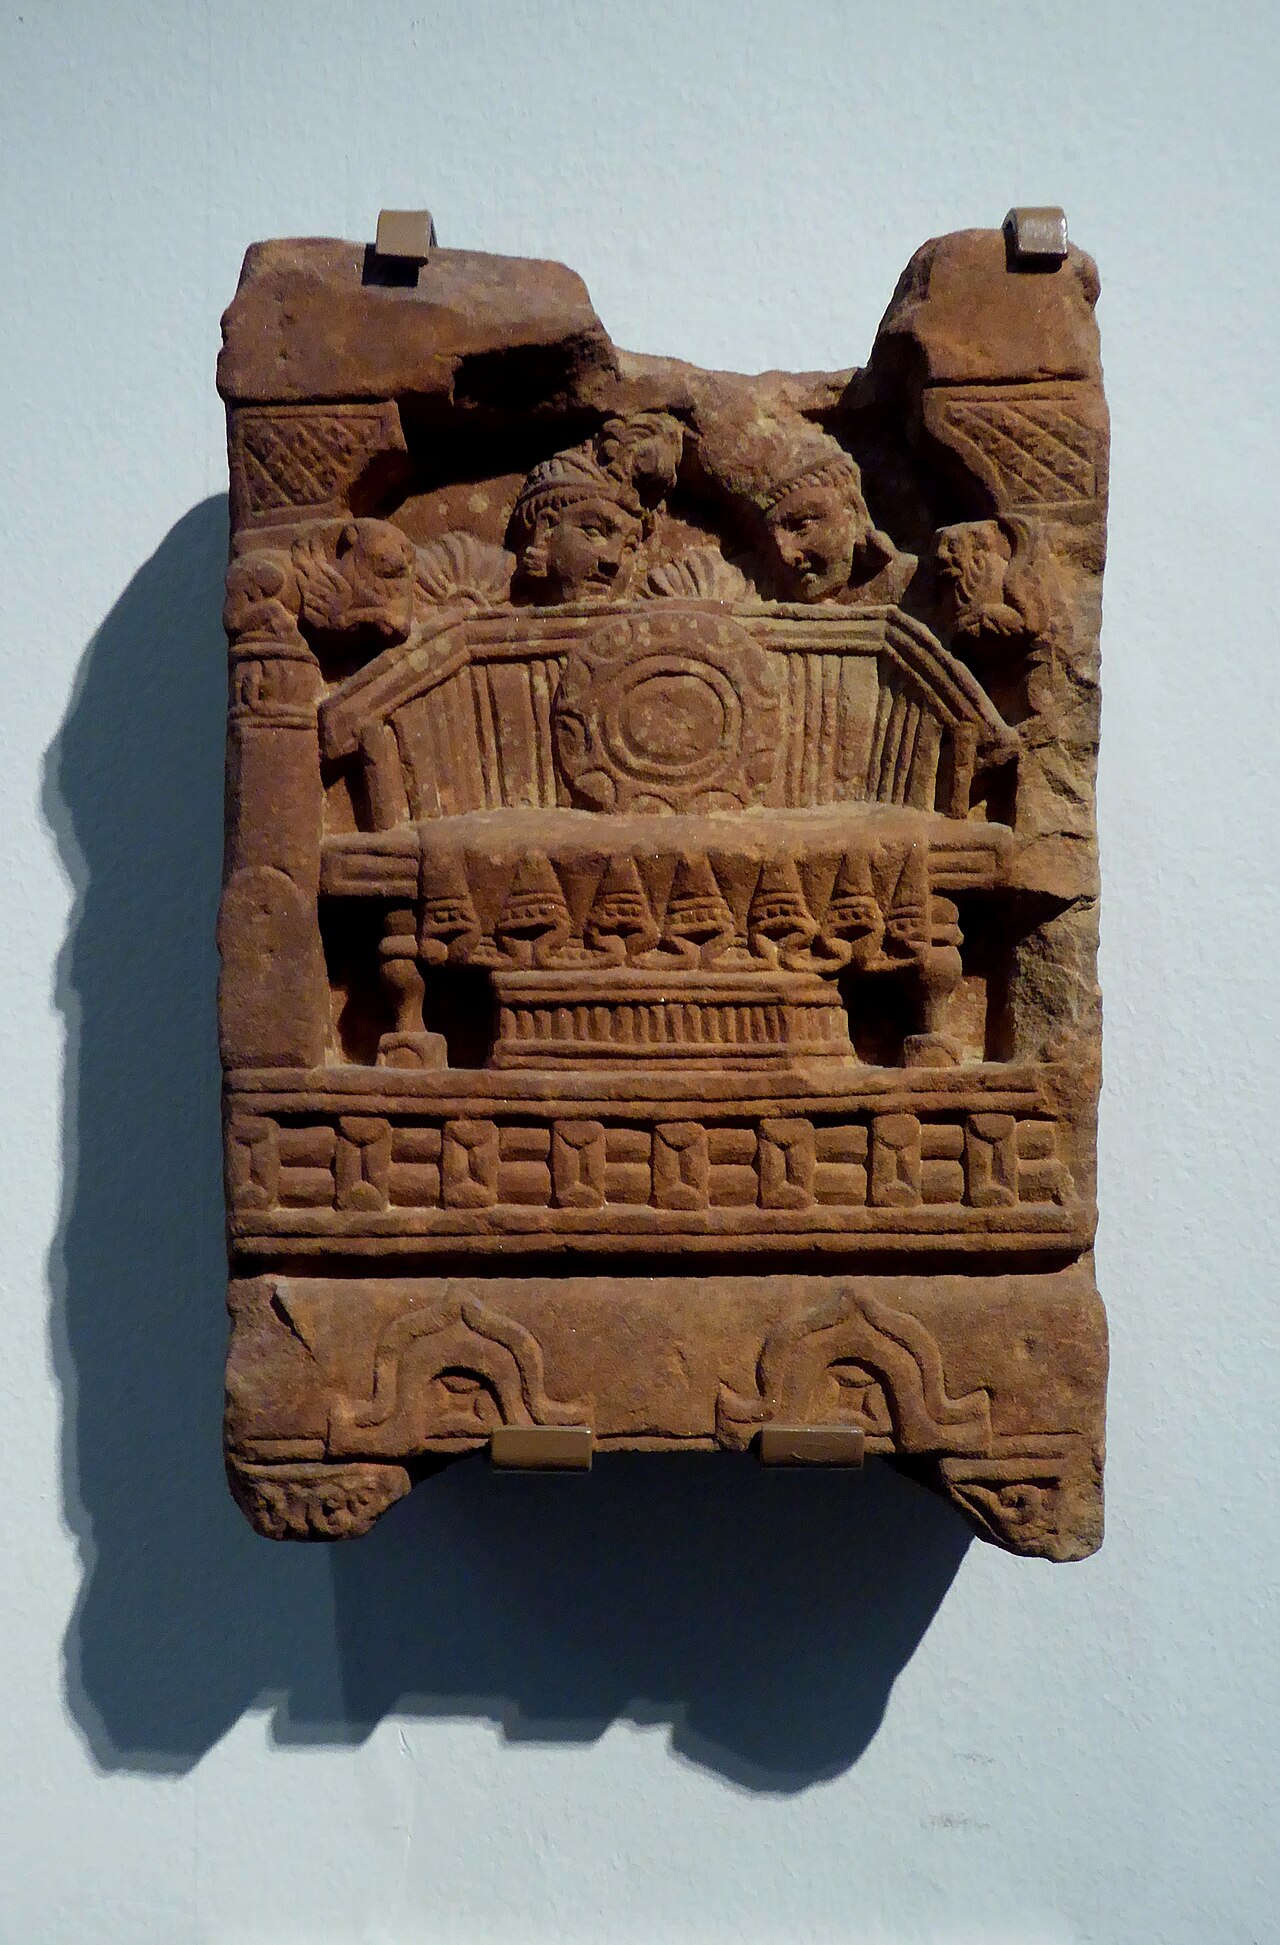
A reddish sandstone relief panel mounted on a pale wall. It shows an empty throne or pedestal with a wheel-like disc on its back, flanked by two standing figures with rounded headdresses, with rows of small kneeling figures and a decorative band below.Artifact

Secondary source

The Adoration of the Empty Throne

100-300 CE

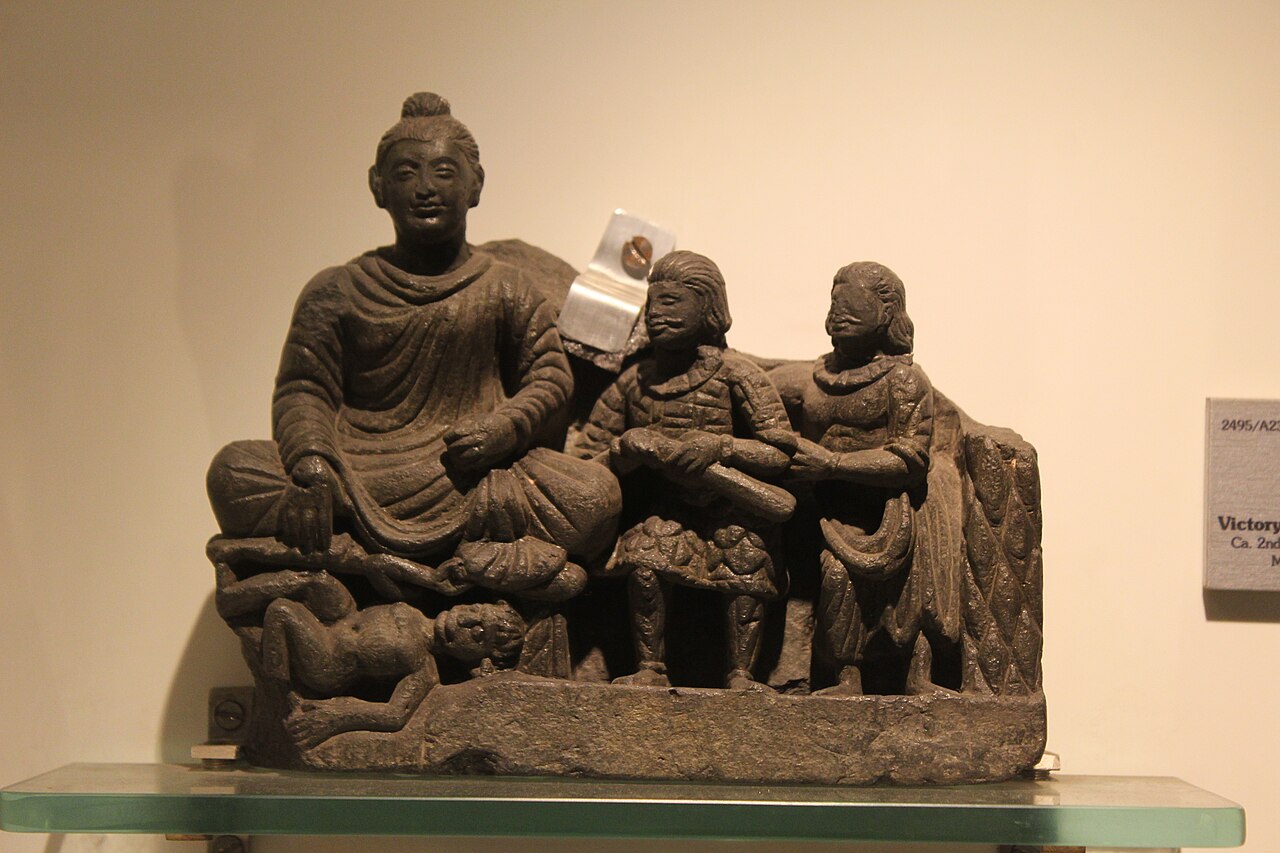
Grey schist sculpture in a museum case showing a seated Buddha with a topknot and draped robe, flanked by two standing figures, with a reclining figure at lower left. A museum label is visible at right.Sculpture

Secondary source

Victory over Mara

c. 200 CE

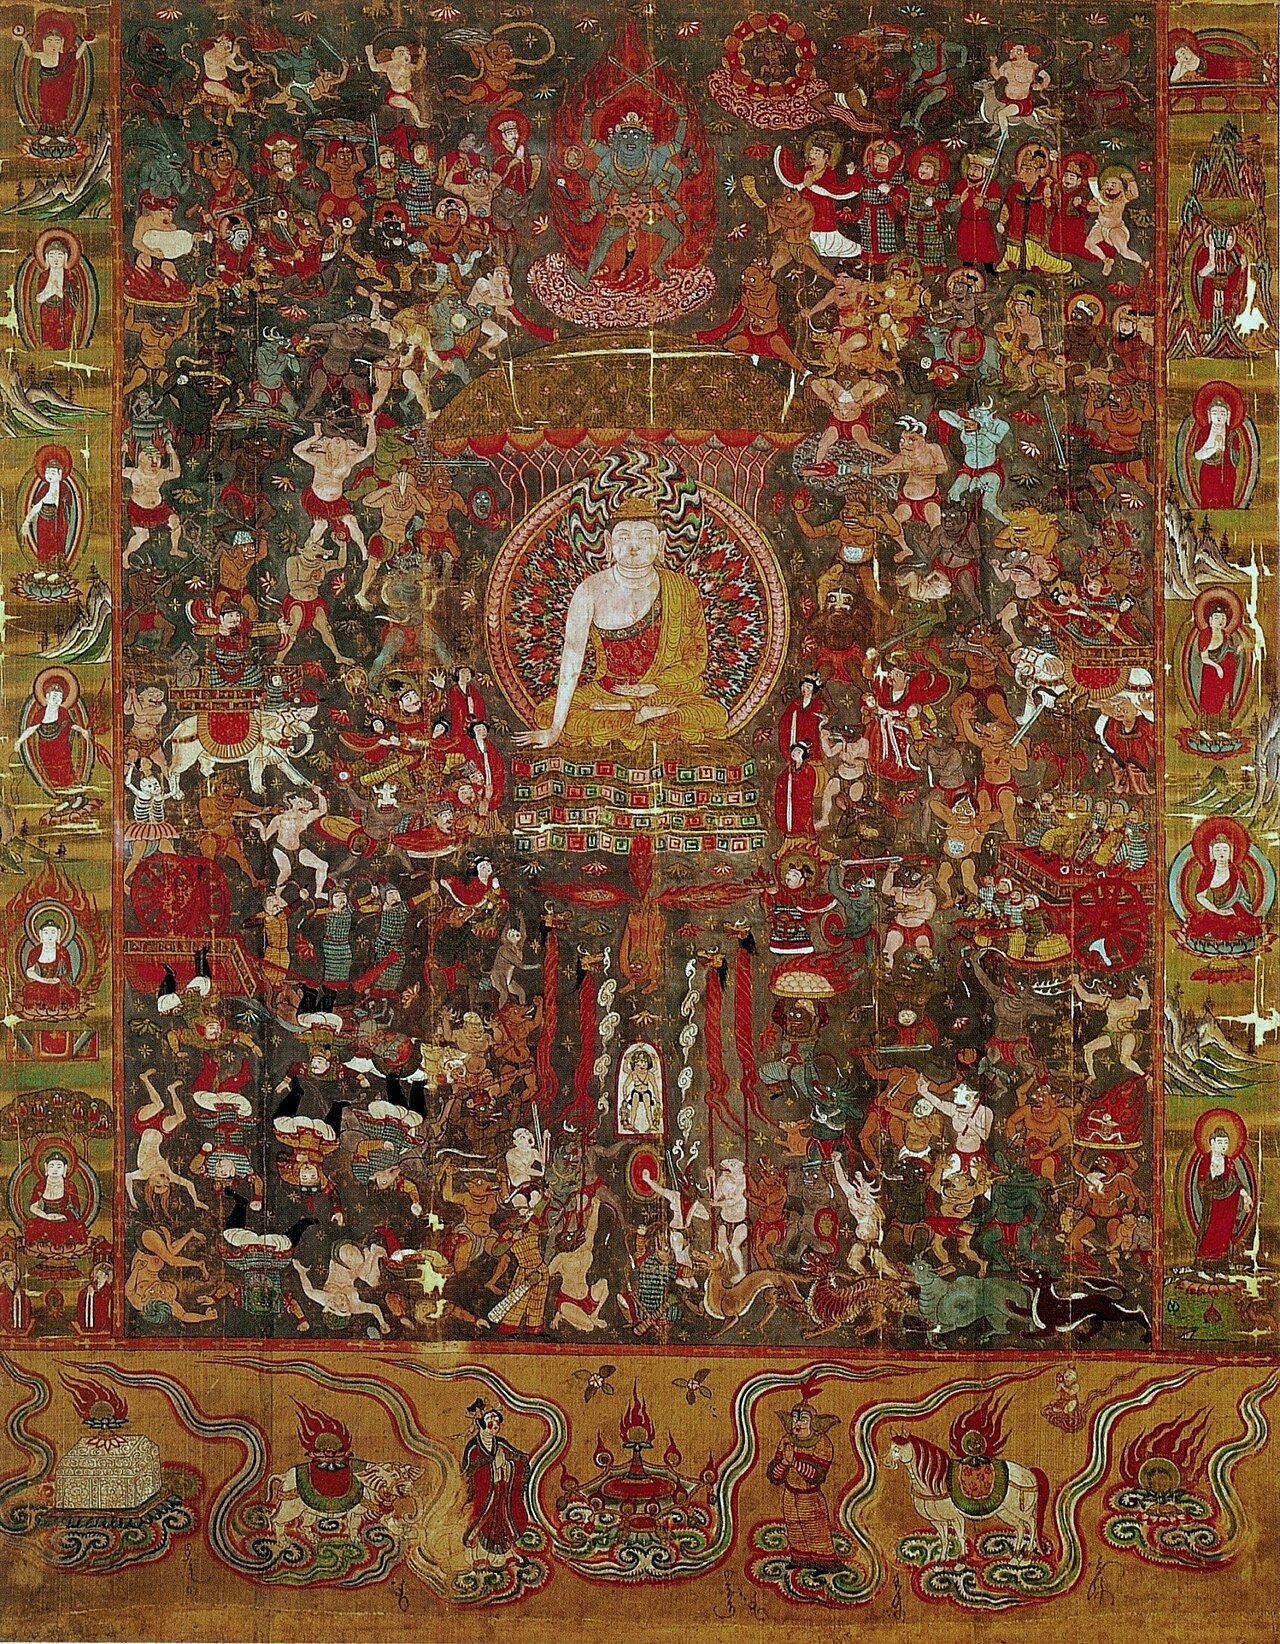
Large Buddhist painting on silk or cloth with a gold border. A seated golden Buddha with a haloed back panel sits centrally, right hand raised toward the ground. Around him, crowds of demons and armed warriors fill the dark field, with a blue-faced figure on a lotus throne at top. Small Buddhas stand in the side borders.Painting

Secondary source

Mara Experiences the Buddha

c. 1000 CE

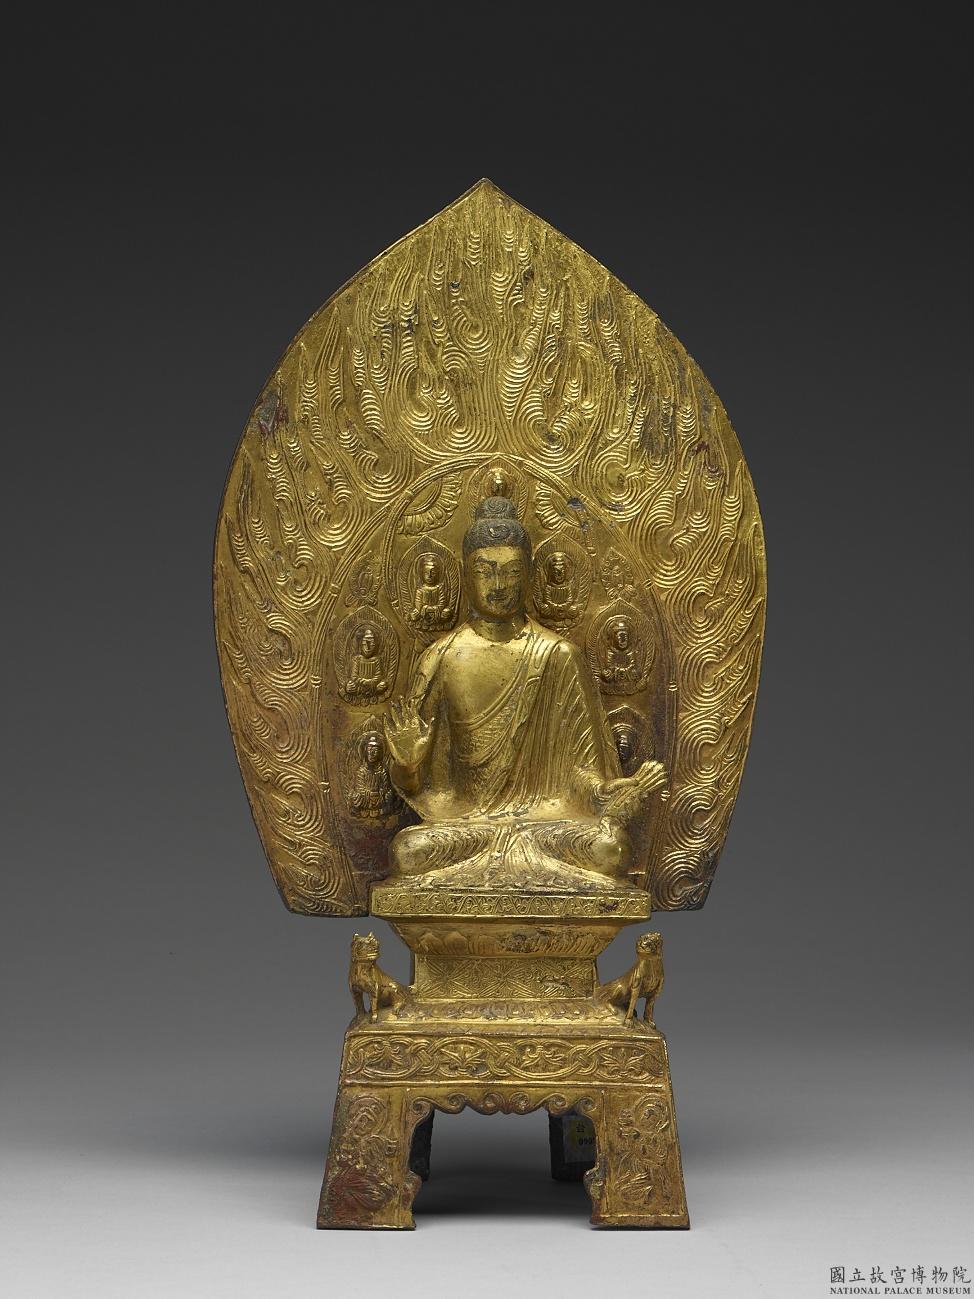
Gilt bronze seated Buddha figure with a flame-patterned mandorla behind him, with small seated Buddhas in niches, on a pedestal flanked by two small lion figures and a stand with carved panels. Photographed against a dark gray background with a National Palace Museum watermark.Sculpture

Secondary source

Seated Sakyamuni Buddha (Taihe Shakyamuni)

477 CE

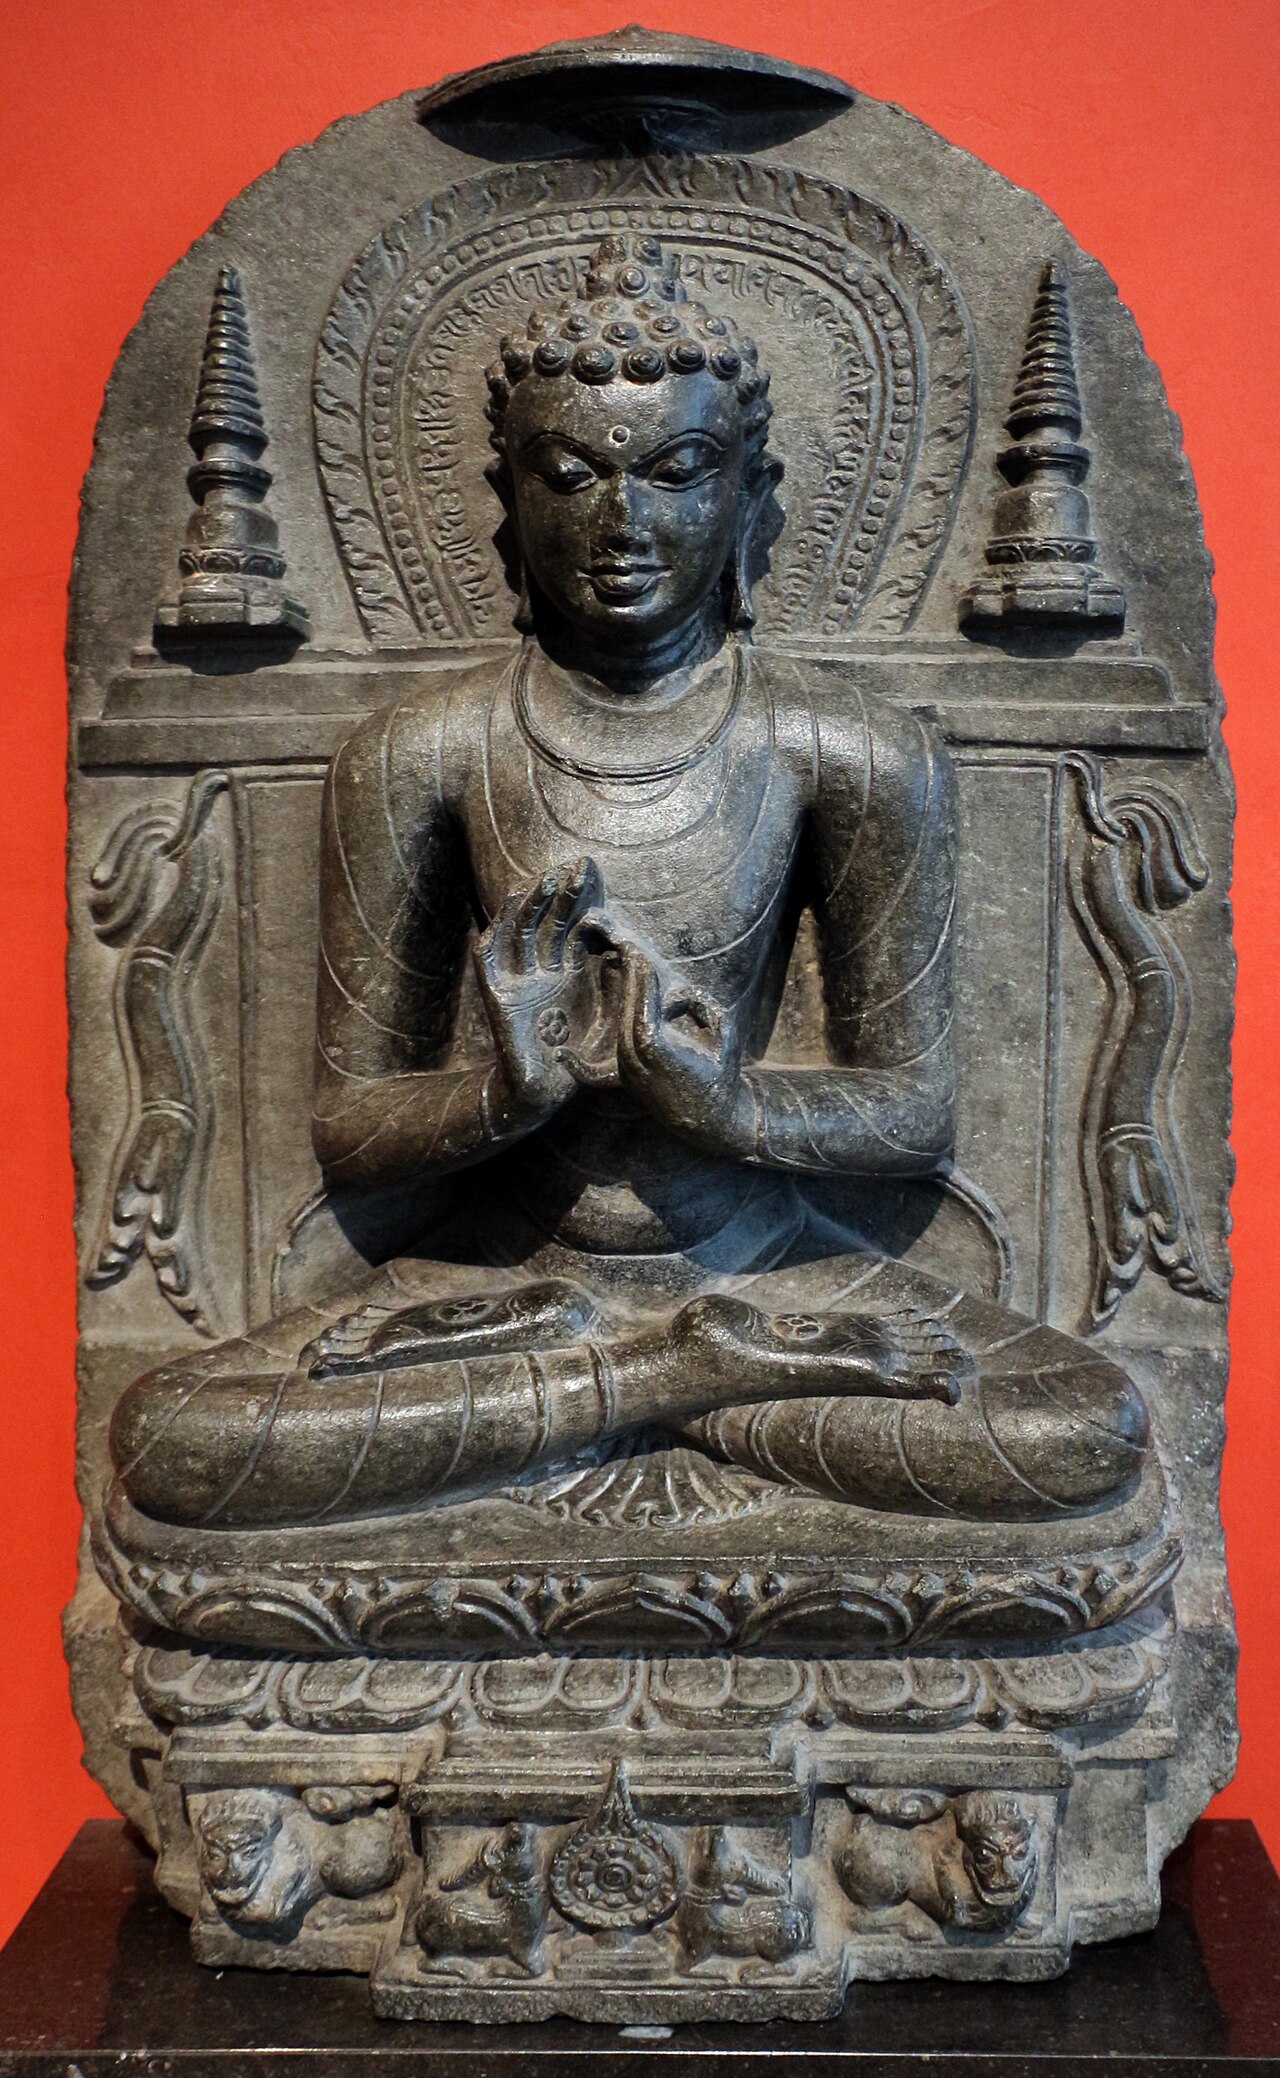
Dark stone sculpture of a seated Buddha with hands in teaching gesture, on a lotus throne with lion figures below, flanked by two stupas, against a red background. Carved inscription surrounds the halo.Sculpture

Secondary source

Buddha Giving the First Sermon

Photograph of a carved stone head of the Buddha against a dark background. The eyes are downcast and the hair is shown in tight wavy curls with a raised topknot. The head is broken off at the neck, and the stone has weathered, dark patches.Sculpture

Secondary source

Head of Buddha, Kharkai Monastery

c. 300 CE

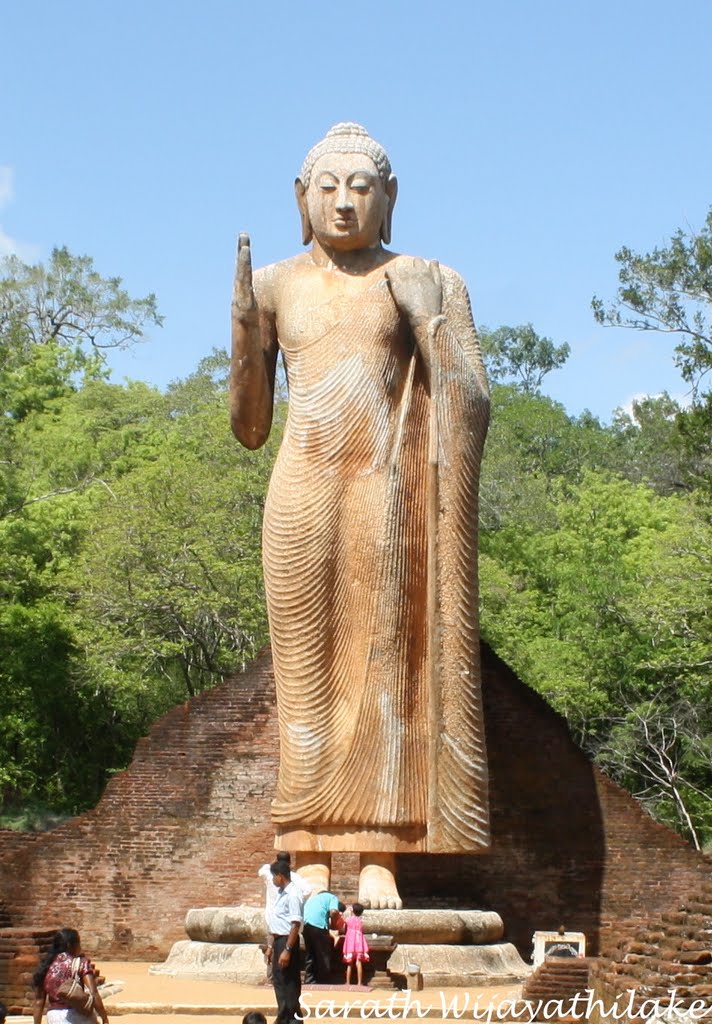
A tall, standing stone Buddha statue with its right hand raised, wearing a robe with carved parallel folds, in front of a brick ruin and green trees under a blue sky. People stand near its base.Sculpture

Secondary source

Maligawila Buddha Statue

7th century CE

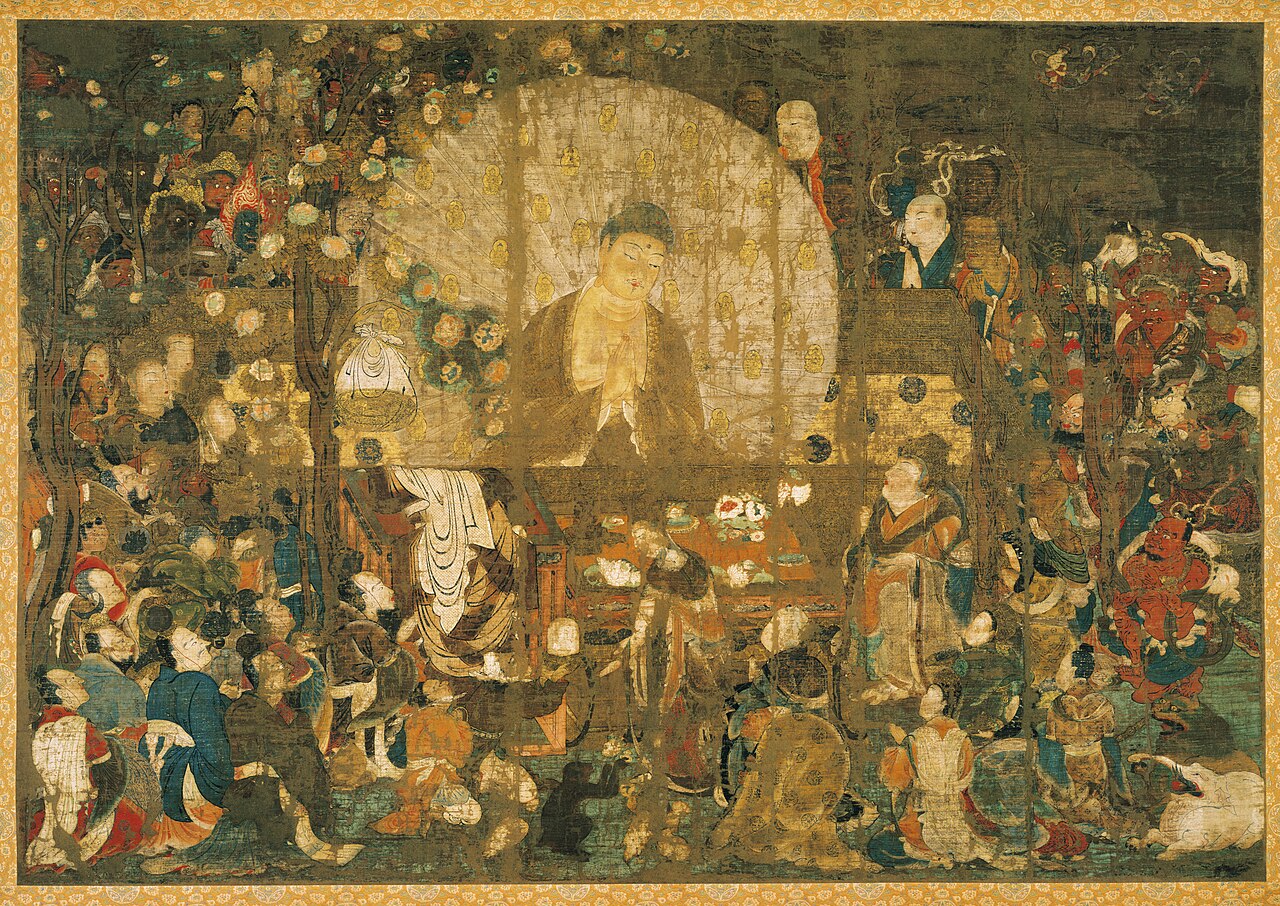
A Japanese painting on silk showing the Buddha standing in a golden coffin-like halo at center, with a glowing gold mandorla behind him. Crowds of robed figures, monks, and red-skinned demons surround him in a dense, gold-toned scene with trees at the sides.Painting

Secondary source

Shaka Rising from the Gold Coffin

11th century CE

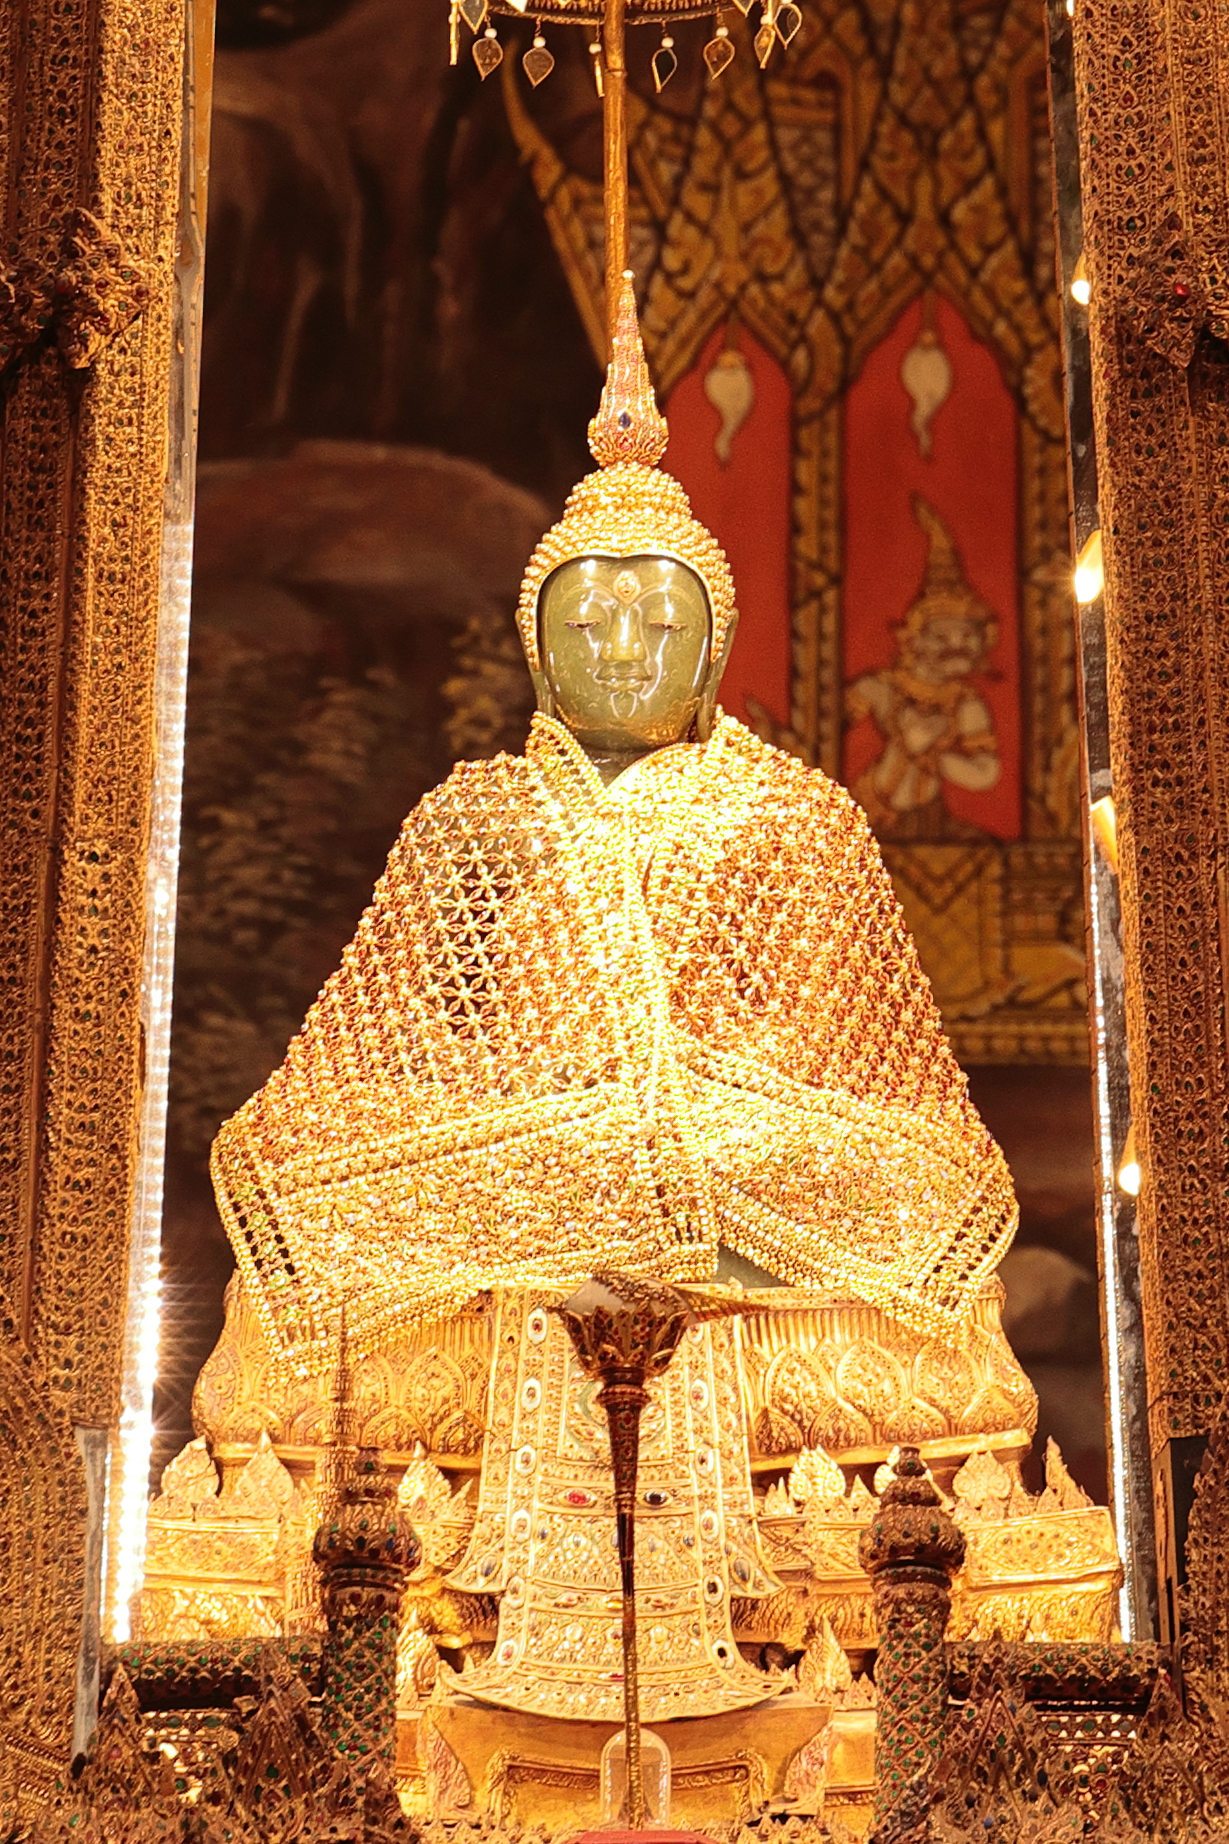
The Emerald Buddha statue seated in meditation, dressed in an ornate gold-embroidered winter robe covering its shoulders and body, with a gold multi-tiered base and a gilded canopy and temple interior behind it.Sculpture

Secondary source

Emerald Buddha

c. 15th century CE

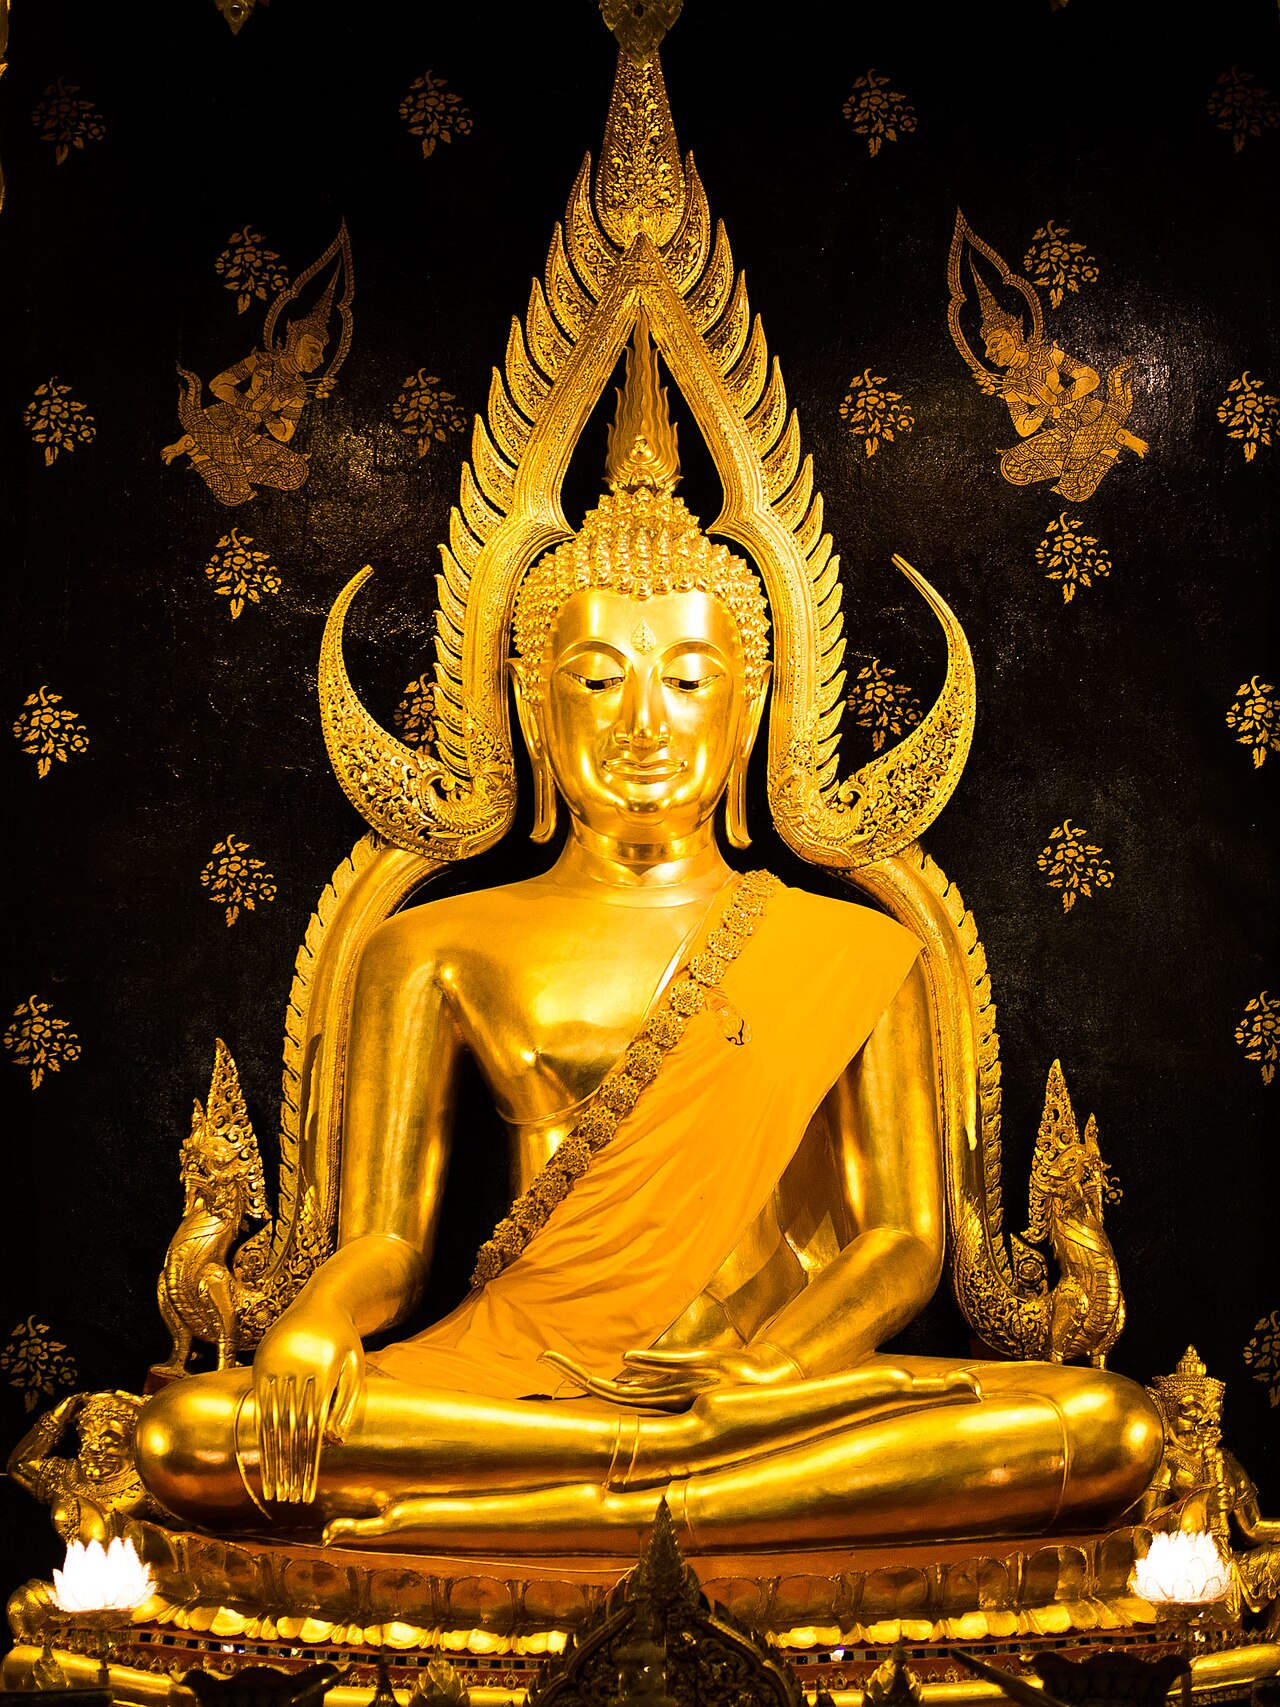
Photo of a gilded seated Buddha statue with hands in meditation pose, wearing a draped robe, under an ornate flame-shaped arch. Golden naga serpent figures flank it against a black background with gold floral patterns.Sculpture

Secondary source

Buddha Jinnaraja

14th century CE

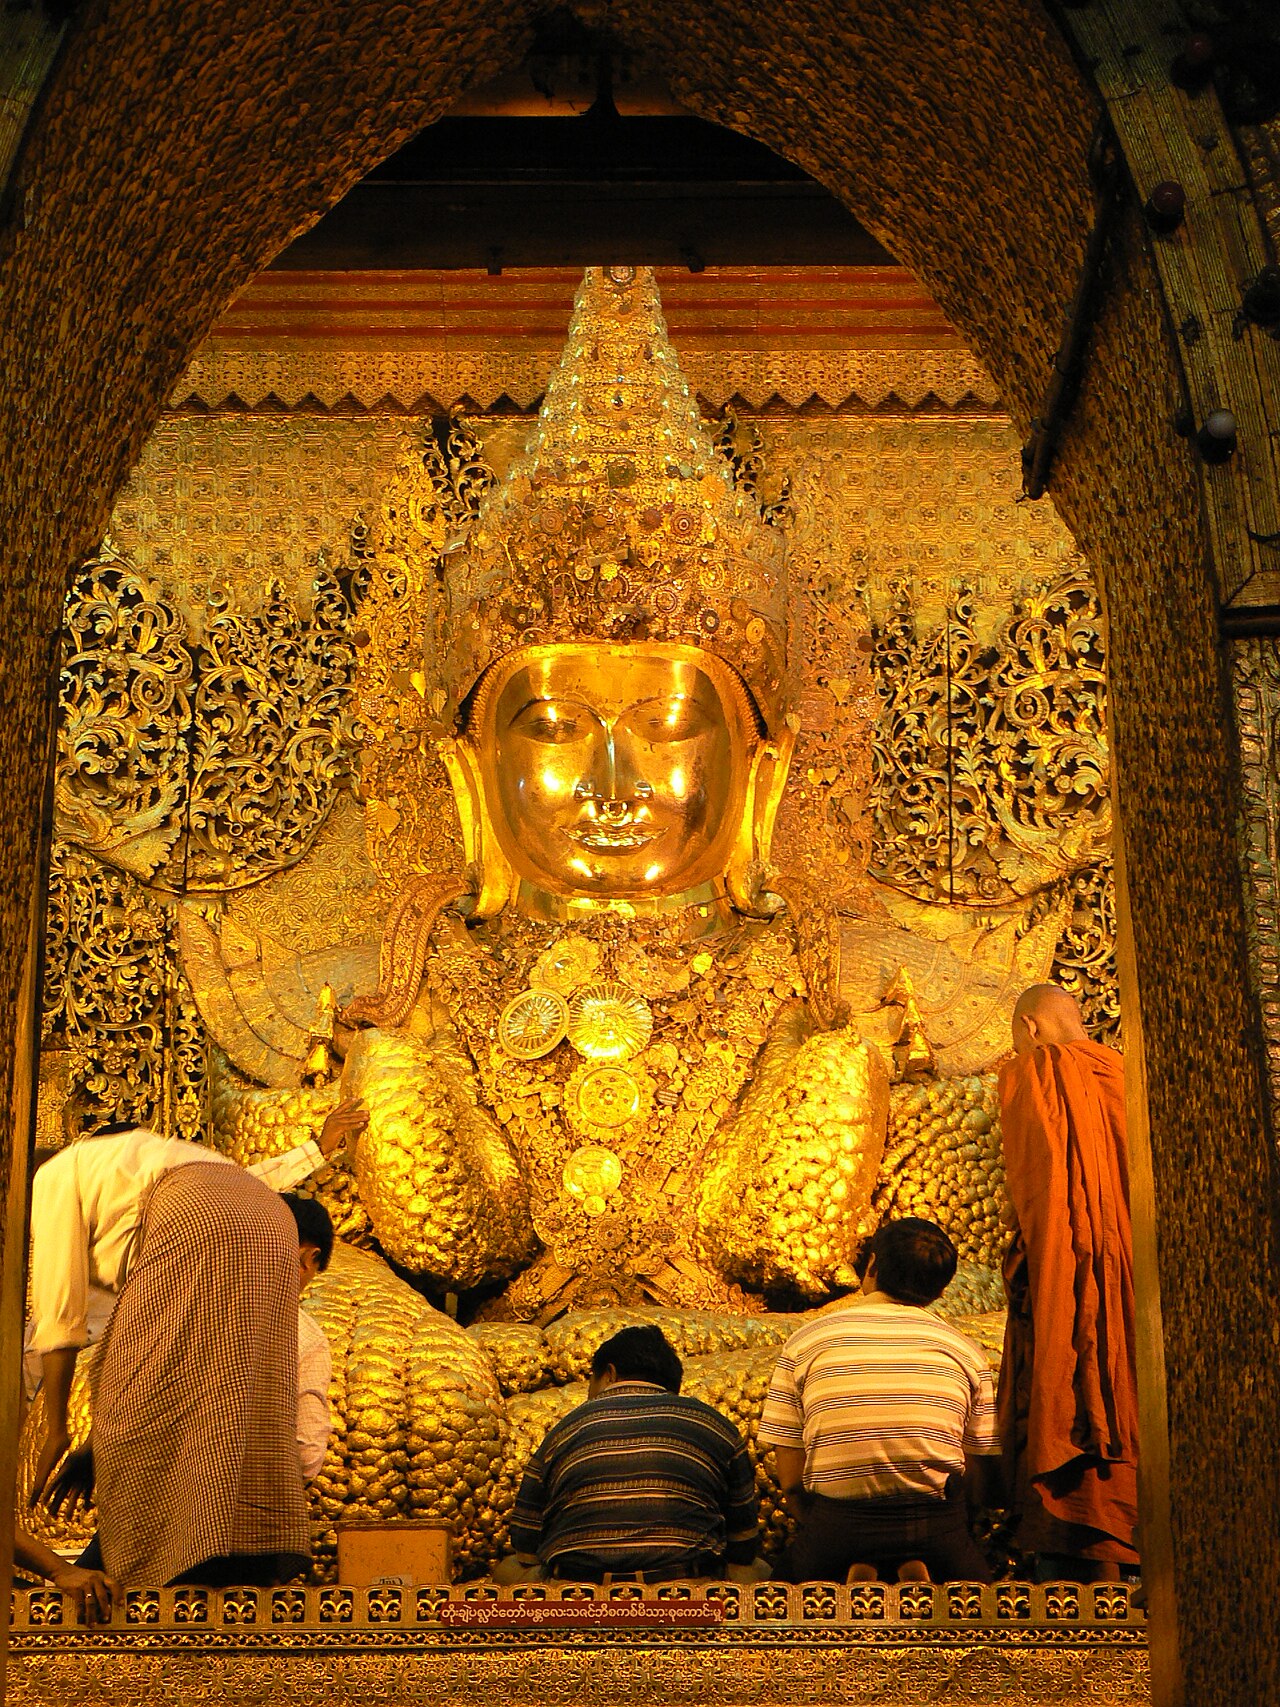
A gilded seated Buddha statue with a large, smooth golden face and an elaborate jeweled crown, draped in gold ornaments. Worshippers in longyi and a monk in orange robes kneel and stand before it, with thin gold leaf pressed on its surface.Sculpture

Secondary source

Mahamuni Buddha

moved to Mandalay in 1785

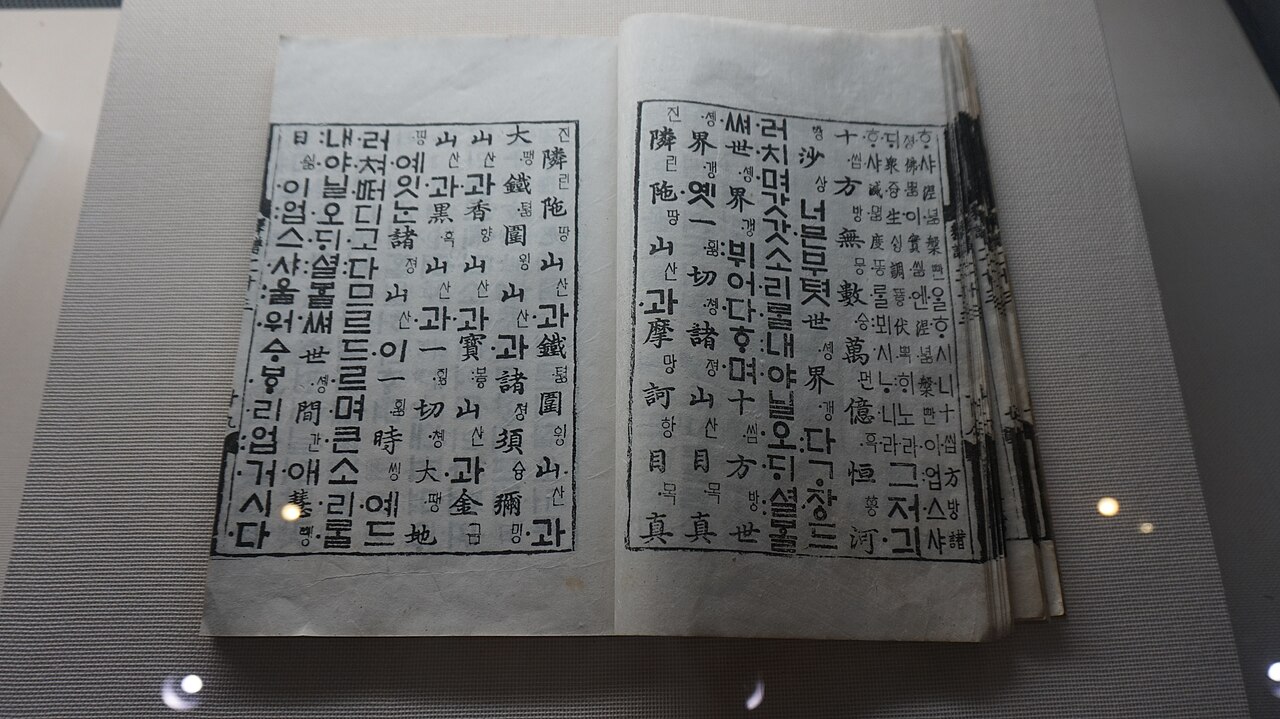
An open traditional bound book displayed under glass, printed on pale paper with vertical columns of Korean hangul and Chinese characters. Its page edges are dark and worn, and a bright reflection of a light sits on the glass.Book

Secondary source

Seokbosangjeol

Prince Suyang · 1447

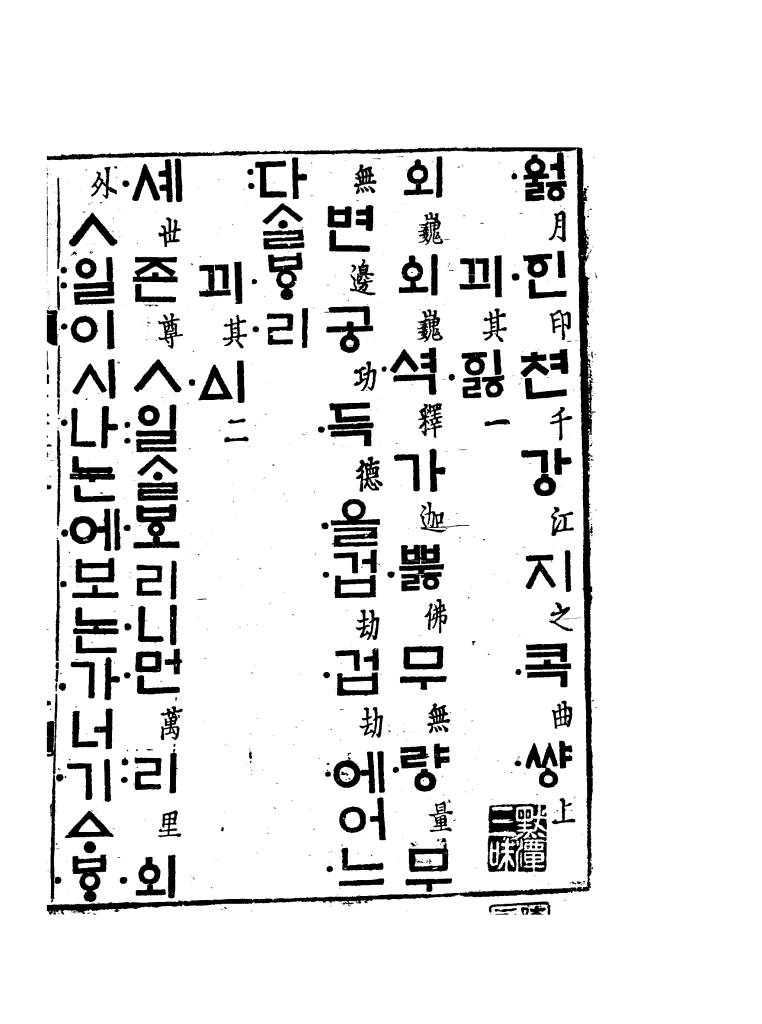
Scanned page of an old Korean woodblock-printed book in vertical columns of Hangul and Chinese characters, with the title 月印千江之曲 and 上 visible at the top right, plus a seal mark near the bottom.Book

Secondary source

Worin Cheon-gangjigok

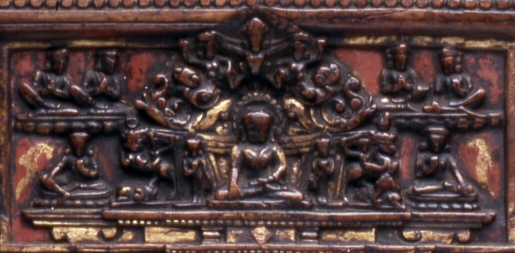
Carved and gilded relief panel with red-painted background showing a central seated Buddha in a haloed niche, flanked by figures and foliage scrolls, with seated meditating figures in small niches above and below.Artifact

Secondary source

Cover Panel of the Buddha Shakyamuni on the Night of His Enlightenment

Unknown (Tibet)

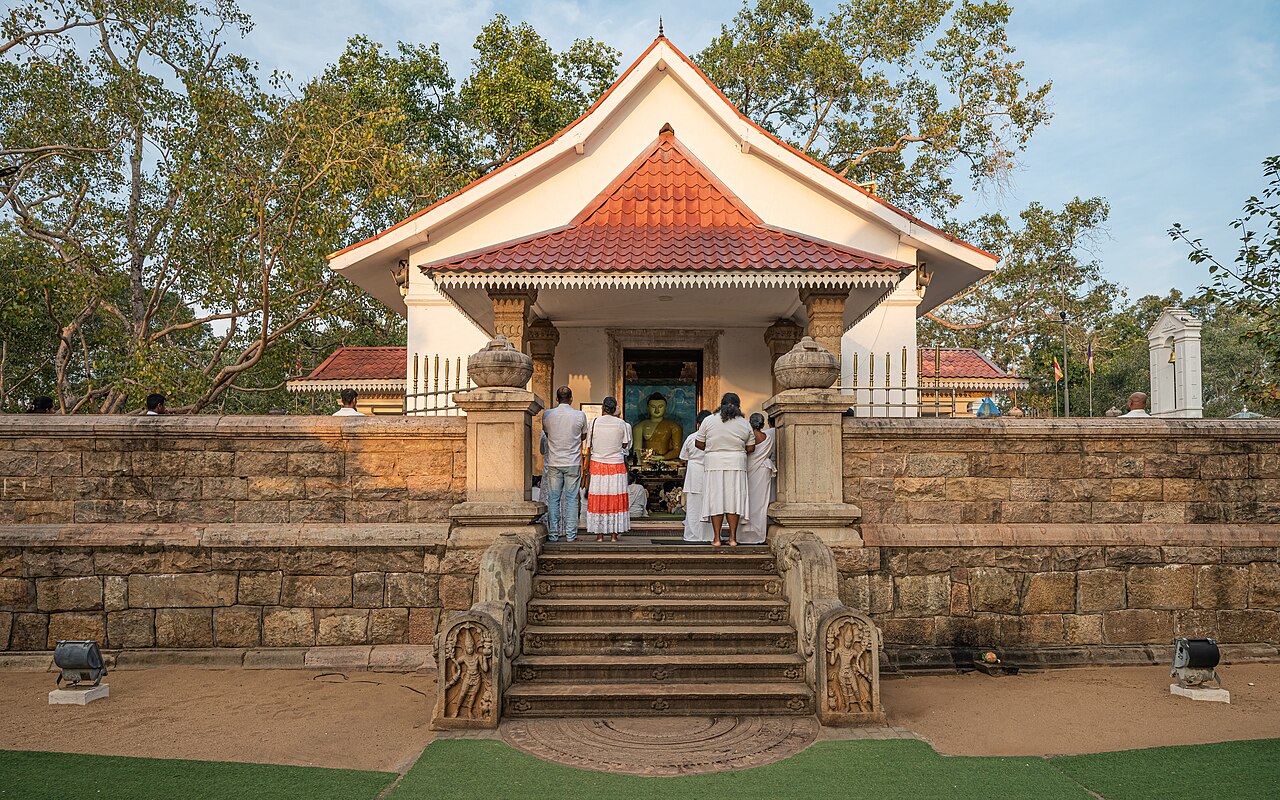
A white shrine building with a red tiled roof and carved stone steps. Inside the doorway a seated golden Buddha statue is visible. Several people in white clothing stand or kneel in worship at the entrance. Trees surround the complex.Artifact

Secondary source

Sri Maha Bodhi

3rd century BCE (planted)

Buddhist SuttasBook

Secondary source

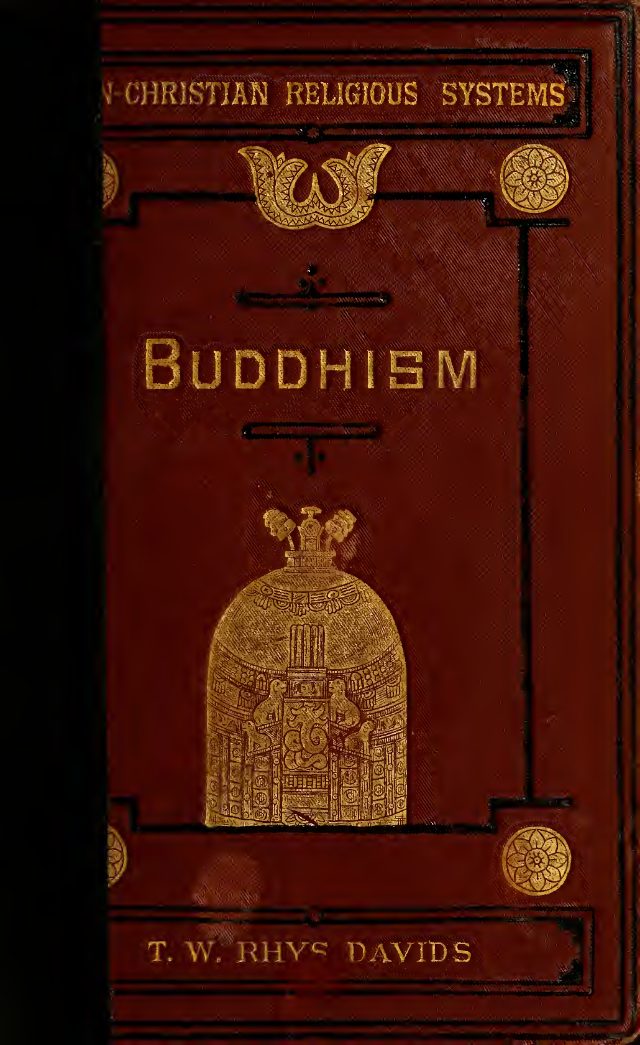
Buddhist Suttas

T. W. Rhys Davids · 1881

Vinaya Texts, Volume 1Book

Secondary source

Vinaya Texts, Volume 1

T. W. Rhys Davids and Hermann Oldenberg · 1881

Dialogues of the BuddhaBook

Primary source

Dialogues of the Buddha

T. W. Rhys Davids · 1921

The Word of the BuddhaBook

Primary source

The Word of the Buddha

Bhikkhu Nyanatiloka · 1907

The Life or Legend of Gaudama, the Buddha of the BurmeseBook

Secondary source

The Life or Legend of Gaudama, the Buddha of the Burmese

Paul Ambrose Bigandet · 1880

Book

Primary source

Dhammapada

The Buddha · 1881

Buddhist Birth-Stories: Jataka Tales with NidanakathaBook

Primary source

Buddhist Birth-Stories: Jataka Tales with Nidanakatha

T. W. Rhys Davids · 1878

Buddhism: Sketch of the Life and Teachings of Gautama the BuddhaBook

Secondary source

Buddhism: Sketch of the Life and Teachings of Gautama the Buddha

T. W. Rhys Davids · 1912

The Buddha and His ReligionBook

Secondary source

The Buddha and His Religion

Jules Barthélemy-Saint-Hilaire · 1914

A Buddhist CatechismBook

Secondary source

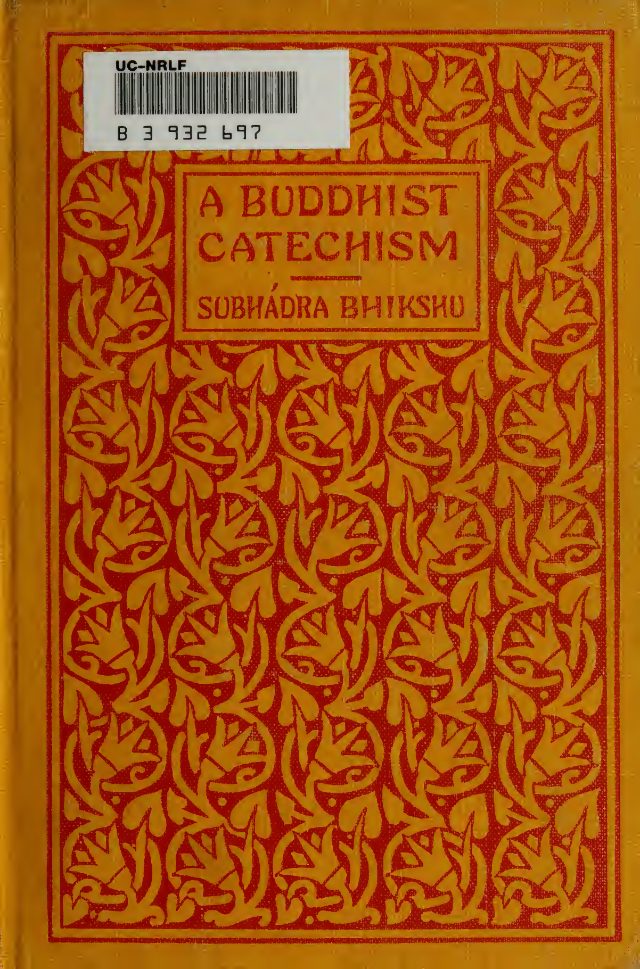
A Buddhist Catechism

Bhikshu Subhadra · 1920

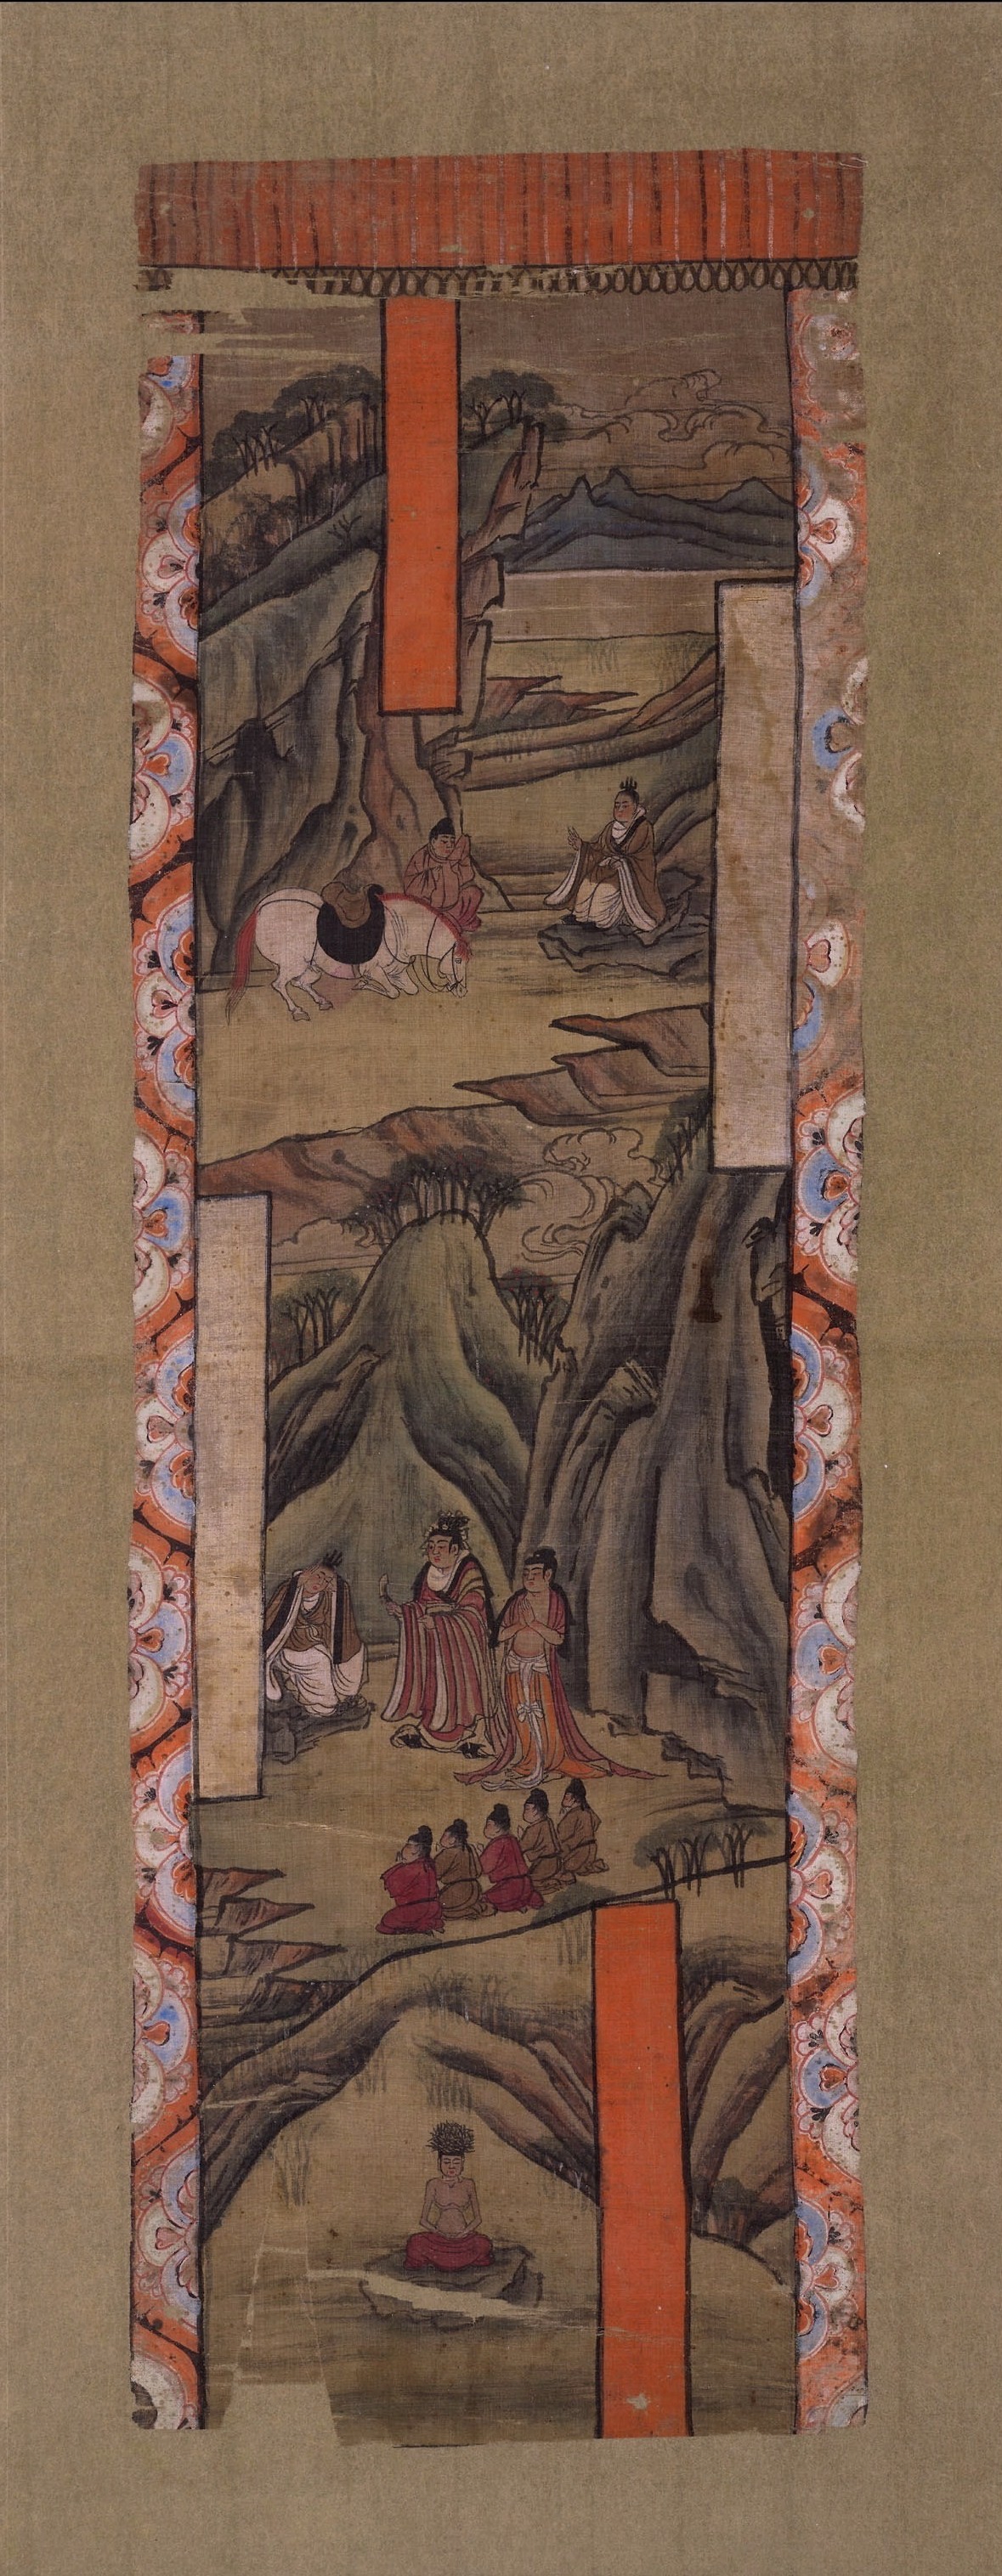
Vertical Tang dynasty painting on silk with orange panels and decorative border. Top: a white horse and a seated attendant beside a bearded figure on a rock. Middle: a kneeling man cutting hair before a standing figure in red robes and an attendant. Lower: a crowd of seated figures. Bottom: a meditating figure seated on a rock in a cave.Painting

Secondary source

Sakyamuni Cuts His Hair

Chinese artist · Tang Dynasty (618–907 AD)

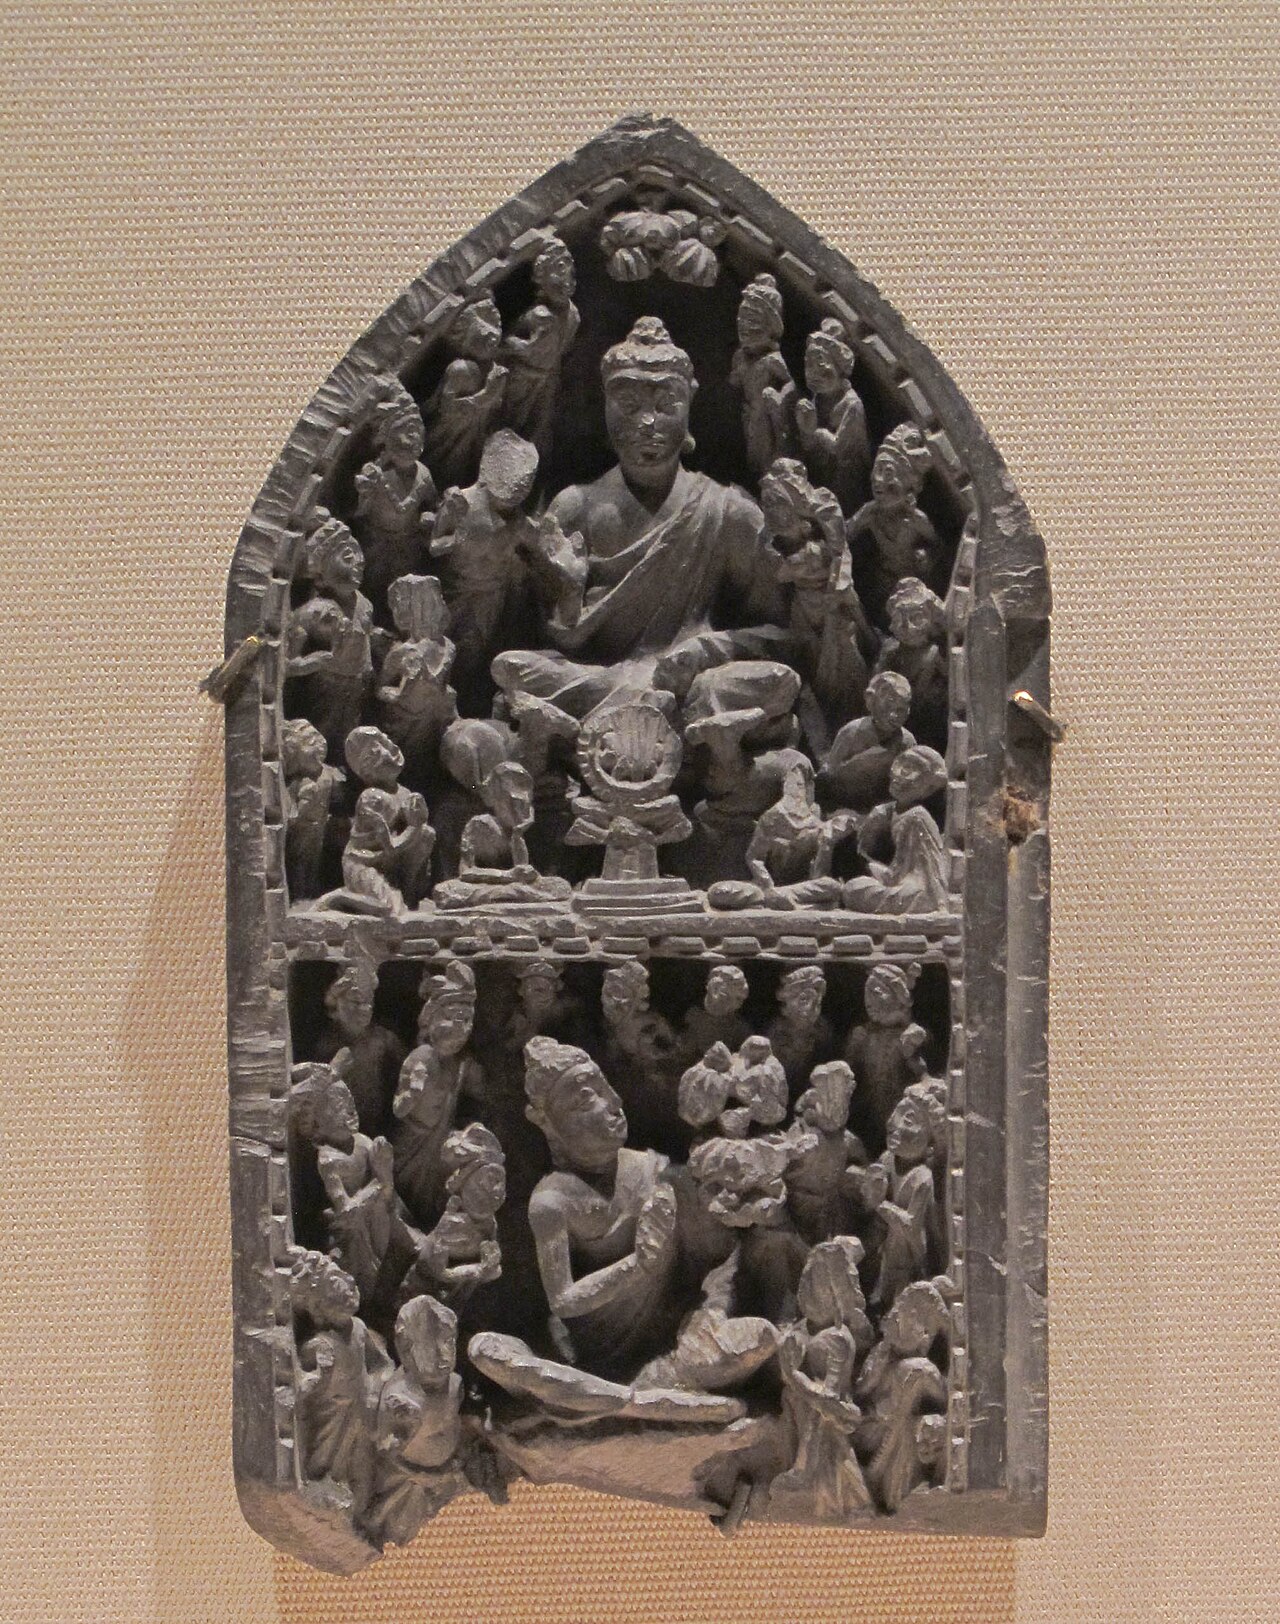
Dark gray schist carved panel with an arched top, showing the Buddha seated in the upper center with raised hand, flanked by attendant figures, with a wheel-like symbol on a pedestal below him. Lower register shows more figures around a central seated figure.Sculpture

Secondary source

Portable Shrine Panel Showing the First Sermon

5th–6th century CE

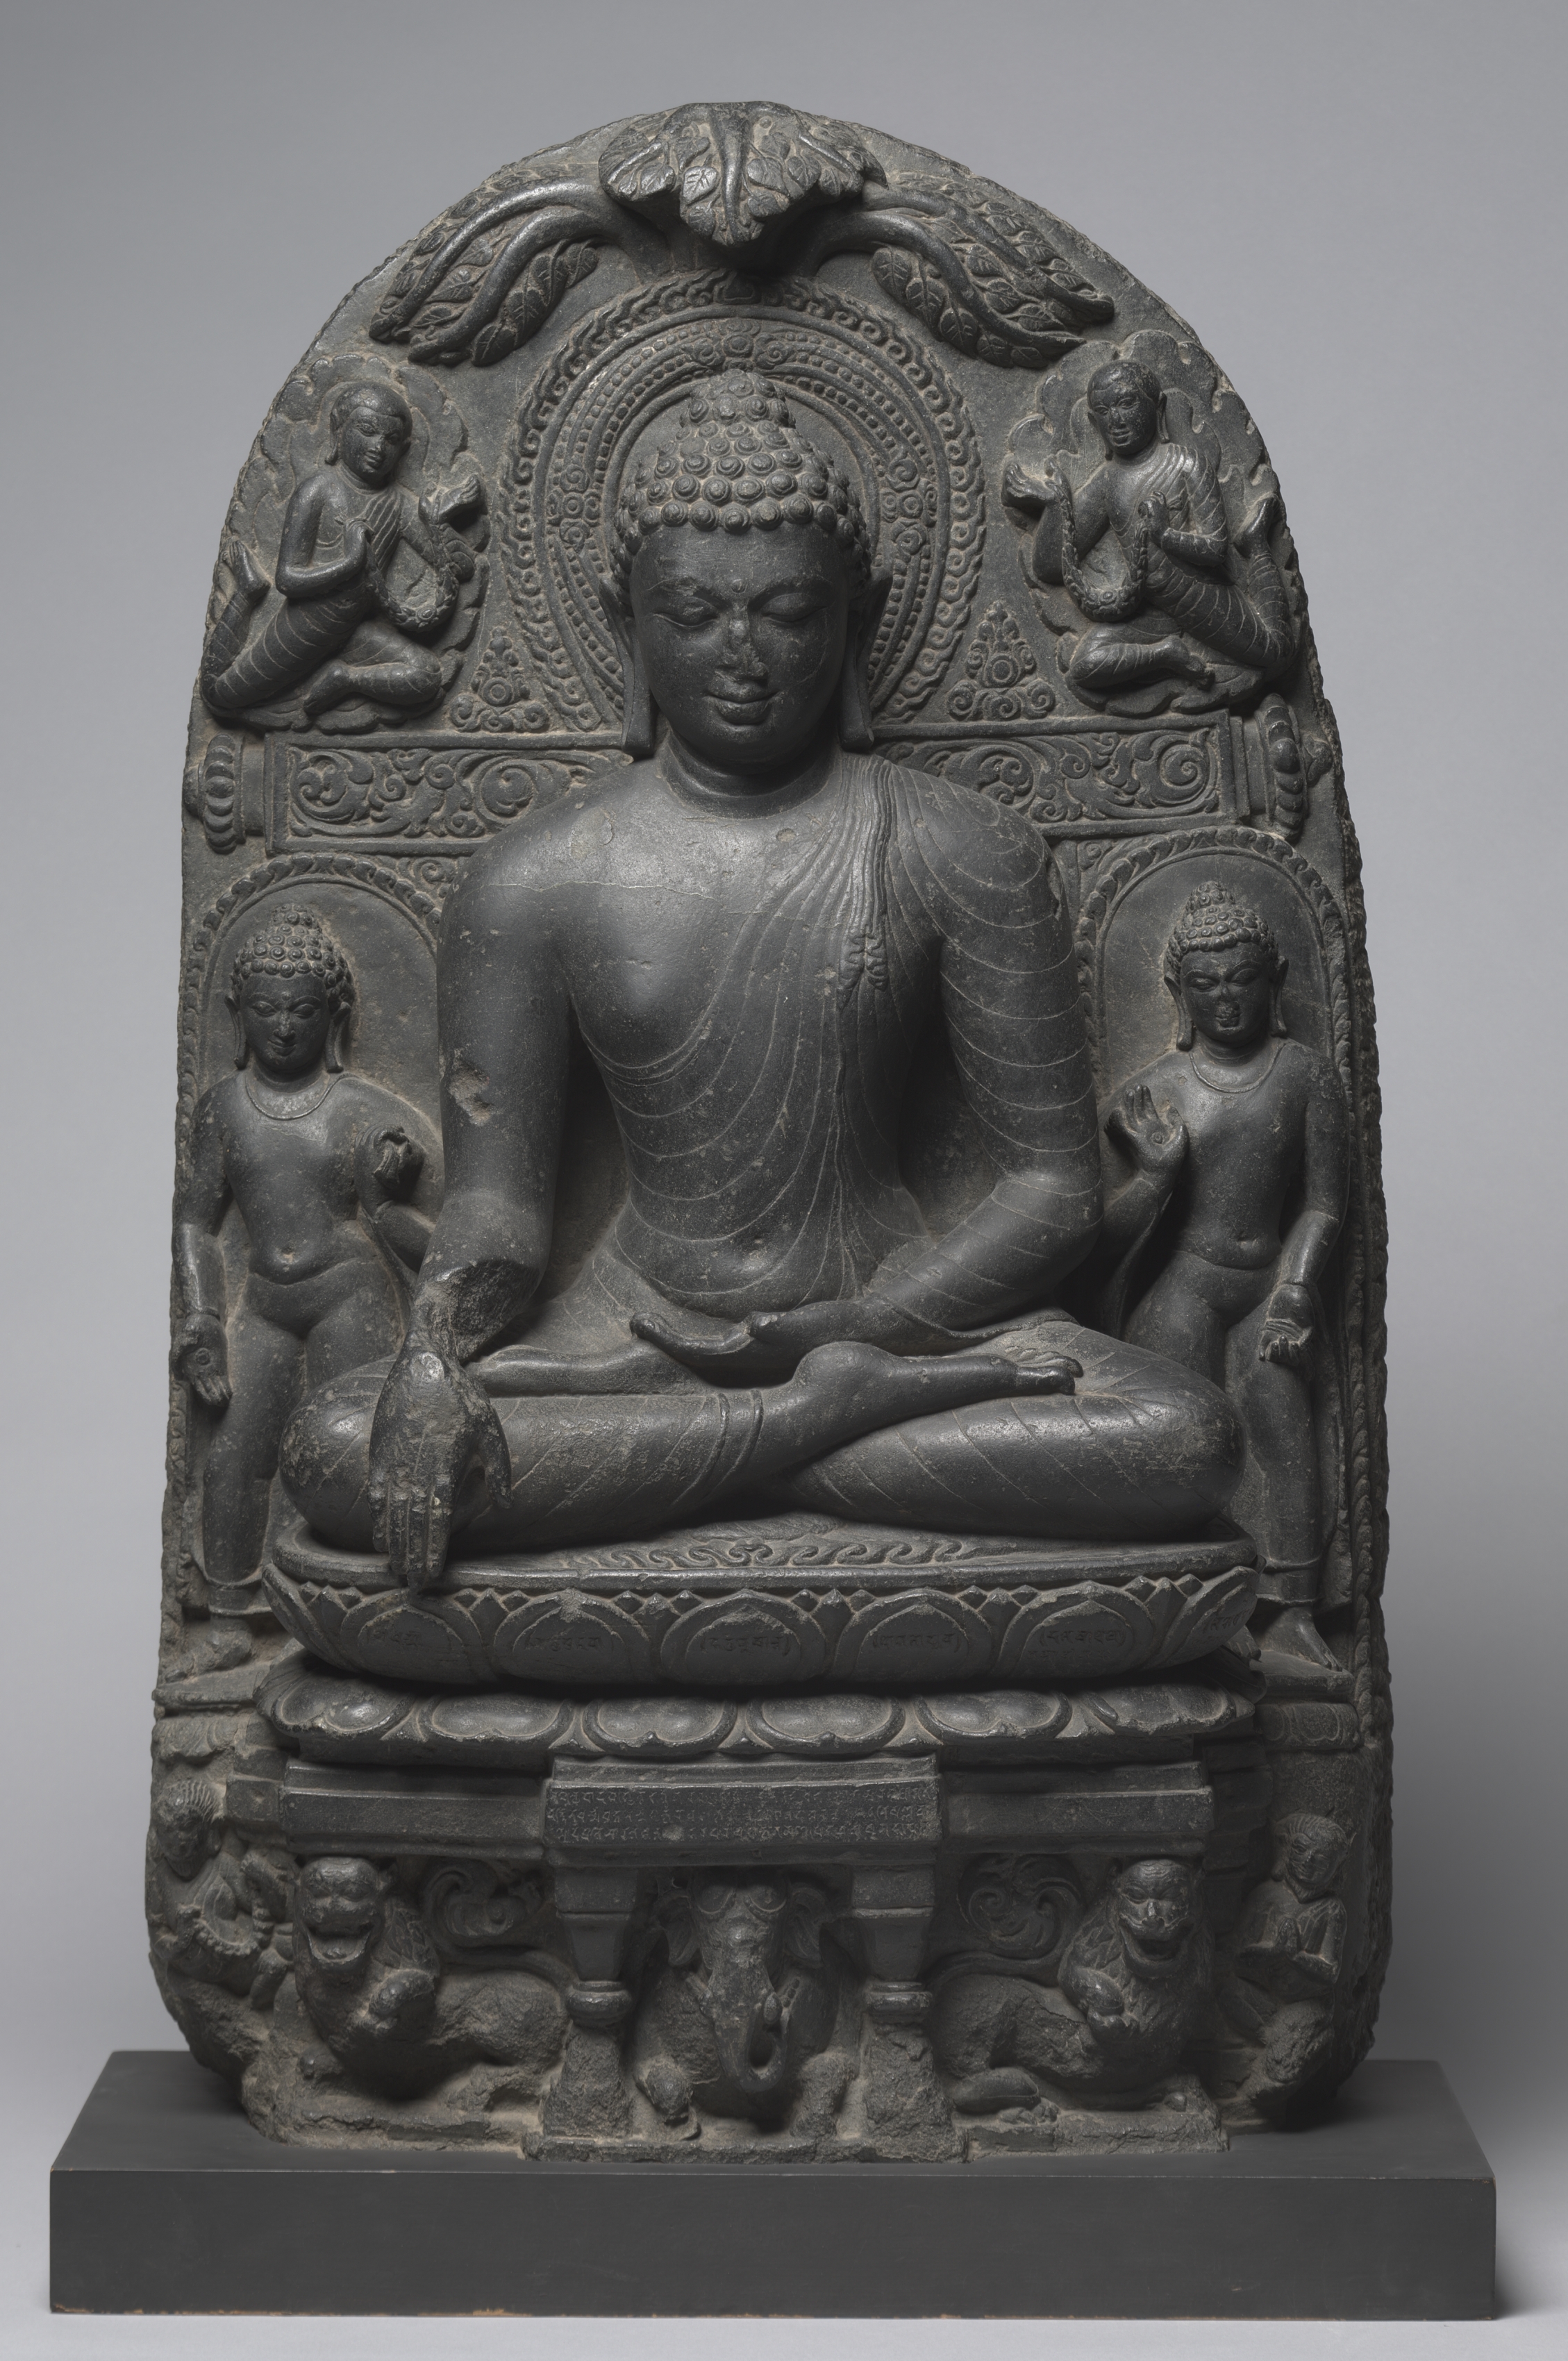
Stone sculpture of the seated Buddha touching the earth with one hand, with tree branches and heart-shaped leaves carved above his head.Sculpture

Secondary source

Buddha Calling on Earth to Witness

800s

Book

Secondary source

Buddhist Birth Stories: Jataka Tales, Volume 1

T. W. Rhys Davids and V. Fausböll (translators) · 1880

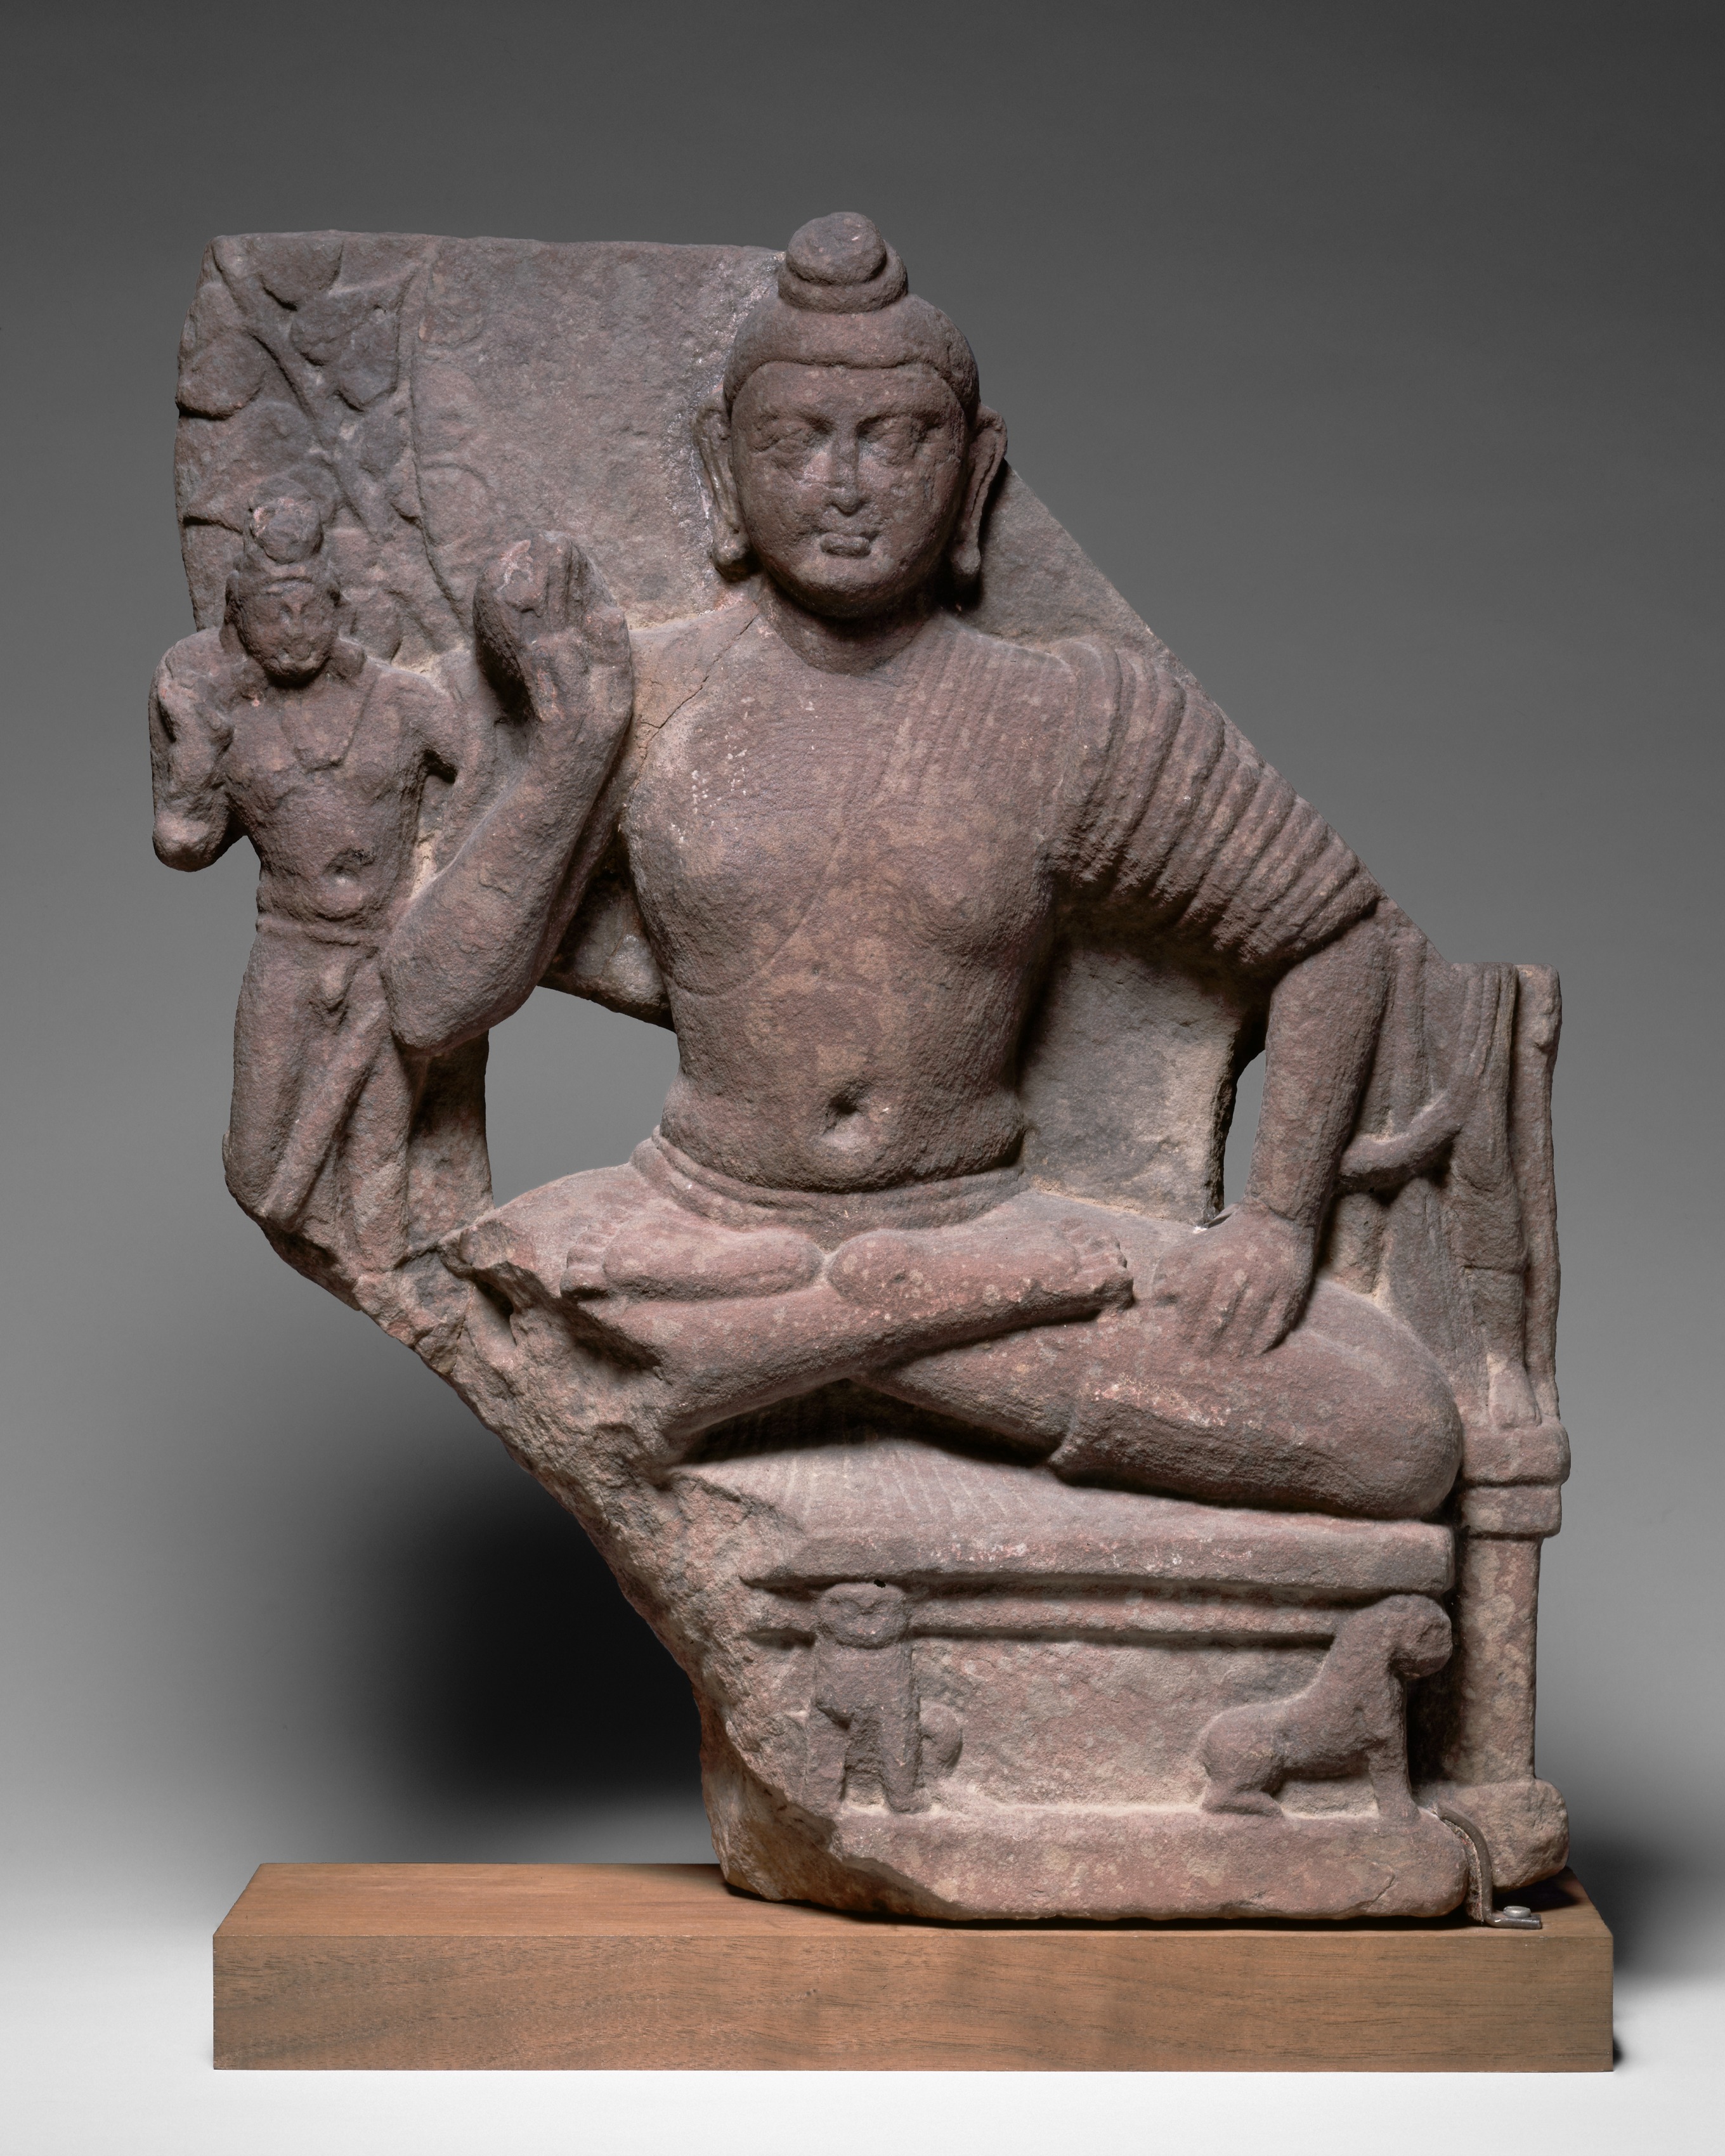
Red sandstone sculpture of a seated Buddha with a topknot and elongated earlobes, legs crossed, right hand touching the knee. A standing attendant figure stands at left, holding up a hand. A small seated figure and a lion-like animal appear on the base. Plain wooden stand beneath.Sculpture

Secondary source

Seated Shakyamuni Buddha under the Bodhi Tree

c. 120 CE

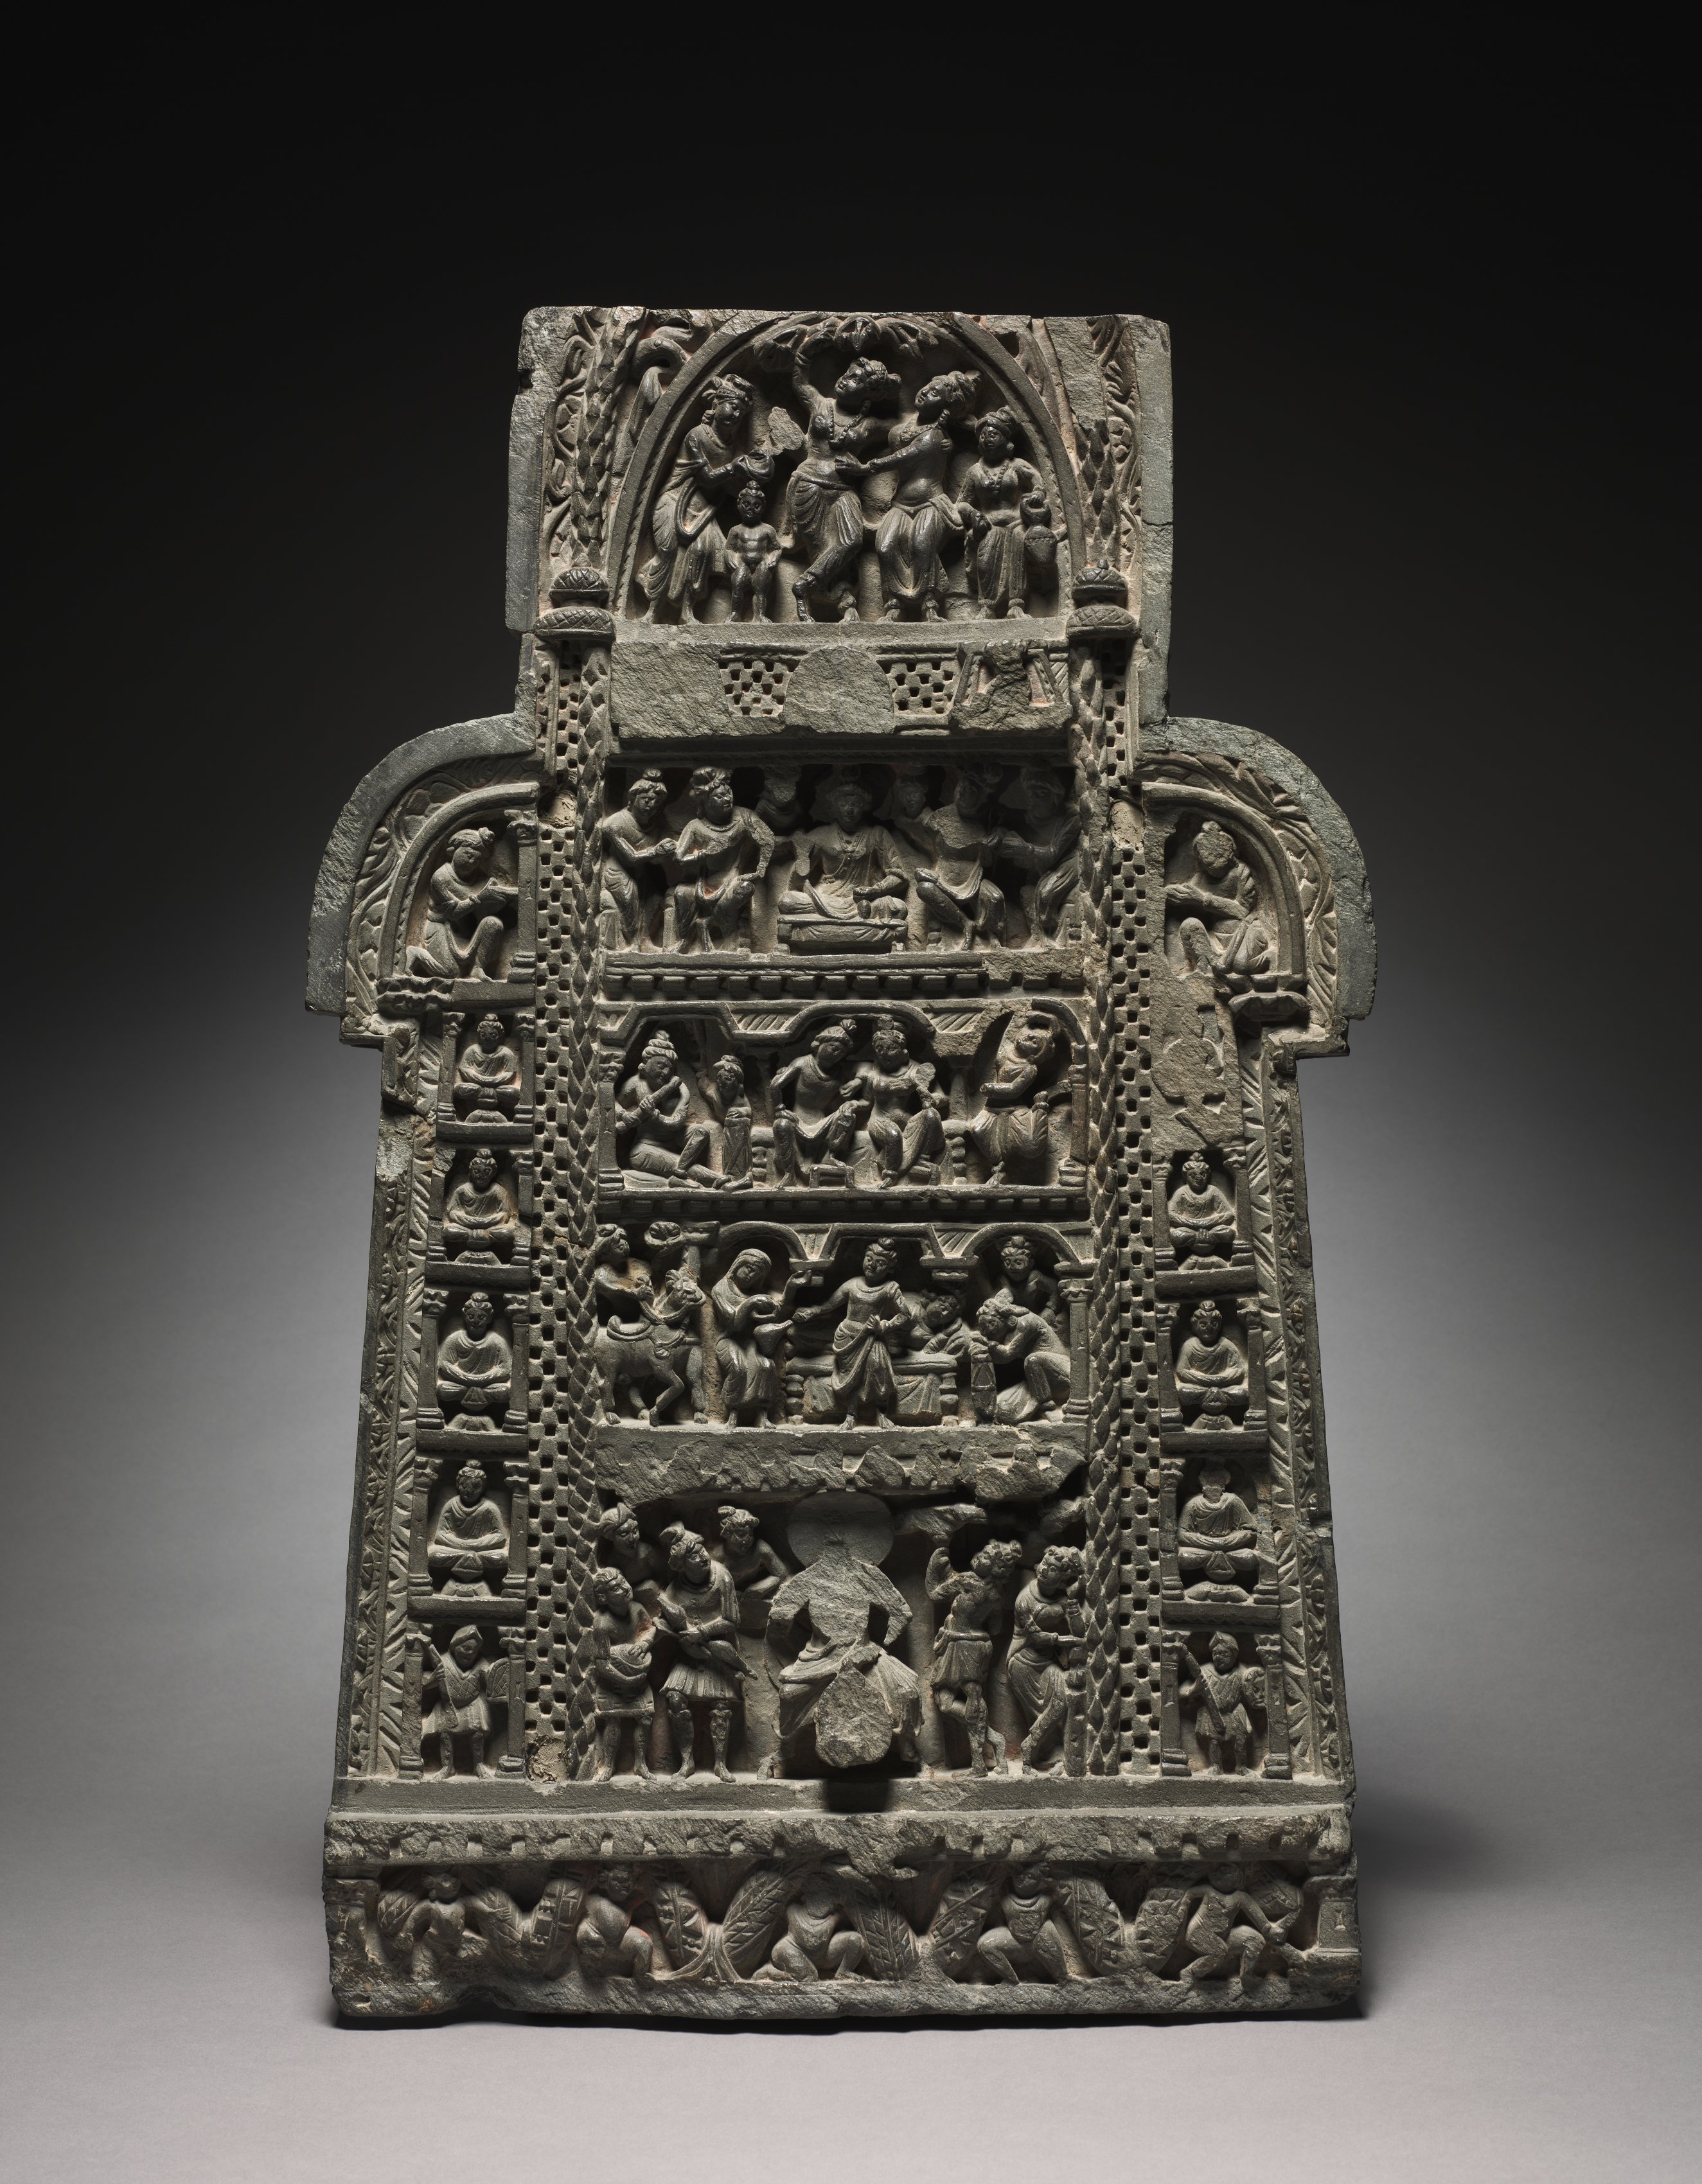
Photo of a dark gray schist stone relief carved with multiple tiers of narrative scenes and small seated figures in niches, set against a black-to-gray backdrop. Carved architectural arches frame the panels.Sculpture

Secondary source

Scenes from the Life of the Buddha Relief

100s CE

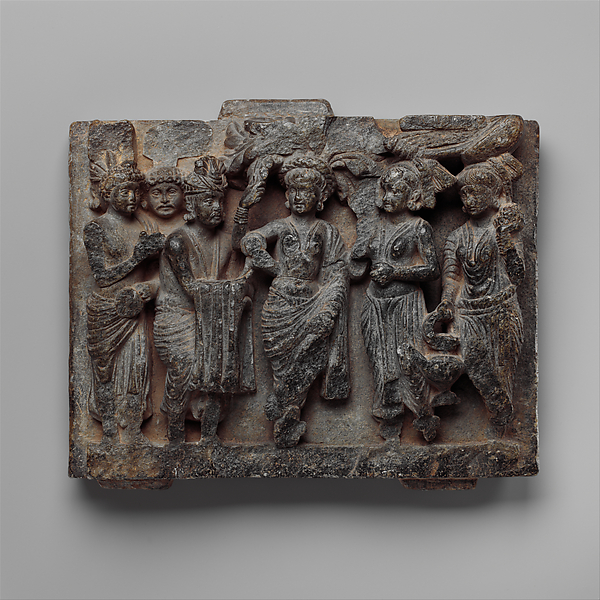
Photograph of a grey schist relief panel showing five standing figures in carved robes and headdresses against a plain background, with a stone border along the bottom edge. Figures appear to be attendants and a central female figure beneath foliage.Sculpture

Secondary source

Birth of the Buddha Shakyamuni Relief

ca. 2nd century

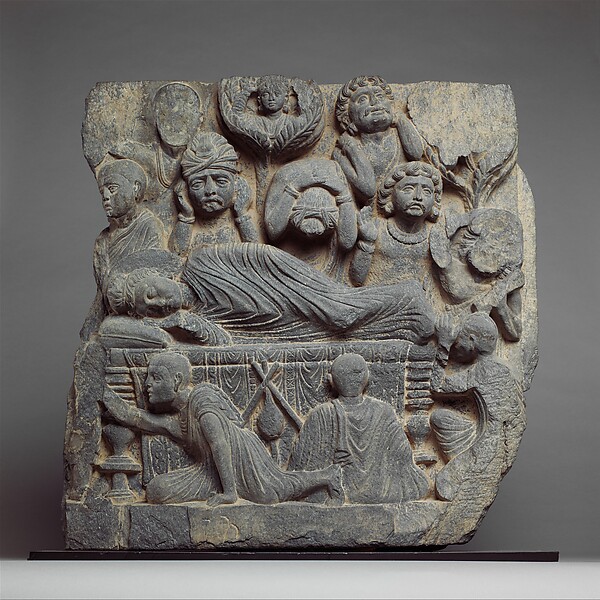
Grey schist relief sculpture showing the Buddha reclining on a bed at center, with draped robe and mourners around him. Seated figures in the lower foreground, a bowl and small stand at left, and crowned and bearded figures above.Sculpture

Secondary source

The Death of the Buddha (Parinirvana)

ca. 3rd century

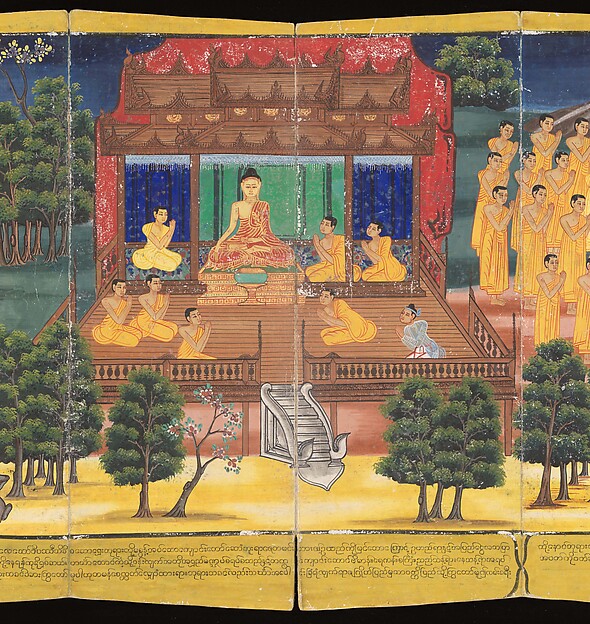
Painted panel of a Burmese Buddhist scene: a seated Buddha in red robes under a red-and-gold tiered pavilion with blue curtains, surrounded by seated and standing monks in yellow robes on a wooden platform. Trees and a Burmese inscription band appear below.Painting

Secondary source

Scenes from the Life of the Buddha

King Mindon · 1880s

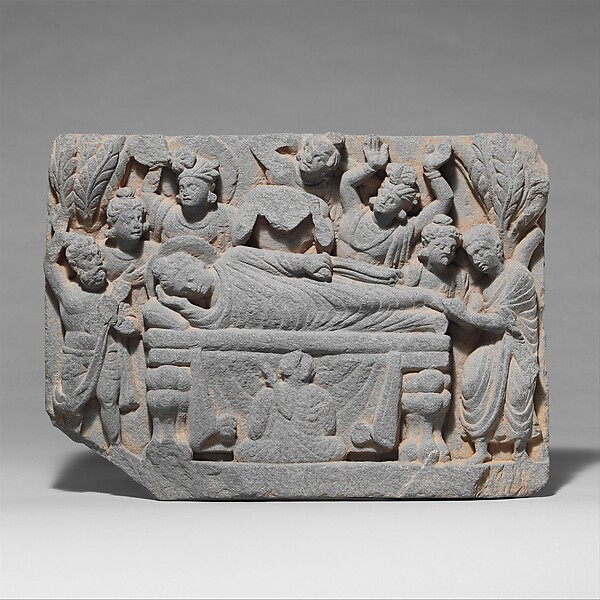
Gray schist relief panel showing the reclining Buddha on a bier with draped robes, mourners around him, a figure kneeling below, and trees at the corners. Carved in low relief on a stone slab.Sculpture

Secondary source

Death of the Buddha (Parinirvana)

2nd–3rd century

Book

Secondary source

The Gospel of Buddha

Paul Carus · 1915

The Fo-sho-hing-tsan-king, a Life of BuddhaBook

Secondary source

The Fo-sho-hing-tsan-king, a Life of Buddha

Asvaghosa · 1883

The Romantic Legend of Sakya BuddhaBook

Secondary source

The Romantic Legend of Sakya Buddha

Samuel Beal · 1875

Document

Secondary source

Age of Lord Buddha's Death

Tallapragada Subba Row · 1910

Document

Secondary source

Buddha entry, Encyclopaedia Britannica

Thomas William Rhys Davids · 1911

Book

Secondary source

The Buddha Pacifies the Malcontents of Rajagriha

1922

Book

Secondary source

The Buddha as Guru and as King

Ernest Binfield Havell · 1924

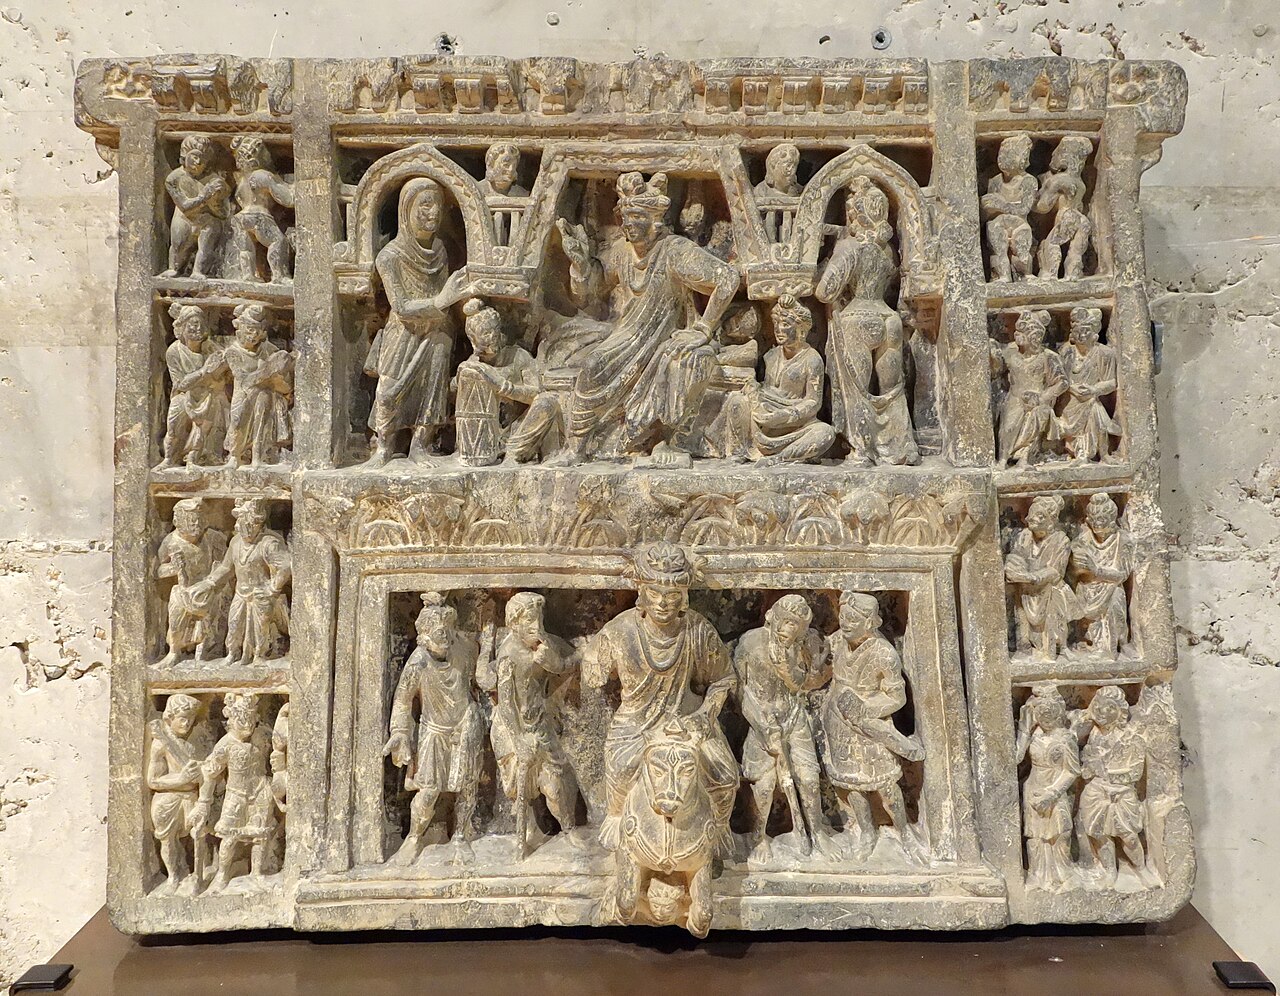
Photograph of a grey schist Gandhara relief with carved scenes from the life of the Buddha, arranged in a central panel with a seated figure and a lower panel of standing figures and a horse, framed by smaller registers of figures on each side.Sculpture

Primary source

Gandhara Relief of Scenes from the Life of the Buddha

2nd-3rd century

A carved stone relief in a museum display case showing a seated Buddha at center with hands in meditation pose, surrounded by smaller carved figures, niches, and decorative scenes on a tiered base and arched frame.Sculpture

Secondary source

Steatite Relief of Scenes from the Life of the Buddha

12th century

The Dhamma of Gotama the Buddha and the Gospel of Jesus the ChristBook

Secondary source

The Dhamma of Gotama the Buddha and the Gospel of Jesus the Christ

Charles Francis Aiken · 1900

The Story of the BuddhaBook

Secondary source

The Story of the Buddha

Edith Holland · 1918

Long, narrow palm-leaf manuscript leaf with dense lines of script in black ink, divided by painted panels. Three seated painted figures with haloes appear in the panels; the central figure in red robes is seated and surrounded by attendants.Painting

Secondary source

The Buddha Distributes Honey, Prajnaparamita Manuscript

12th century

Prakrit DhammapadaBook

Secondary source

Prakrit Dhammapada

Beni Madhab Barua · 1921

The Light of Asia and the Light of the WorldBook

Secondary source

The Light of Asia and the Light of the World

Samuel H. Kellogg · 1885

The Way of the BuddhaBook

Secondary source

The Way of the Buddha

Herbert Baynes · 1914

Buddhist Mahayana TextsBook

Secondary source

Buddhist Mahayana Texts

Asvaghosa · 1894

Document

Tertiary source

Buddhism entry, Catholic Encyclopedia

Charles Francis Aiken · 1913

Want the full shelf? Chat with Buddha in the app and open the Sources panel — every quote links back to the original.

Use Buddha in class

2 collections

Ready-made collections from the Humy team that feature Buddha. Preview any of them, then try it free.

Trusted by educators worldwide

Conversations
375,000+
Real exchanges between students and historical figures
Messages exchanged
4,142,000+
Across every figure, classroom and language
Historical figures
100,000+
Each informed by a curated biography and selected sources
Languages supported
50+
From English and Spanish to Arabic and Korean

Paying customers

Used by 98 schools and universities

Partner school logo
Tecnológico de Monterrey logo
Hyper Island logo
Partner school logo
Chambersburg Area School District logo
Broward County Public Schools logo
Nebo School District logo
National Louis University logo
South Florida PBS logo
Punahou School logo
University of Wisconsin–River Falls logo
Partner school logo
Partner school logo
Archbishop Mitty High School logo
Kingsburg High School logo
Norwalk Public Schools logo
Partner school logo
Connections logo
Partner school logo
Moore Public Schools logo
Partner school logo
Partner school logo
Partner school logo
Partner school logo
Robbinsville Public Schools logo
Partner school logo
Partner school logo
Partner school logo
Tecnológico de Monterrey logo
Hyper Island logo
Partner school logo
Chambersburg Area School District logo
Broward County Public Schools logo
Nebo School District logo
National Louis University logo
South Florida PBS logo
Punahou School logo
University of Wisconsin–River Falls logo
Partner school logo
Partner school logo
Archbishop Mitty High School logo
Kingsburg High School logo
Norwalk Public Schools logo
Partner school logo
Connections logo
Partner school logo
Moore Public Schools logo
Partner school logo
Partner school logo
Partner school logo
Partner school logo
Robbinsville Public Schools logo
Partner school logo
Partner school logo

What educators are saying

“We enjoyed the program last year and used it frequently.”
“My students say it’s a welcome change of pace. I’m not a fan of the “sage on the stage” model, so I try to incorporate research-oriented and self-paced activities. With Humy, students have to take charge of their learning. They’ve become more adept at critical thinking, forming better questions, and improving their reading comprehension. The interview feature has been my go-to tool. I create assignments where students must ask historical figures a set number of questions, then summarize the responses to ensure they’re truly absorbing the material. This approach lets them actively explore the past rather than passively consuming information.”
“Humy has helped me bring historical figures, sometimes long past, to life. When my students interact with these figures in real-time, it eliminates some of the perceived “ancient” characteristics of my curriculum. This has shifted my students’ thinking away from viewing history as abstract or irrelevant. Real-time interactions make historical figures relatable, even allowing students to ask off-topic questions that help put historical lives in a more relevant context for 13-year-olds. The feature I use the most is the interview feature. After teaching a topic, most recently Gandhi and Joan of Arc, I have the students ask pointed, focused questions. We practice good conversation techniques beforehand, teaching them to listen (or read) carefully and formulate thoughtful follow-up questions rather than just interrogating. It helps students practice effective conversation skills.”

FAQ

Frequently asked questions

Who is Buddha?
Indian prince who founded Buddhism and attained enlightenment. On Humy.ai you can chat with an AI version of Buddha that draws on a short biography and 95 historical sources during the conversation — by text or voice, in 42 languages.
Is Buddha AI free?
Yes. Buddha is in Humy's free library: a free account includes 20 messages a month with Buddha and the other free figures, by text or voice. No credit card is needed.
What sources does the Buddha AI use?
It draws on a short biography and 95 historical sources (sculptures, books and artifacts), including “Dhammapada”, “Buddha in Dhyana, Perfection of Wisdom Sutra Manuscript” and “Head of the Buddha, Gandhara style”. Each source has its own page on Humy.ai.
How historically accurate is the AI version of Buddha?
Each figure uses a short biography and a small set of selected historical sources as context (retrieval-augmented generation), so answers stay closer to known material than the model's general knowledge alone. It isn't a citation-grade research tool — like any LLM, the AI can get details wrong or extrapolate. Treat it as a strong starting point for inquiry and cross-reference important claims.
Can I talk to Buddha by voice?
Yes. In addition to text chat, you can call Buddha and hear their voice respond in real time — useful for auditory learners, interview practice and Socratic dialogue.
Is Humy.ai safe and compliant for schools?
Yes. Humy.ai is used by more than 100 schools, universities and organisations. The platform is FERPA- and GDPR-aligned, supports SSO, and offers an IT-approval pack tailored for school procurement teams.

Ready when you are

Start chatting with Buddha now.

20 messages free · No credit card · Available in 50+ languages.